Loading ...
Loading ...
Loading ...
34
ENGLISH
3
Set up “Amp Assign”
Use ui to select “Amp Assign”, and
then press ENTER.
[1/6]
STEP1 Preparation
Connect the speakers
and place them accord-
ing to the recommenda-
tions in the manual.
Set the following
items if necessary.
Set use of surround back ch. for your system
Amp Assign
Channel Select
Auto Setup Start
AUTO SETUP
AUDYSSEY AUTO SETUP
MultEQ
ENTER Enter RETURN Cancel
Remote control operation
buttons
Move the cursor
(Up/Down/Left/Right)
Confirm the setting Return to previous menu
4
Use o p to select the conguration
of the connected speakers, and then
press RETURN.
Normal
Set when using 7.1-channel
(Front/Center/Surround/Surround
Back/Subwoofer) speakers.
ZONE2
Set for connecting the speakers
for ZONE2 to the SURR. BACK/
AMP ASSIGN terminals.
Front Height
Set for connecting the front
height speakers to the SURR.
BACK/AMP ASSIGN terminals.
Bi-Amp
Set for connecting a tweeter of
a front speaker to the SURR.
BACK/AMP ASSIGN terminals
and a woofer of the front speaker
to the FRONT terminals.
Front B
Set for connecting the second
set of front speakers to the
SURR. BACK/AMP ASSIGN
terminals.
2CH
Set for 2-channel direct/stereo
playback. When “2CH” is set,
connect the second set of front
speakers to the SURR.BACK/
AMP ASSIGN terminals.
Here we describe how to set up speakers other than 5.1-channel speakers.
For the method of setting up 5.1-channel speakers, see “Simple version”, “Set up speakers (Audyssey
®
Auto Setup)” (vpage6).
First install and connect the speakers to this unit.
Before Auto Setup measurement, the settings shown below can be made.
• Changing the amplifier assignment (Amp Assign)
The signal output from the SURR.BACK / AMP ASSIGN speaker terminal of this unit can be switched to match your speaker environment (vpage34 “Set up “Amp Assign””).
• Setting the channels to be used (Channel Select)
If channels that are not to be used are set in advance, measurement for the set channels is skipped, and measuring time can be reduced (vpage35 “Set up “Channel Select””).
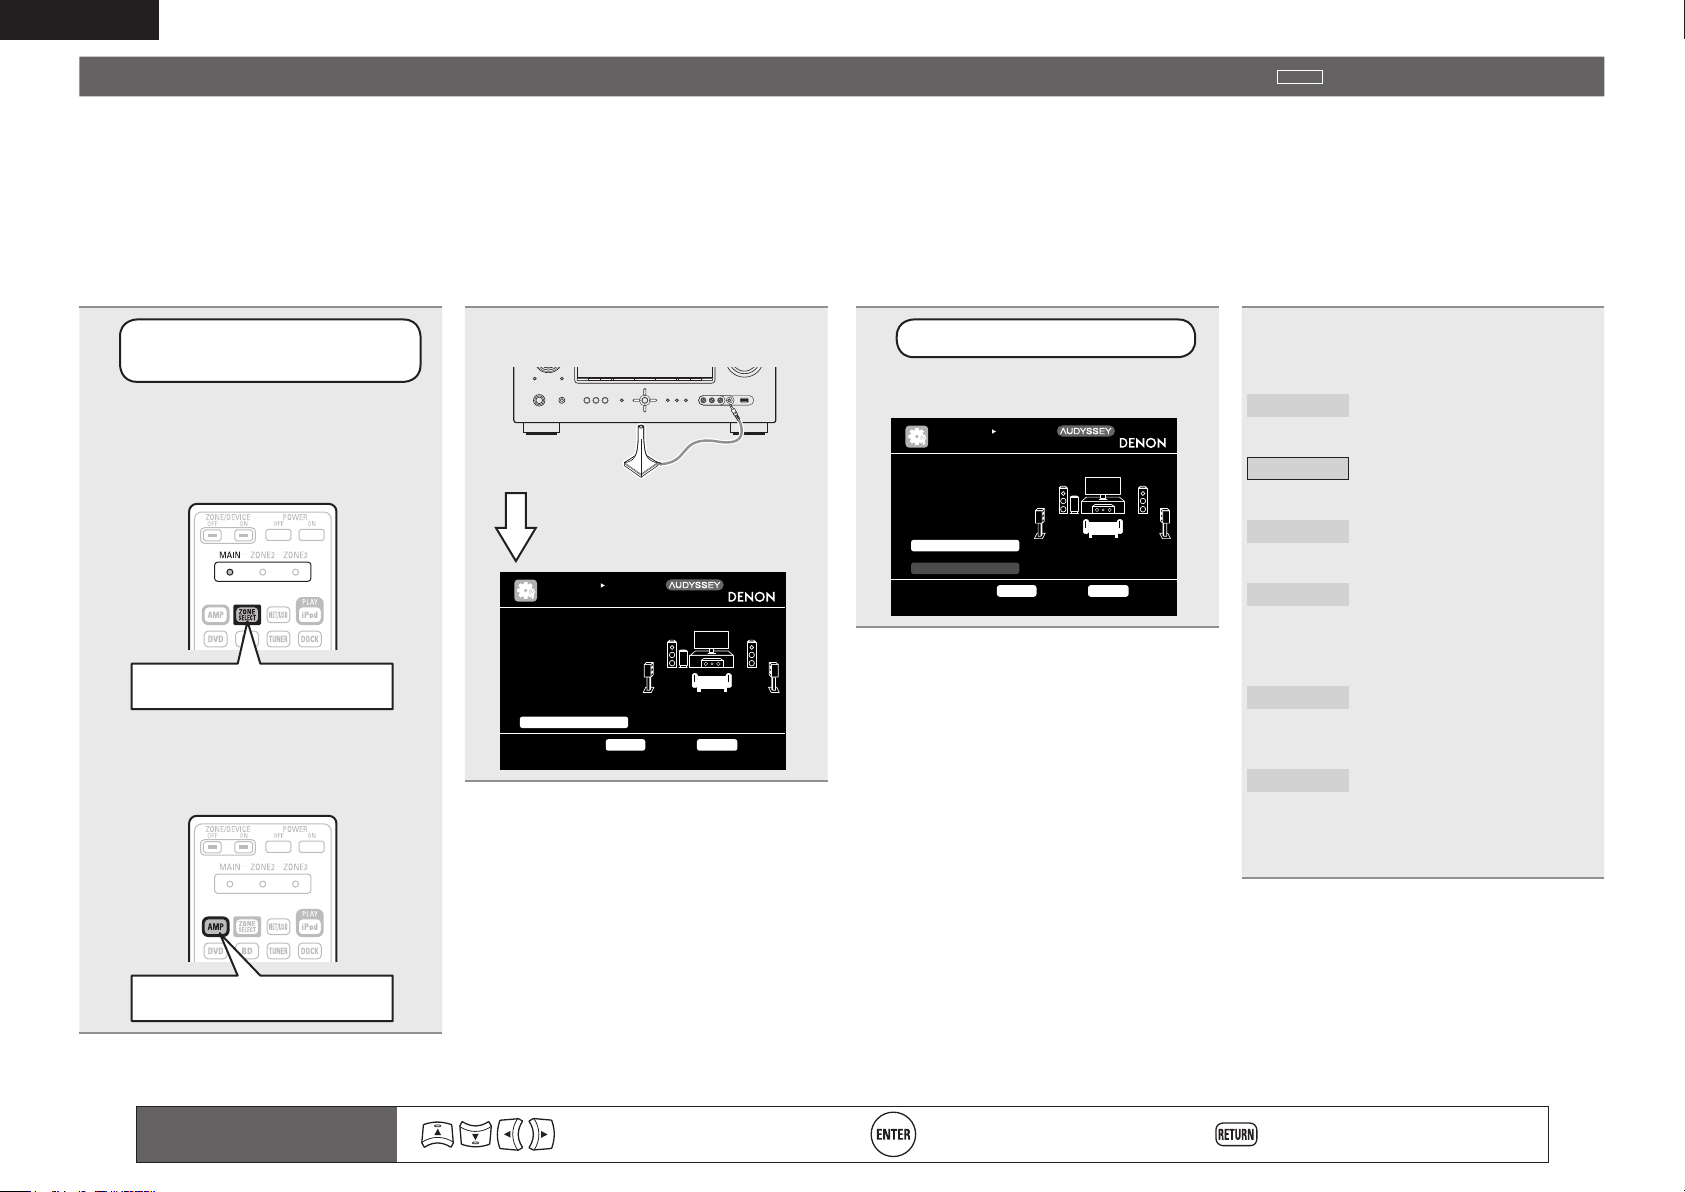
1
Set up
the remote control unit
n Set up the zone mode
Press ZONE SELECT to switch the
zone mode to “MAIN”.
The “MAIN” indicator lights.
Press ZONE SELECT
n Set up the operation mode
Press AMP to set the remote control
unit to amplier operation mode.
Press AMP
2
Connect the setup microphone.
When the setup microphone is
connected, the following screen is
displayed.
[1/6]
STEP1 Preparation
Connect the speakers
and place them accord-
ing to the recommenda-
tions in the manual.
Set the following
items if necessary.
Start Auto Setup
Amp Assign
Channel Select
Auto Setup Start
AUTO SETUP
AUDYSSEY AUTO SETUP
MultEQ
ENTER Enter RETURN Cancel
Set up speakers
around items indicate the settings.
Loading ...
Loading ...
Loading ...