Loading ...
Loading ...
Loading ...
Page 10
Operating Instructions
12. Push each bowl clamp backwards to unlock the bowl from the bowl cradle.
13. Lift up slightly on the bowl so it clears the pins on the bowl cradle.
Most batches are heavy. Always use two people to remove and transport the loaded
bowl after mixing is complete. A bowl truck is included with the SP60, SP62P and
SP80PL models and should be used to unload bowls containing more than 50 lbs.
per batch.
HOW TO USE THE ATTACHMENT HUB
Never put your hand into the feed chute when using any mixer attachment.
The mixer must be OFF before installing attachments! Do NOT use attachments while mixing!
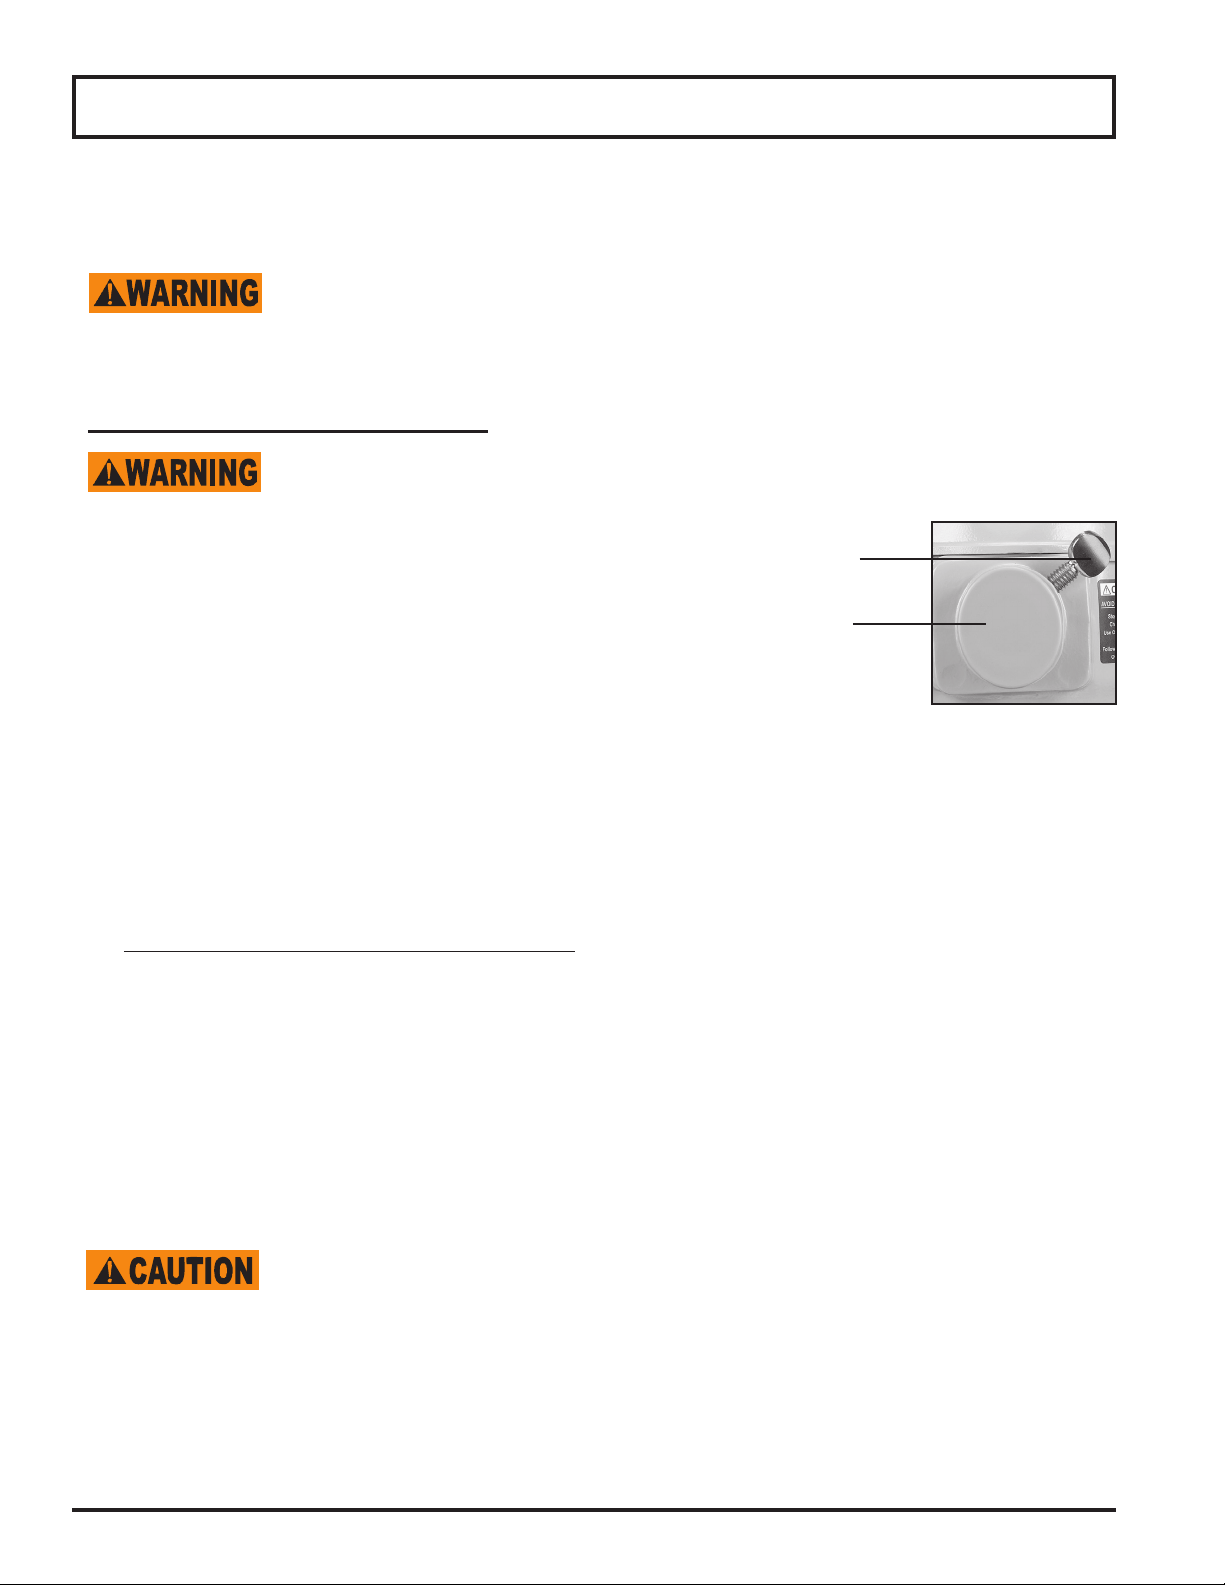
1. Loosen and remove the attachment hub thumbscrew (see g 10-1).
2. Remove the plastic cover from the attachment hub (see g 10-1).
3. Lubricate the attachment shaft with a food quality grease or mineral oil.
4. Insert the attachment shaft into the hub making sure to line up the alignment pin with
the hub hole.
5. Tighten the thumbscrew back into the hub and securely tighten it.
6. Select the appropriate speed setting by lifting or lowering the speed control lever.
Recommended Speed while using attachments:
Attachment Recommended Speed
Vegetable Slicer 1 or 2
Cheese Shredder/Grater 2 or 3
Meat Grinder 1 only
NOTE: Make sure the bowl is up and the bowl guard is closed. The mixer will not start if the bowl and the
bowl guard are not in the proper operating position.
7. Turn the timer knob in a counterclockwise direction to the green “on” position.
8. Press the green start button located on the middle of the control panel.
Always STOP the mixer BEFORE changing speeds! Failure to do so may damage the
gears or other parts and WILL void the warranty!
9. To change the speed while using mixer attachments:
a. press the red stop button
b. change the speed by raising or lowering the speed control lever
c. press the green start button to restart the mixer.
NOTE: The SP62P and SP80PL will automatically shut off if the speeds are changed while the mixer is in
operation.
Plastic Cover
Thumbscrew
g. 10-1
Loading ...
Loading ...
Loading ...