Loading ...
Loading ...
Loading ...
subzero.com
|
5
SITE PREPARATION
Electrical
Installation must comply with all applicable electrical codes.
The electrical supply should be located within the shaded
area shown in the illustration below. A separate circuit, ser-
vicing only this appliance is required. A ground fault circuit
interrupter (GFCI) is not recommended and may cause inter-
ruption of operation.
ELECTRICAL REQUIREMENTS
Power Supply 220-240 V AC, 50/60 Hz
Circuit Breaker 10 amp
Receptacle grounding-type (earthed)
CAUTION
The outlet must be checked by a qualified electrician to
be sure that it is wired with the correct polarity. Verify
that the outlet is properly grounded (earthed).
WARNING
Do not use an extension cord, two-prong adapter or
remove the power cord ground prong.
Plumbing
Installation must comply with all applicable plumbing codes.
The water supply line should be located within the shaded
area shown in the illustrations below. The water supply line
should be connected to the house supply with an easily
accessible shut-off valve. Do not use self-piercing valves.
The water supply line must not interfere with installation of
the anti-tip brackets.
This appliance should be connected to a potable water
supply.
PLUMBING REQUIREMENTS
Water Supply Line
1
/4" OD copper, braided
stainless steel or PEX tubing
Water Pressure 2.4–8.3 bar
Excess Water Line for Connection .9 m
FRONT VIEW
1918 mm
FROM
FLOOR
178
mm
E
152
mm
Electrical supply location.
76 mm
457 mm
FRONT VIEW
FLOOR
TOP VIEW
BACK WALL
13 mm
152
mm
457 mm
152
mm
76 mm
457 mm
FRONT VIEW
FLOOR
TOP VIEW
BACK WALL
13 mm
152
mm
457 mm
152
mm
Water supply location (rear).
Water supply location (bottom).
Dual Installation
If two units are installed side by side, a dual installation kit
may be required. Installations without a custom ller strip
require a dual installation kit. If a dual installation kit is not
specied, a 51 mm ller strip is recommended between
units. Dual installations without a ller strip can only be
accomplished using two units with opposite hinges. Refer to
the illustrations below.
Dual installation kits are available through an authorized
Sub-Zero dealer. For questions regarding the installation,
contact your authorized Sub-Zero dealer.
WITHOUT FILLER STRIP
FILLER STRIP
Opposite hinges.
Same side hinges.
Preparation
Uncrate the unit and inspect for damage. Remove the wood
base and discard shipping bolts and brackets. Remove and
recycle packing materials. Do not discard the kickplate, anti-
tip brackets and hardware.
Completely retract the front leveling legs to allow the unit to
be moved into position. The front and rear leveling legs can
be adjusted from the front once the unit is in position.
Remove the drain pan from the base of the unit to avoid
damage, and allow for proper appliance dolly placement.
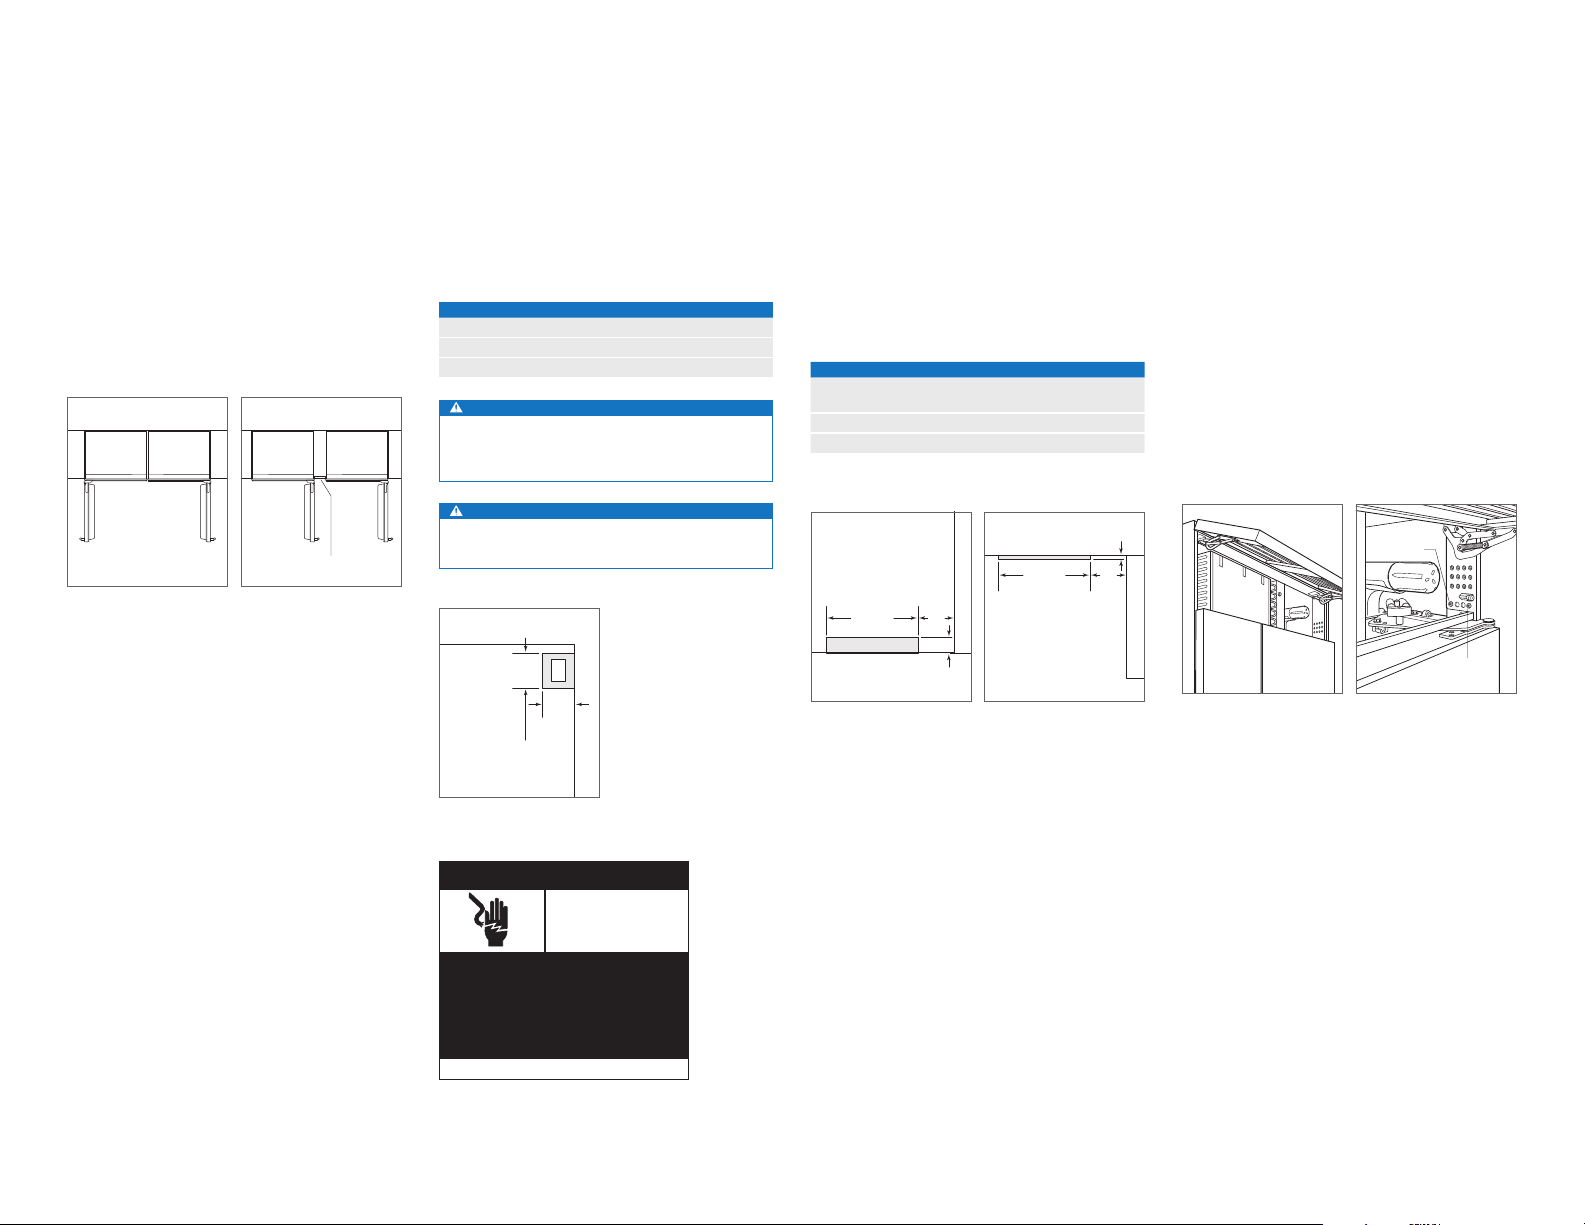
The grille assembly should be removed prior to moving the
unit. To remove, pull out on the bottom edge of the grille and
rotate upward. Loosen the back two grille mounting screws
and remove the front two grille mounting screws. Refer to
the illustrations below. With the grille held rmly, pull forward
to remove.
BACK GRILLE
SCREW
FRONT
GRILLE SCREW
Grille removal.
Grille mounting screws.
Electrical
Shock
Hazard
Plug power cord directly into a properly
grounded (earthed) outlet.
Do not defeat the grounding (earthing)
nature of the plug.
Do not use adapter or extension cord.
Failure to follow these instructions could
cause serious injury or death.
See installation instructions
Loading ...
Loading ...
Loading ...