Loading ...
Loading ...
Loading ...
4
EN
3 Get started
Always follow the instructions in this chapter in
sequence.
Install batteries
The batteries can only back up clock and alarm
settings.
Caution
• Risk of explosion! Keep the batteries away from heat,
sunshine or re. Never discard batteries in re.
• Batteries contain chemical substances, so they should
be disposed of properly.
Insert 2 AAA batteries (not provided) with
correct polarity (+/-) as illustrated.
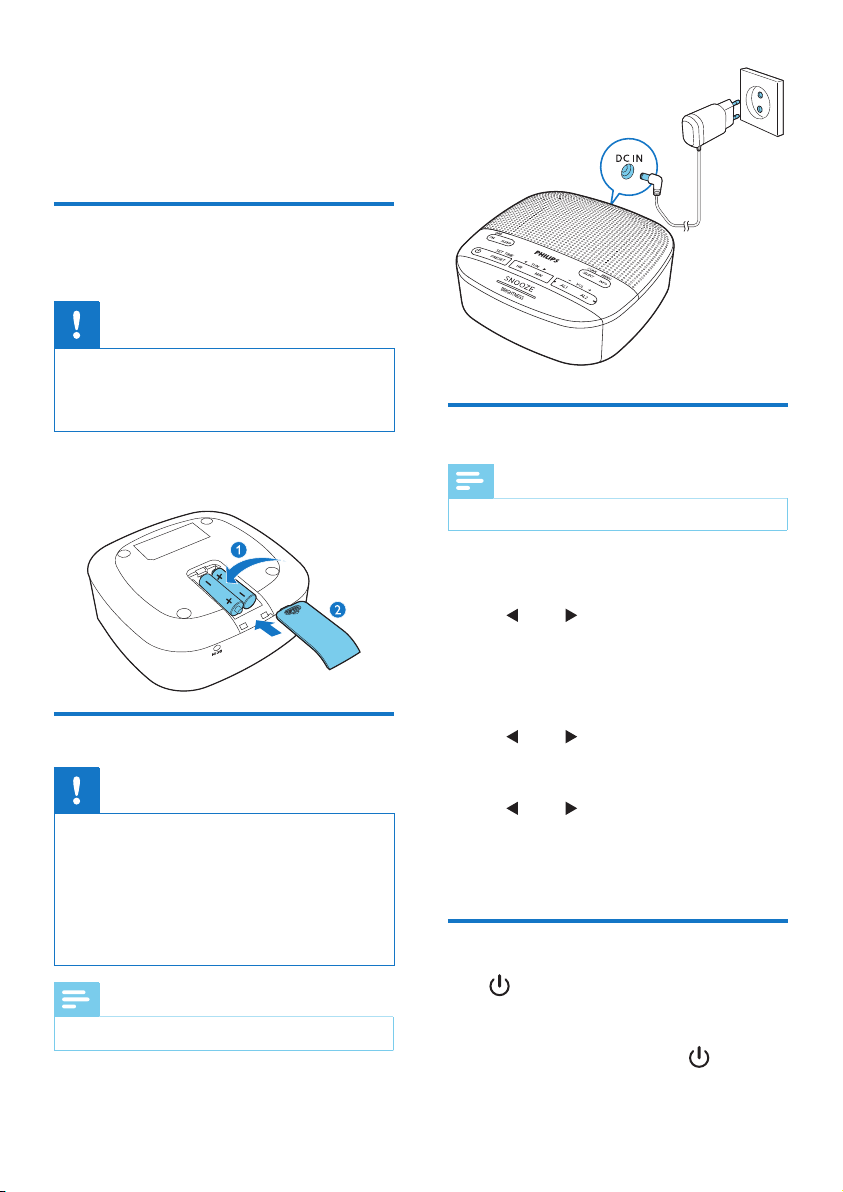
Connect power
Caution
• Risk of product damage! Make sure that the power
voltage corresponds to the voltage printed on the back
or underside of the clock radio..
• Risk of electrical shock! When you unplug the power
adapter, always pull the plug from the socket. Never
pull the cord.
• Use only the AC power adapter specied in the
manufacturer or sold with this unit.
Note
• The type plate is located at the bottom of the clock radio.
Set time
Note
• You can only set time in standby mode.
1 In standby mode, press and hold SET TIME
for more than 2 seconds.
2 Press TUN to select <24 HR> or
<12 HR> hour format, then press SET TIME
to conrm.
3 Press HR to set hour and MIN to set minute,
then press SET TIME to conrm.
4 Press TUN to set date, month and
year [DD-MM-YY], then press SET TIME to
conrm.
5 Press TUN to select <UPDATE FROM
RADIO> or <NO UPDATE>, then press
SET TIME to conrm.
» [SAVED] is displayed and the time is set.
Turn on
Press to turn on the clock radio.
» The unit switches to the last selected
source.
To switch to standby mode, press again.
» The real-time clock is displayed.
Loading ...
Loading ...
Loading ...