Infrared Thermometer
Model No.: Lasergrip 749
Questions or Concerns?
(855)-686-3835 • [email protected]
Thank you for purchasing the Lasergrip 749 Infrared Thermometer by
Etekcity. This easy-to-use device lets you conveniently and accurately
measure surface temperatures from a distance without the need of
any direct contact. Should you have any questions or concerns, feel
free to contact our helpful customer support team toll-free at
855.686.3835 or by email at [email protected].
WARNING: THIS DEVICE PRODUCES CLASS 2 LASER RADIATION. USE
EXTREME CAUTION AT ALL TIMES WHEN LASER IS IN USE. DO NOT
LOOK INTO DIRECT OR REFLECTED LASER-LIGHT BEAM OR VIEW
BEAM WITH OPTICAL INSTRUMENTS. DO NOT AIM LASER-LIGHT AT
ANOTHER PERSON OR ANIMAL. LASER RADIATION MAY DAMAGE
YOUR EYE. DO NOT DISASSEMBLE THE DEVICE.
IMPORTANT: Read all of the instructions in this manual.
Failure to comply with the instructions in this manual or use
of the device, in ways other than the ones mentioned in this
manual, may result in hazardous radiation exposure.
• DO NOT point the laser-light at another person or animal.
• DO NOT attempt to point laser-light at an aircraft.
• Avoid direct/indirect eye contact with the laser-beam. Laser
radiation may cause eye damage.
• DO NOT view the beam with optical instruments.
• In the vicinity of use, make any bystanders aware of the dangers of
looking directly into the laser beam.
• DO NOT allow children to operate the device.
• Use a 9V battery when replacing the battery within the device.
Make sure to insert the battery in accordance with the correct
polarities.
• ALWAYS remove the batteries when cleaning the device.
• DO NOT use leaking batteries or dispose old batteries in fire.
• Remove battery for storage if the device is not being used for a
prolonged period of time.
• DO NOT disassemble the device or tamper with internal
components. Doing so will void any warranty.
• DO NOT touch the lens or wipe it using anything other than a soft
cloth or cotton swab.
• Keep the thermometer away from electromagnetic fields produced
by objects such as arc welders and induction heaters.
• DO NOT expose the thermometer to direct sources of heat for
extended periods of time.
• The thermometer measures surface temperature, not internal
temperature. Do not use the Lasergrip as a reliable source to
measure body temperatures.
Safety Use & Care
Features & Specifications
Function Diagram
Package Contents
Operation
• Laser guided targeting for aiming precision
• Narrow distance-spot ratio for accurate results at greater distances
• Safely measure hazardous or inaccessible objects
• Standard 9V battery powers up to 12 hours of cumulative use
• Auto-off after 15 seconds of inactivity
• Measurement Range: -58°F ~ 716°F (-50°C ~ 380°C)
• Operating Environment: 32°F~122°F (0~50°C)
• Accuracy: ±2% / ±2°C
• Resolution: 0.1°F / °C
• Maximum Output: < 1 mW
• Wavelength: 630 - 670 nm
• Distance-Spot Ratio: 12:1
• Response Time: < 500 ms
• Emissivity: 0.95
• Battery: DC 9V
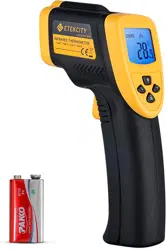
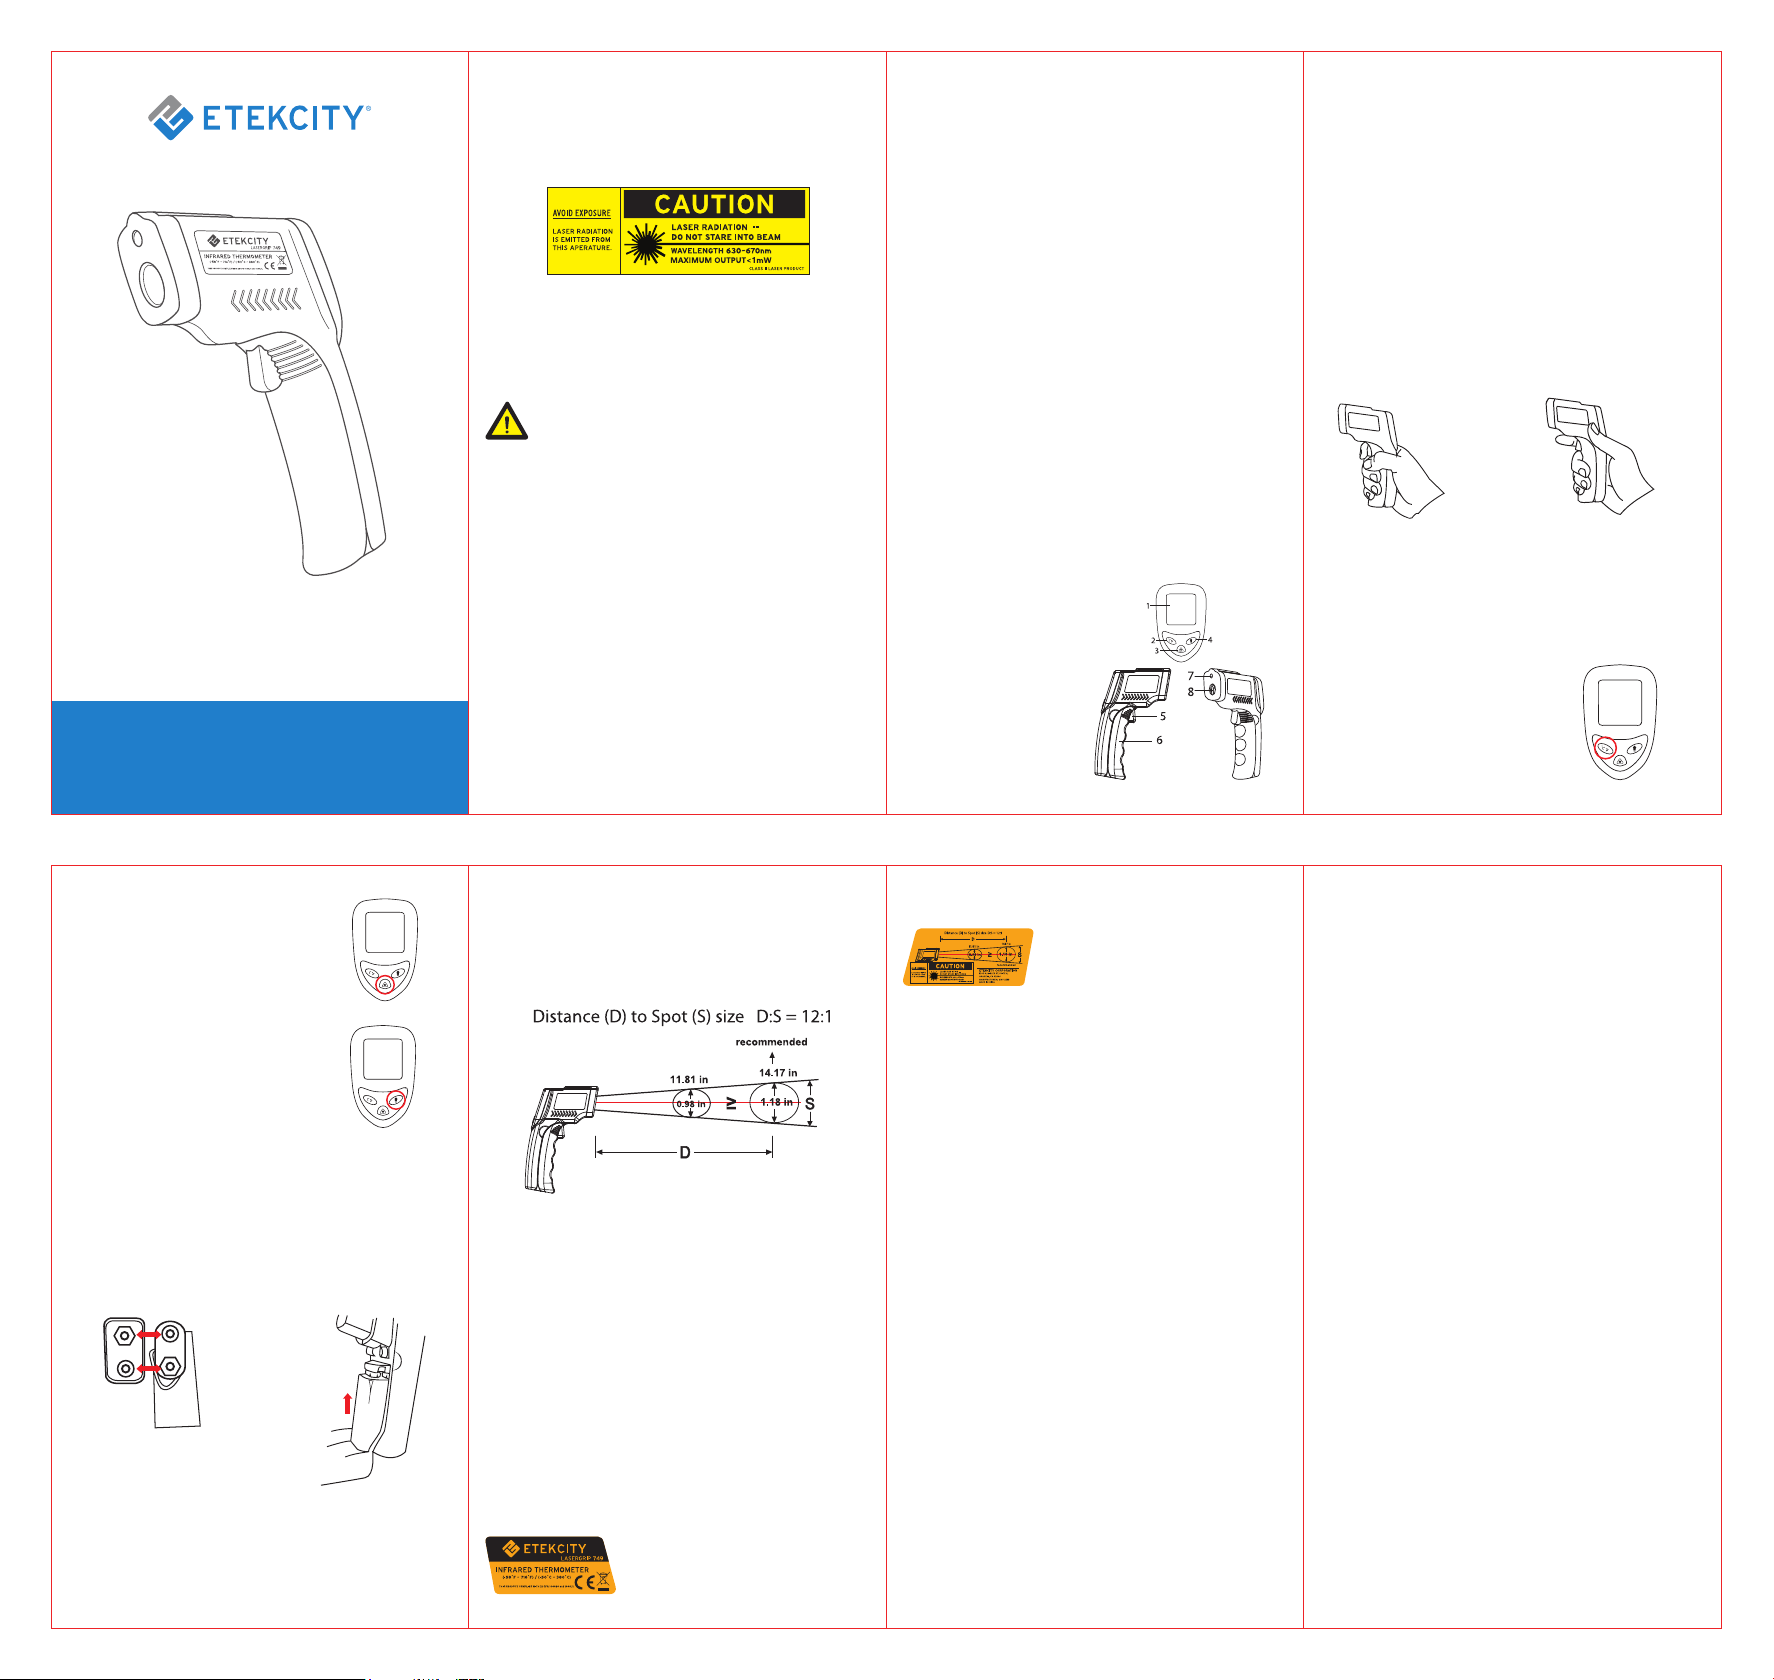
1. LCD Display
2. Unit Switch Button (°C/°F)
3. Laser Pointer On/Off
4. Display Backlight On/Off
5. Measurement Trigger
6. Battery Compartment
7. Laser Hole
8. IR Sensor
Surface Temperature Measurement
Unit Conversion
NOTE: The Lasergrip cannot measure the temperature of objects
behind glass. Inaccuracy may also occur when exposed to steam, dust
or any other contaminants in the air.
1. Once the battery is properly installed, press the measurement
trigger to activate the device.
2. Point the Lasergrip towards the surface of measurement.
3. Press and hold the measurement trigger and the laser will activate
for aiming guidance.
4. Keep holding the trigger as you move the Lasergrip if you wish to
live scan the surface area for temperature measurement.
5. Once the laser is pointed to the desired point of measurement,
release the trigger and the LCD display will lock the calculated
temperature.
6. Press the measurement trigger once again to make another
measurement.
1. Open the battery compartment and remove the used battery.
Dispose the used battery properly.
2. Connect a new DC 9V battery, making sure it's under the correct
polarity.
3. Insert the battery into the compartment and close the
compartment lid, making sure the wiring is not being pinched by the
compartment lid.
HOLD for continuous
temperature reading
RELEASE to lock the
temperature result
NOTE: The Lasergrip LCD will display ‘HI’ when the measured
temperature is above the measurable range, and will display ‘LO’ when
the measured temperature is below the measurable range.
To switch between units of temperature
measurement, press the °C/°F button at
any time while the Lasergrip is on.
Laser Activation
To activate and deactivate the laser, press the
laser pointer On/Off button at any time while
the Lasergrip is on.
Distance-Spot Ratio
Emissivity
For the most accurate results, make sure the target has a surface
area of twice the corresponding spot diameter. Insufficient surface
area will result in inaccurate results. The recommended distance to
hold the Lasergrip from the surface of measurement is 14.17 in (36
cm). This creates a spot measurement area of 1.18 inches (3 cm) in
diameter.
Display Backlight Operation
To activate and deactivate the display
backlight, press the display backlight On/Off
button at any time while the Lasergrip is on.
Battery Replacement
A low battery icon will appear on the LCD display when the Lasergrip's
battery power is running low. Immediately replace the battery when
the icon appears.
9V Battery
PAIR
Wiring is not
bulging out of the
compartment
Polarity facing
upward
The device warning and aperture safety
information are also labeled directly on
the device; the sticker is located on the
right side of the Lasergrip.
Any updates to the product information
(date of manufacturing and manufacturer
address) will be added as adhesive
overlays.
The device certification information is
labeled directly on the device. The sticker
is located on the left side of the Lasergrip.
1 x Etekcity Lasergrip 749 Infrared Thermometer
1 x 9V DC Battery
1 x User Manual
If you encounter any issues or have any questions regarding your new
product, please contact our helpful Customer Support Team. Your
satisfaction is our goal!
Customer Support
Warranty Information
Etekcity warrants all products to be of the highest quality in material,
craftsmanship, and service, effective from the date of purchase to the
end of the warranty period.
Etekcity will replace any product found to be defective due to
manufacturer flaws based on eligibility. Refunds are available within
the first 30 days of purchase. Refunds are only available to the
original purchaser of the product. This warranty extends only to
personal use and does not extend to any product that has been used
for commercial, rental, or any other use in which the product is not
intended for. There are no warranties other than the warranties
expressly set forth with each product.
This warranty is non-transferrable. Etekcity is not responsible in any
way for any damages, losses, or inconveniences caused by equipment
failure by user negligence, abuse, or use noncompliant with the user
manual or any additional safety, use, or warnings included in the
product packaging and manual.
This warranty does not apply to the following:
• Damage due to abuse, accident, alteration, misuse, tampering, or
vandalism.
• Improper or inadequate maintenance.
• Damage in return transit.
• Unsupervised use by children under 18 years of age.
The Lasergrip 749 measures surface temperature on the basis of
distance to spot diameter ratio (D:S). As the distance between the
thermometer and the surface increases, the total surface area
measured will also increase. With a distance to spot ratio of 12:1 the
surface area measured has a diameter of roughly 1/12 the distance.
Etekcity and its subsidiaries assume no liability for damage caused
by the use of the product other than for its intended use or as
instructed in the user manual. Some states do not allow this exclusion
or limitation of incidental or consequential losses so the foregoing
disclaimer may not apply to you. This warranty gives you specific legal
rights and you may also have other rights which may vary from state
to state.
ALL EXPRESSED AND IMPLIED WARRANTIES, INCLUDING THE
WARRANTY OF MERCHANTABILITY, ARE LIMITED TO THE PERIOD OF
THE LIMITED WARRANTY.
Additional 1-Year Warranty
You can extend your 1-year warranty by an additional year. Log onto
www.etekcity.com/warranty and enter your order number (for
example, from Amazon or Houzz) to register your new product for
the extended warranty.
If you are unable to provide the order number for your product, please
type a short note in the order number field along with the date you
received your product.
Defective Products & Returns
If your product proves defective within the specified warranty period,
please contact Customer Support via [email protected] with your
order number. DO NOT dispose of your product before contacting us.
Once Customer Support has approved your request, please return the
unit with a copy of the invoice or your order number.
*Please have your order confirmation number ready before contacting
Customer Support.
Etekcity Corporation
1202 N Miller St., Suite A
Anaheim, CA 92806
USA
Toll Free: (855) 686-3835
Email: [email protected]
Support Hours
Mon - Fri 9:00 am - 5:00 pm PST/PDT
The emissivity of a material is its efficiency in emitting thermal energy.
Non-reflective surfaces have a higher emissivity (closer to 1) than
reflective surfaces (closer to 0). Inaccurate results may occur when
measuring reflective surfaces such as glass, polished wood, and
granite.
To take accurate temperature measurement of reflective surfaces
with low emissivity:
1. Place a strip of masking tape over the target surface .
2. Allow the masking tape to adjust to the temperature of the
surface for approximately 30 minutes.
3. Measure the surface, scanning the taped section, eliminating the
issue of inaccuracy.