Loading ...
Loading ...
Loading ...
D
D
D
L
L
L
P
P
P
P
P
P
r
r
r
o
o
o
j
j
j
e
e
e
c
c
c
t
t
t
o
o
o
r
r
r
—
—
—
U
U
U
s
s
s
e
e
e
r
r
r
’
’
’
s
s
s
M
M
M
a
a
a
n
n
n
u
u
u
a
a
a
l
l
l
– 30 –
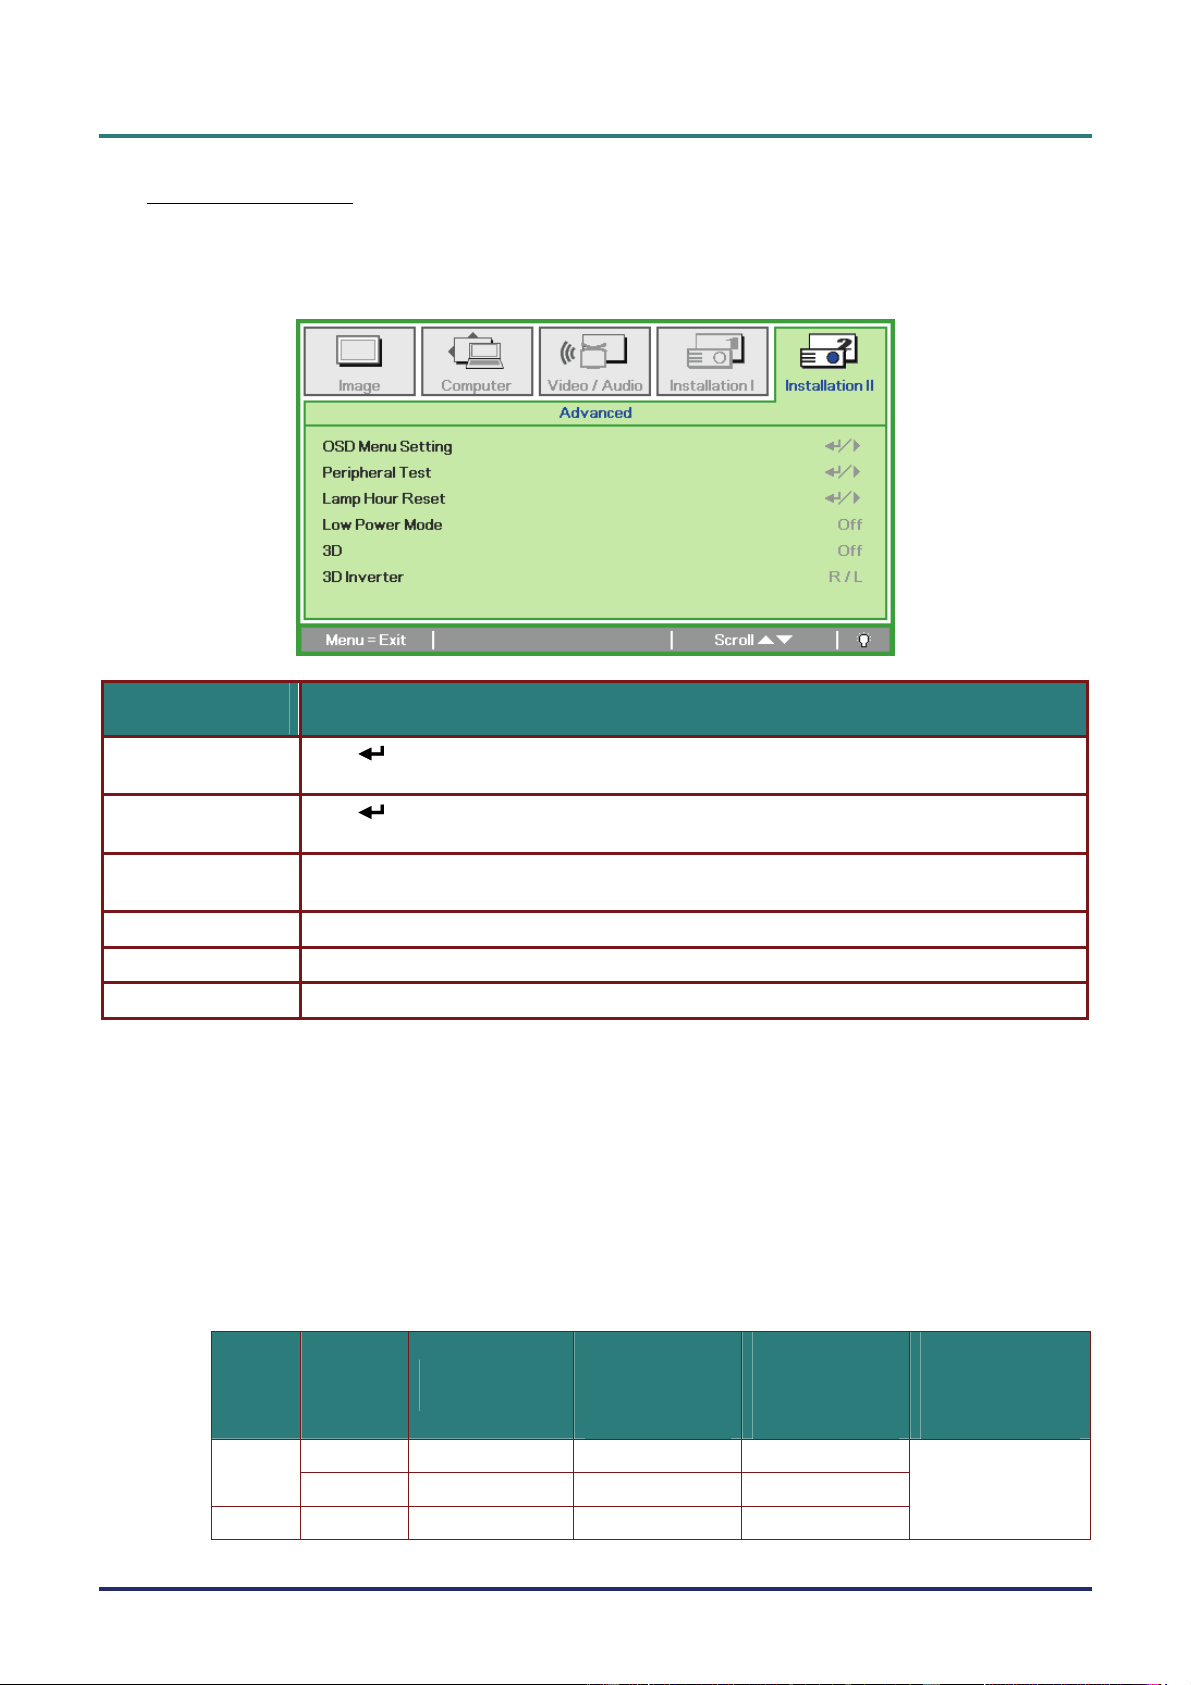
Advanced Feature
Press the Menu button to open the OSD menu. Press ◄► to move to the Installation II menu.
Press ▲▼ to move to the Advanced menu and then press Enter or ►. Press ▲▼ to move up and
down in the Advanced menu. Press ◄► to change values for setting.
ITEM DESCRIPTION
OSD Menu Setting
Press
(Enter) / ► to enter the OSD setting menu. See page 32 for more information on
OSD Menu Setting.
Peripheral Test
Press
(Enter) / ► to enter the Peripheral Test menu. See page 32 for more information on
Peripheral Test.
Lamp Hour Reset
After replacing the lamp, this item should be reset. See page 33 for more information on Lamp
Hour Reset.
Low Power Mode Press the cursor ◄► button to enable or disable Low Power Mode. (Range: On ~ Off)
3D Press the cursor ◄► button to enable or disable 3D mode.
3D Inverter Press the cursor ◄► button to select R/L or L/R function.
3D video Function
3D video is the technology of using a different video frame for each eye to add depth to the video.
How to watch 3D video
1. If you are watching 3D video through PC input.
Please use the PC with graphic card(Quad buffer feature) with 3D player that can display
vertical frequency of 120Hz.
2. The 3D video performance may differ among graphic cards.
Following resolutions support 3D video.
SIGNALS RESOLUTIONS
HORIZONTAL
FREQUENCY
[KHZ]
VERTICAL
FREQUENCY
[HZ]
PLAYABLE
FORM OF 3D
VIDEO
SVGA 800x600 — 120
RGB
PC
XGA 1024x768 — 120
Video NTSC — — 60
Frame Sequential
Loading ...
Loading ...
Loading ...