Loading ...
Loading ...
Loading ...
75
Front Panel≫ Rear Panel≫ Remote≫
Contents
≫
Connections
≫
Playback
≫
Setup
≫
Playing Back
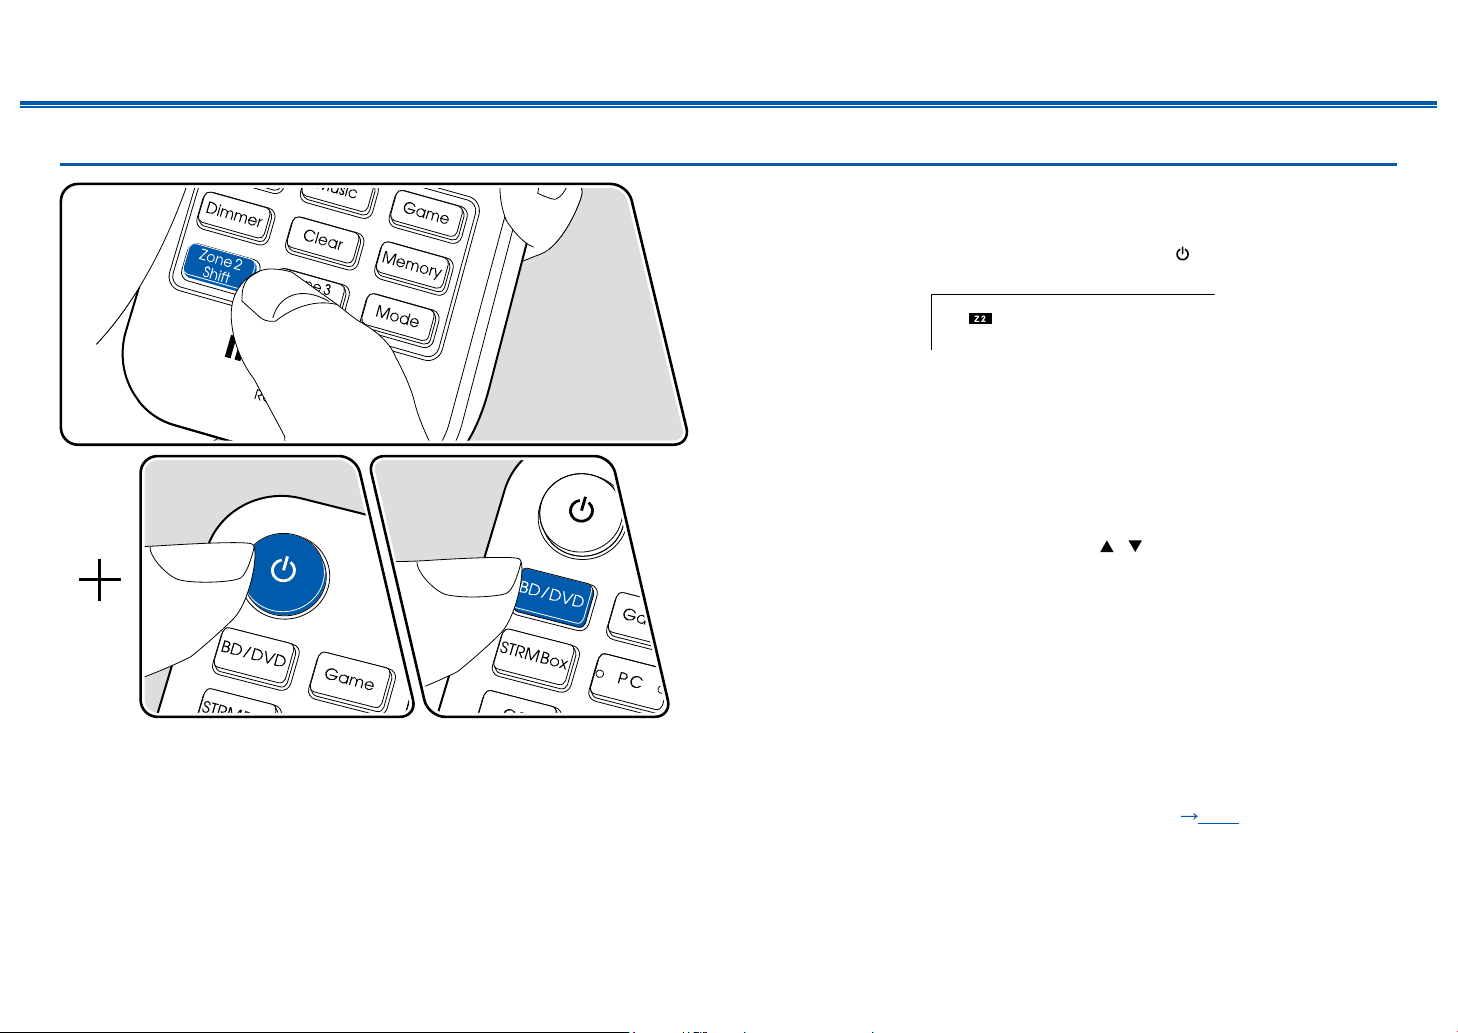
In the remote controller operation, while pressing and holding the Zone 2 Shift
button on the remote controller, operate with each button.
1. Point the remote controller at the unit, and while pressing and holding the
Zone 2 Shift button on the remote controller, press .
• "Z2" on the display of the main unit lights up.
2. While pressing and holding the Zone 2 Shift button on the remote controller,
press the input selector of the input source you want to play in the separate
room. To control on the main unit, press ZONE 2 button, and then within
8 seconds, press the input selector button of the input to be played in the
separate room. To play the same source in the main room and separate room,
press ZONE 2 button of the main unit twice.
3. You can adjust the ZONE speaker volume with the volume button while
pressing and holding the Zone 2 Shift button on the remote controller. To do
this on the main unit, press Zone 2 Level / button to adjust.
• If you turn the unit to standby during multi-zone playback, the Z2 indicator is
dimmed, and the playback mode is switched to playback in a separate room
only. Setting ZONE 2 to on while the unit is in standby also switches the
playback mode to playback in a separate room only.
• When audio is being output from the ZONE SPEAKER, surround back
speakers or height speakers cannot play audio.
• The audio from externally connected AV components can be output to ZONE 2
only when the audio is analog or 2 ch PCM signal. When the AV component is
connected to this unit with a HDMI cable, digital coaxial cable or digital optical
cable, change the audio output of the AV component to the PCM output.
• When video and audio via HDMI input are output to ZONE 2, set "1. Input/
Output Assign" - "TV Out / OSD" - "Zone 2 HDMI" (
p104) to "Use" on the
Setup menu.
Loading ...
Loading ...
Loading ...