
Loading ...
Loading ...
Loading ...
21
GB
Projecting the Picture on the Screen
Projecting
1
Plug the AC power cord into a
wall outlet.
The ON/STANDBY indicator lights in red and
the projector goes into standby mode.
2
Press the [/1 (on/standby)
switch to turn on the projector.
The ON/STANDBY indicator lights in green.
3
Turn on the equipment
connected to the projector.
Refer to the operating instructions of the
connected equipment.
4
Press INPUT repeatedly to
select the input you want to
project on the screen.
Display the indication of the input you want.
Example:To view the picture from the video
equipment connected to the VIDEO
INPUT jack.
*
Set the “Input-A Signal Sel.” or “Digital Signal Sel.” setting in
the SET SETTING menu according to the input signal. (1
page 29)
Note
Before you change the “Digital Signal Sel.” setting, disconnect
the DVI cable and turn off the digital tuner, etc.
5
Press ZOOM +/– to adjust the
size of the picture.
ON/
STANDBY
Lights in red.
ON/
STANDBY
Lights in green.
NTSC 3.58
Video 1
INPUT
To view the picture from
Press INPUT to
display
Video equipment connected to
VIDEO INPUT on the projector
Video 1
Video equipment connected to S
VIDEO INPUT on the projector
S-Video 1
RGB/component equipment
connected to PJ MULTI INPUT via
the optional signal interface cable or
the interface unit
Input-A
*
Video equipment connected to PJ
MULTI INPUT via the optional signal
interface cable or the interface unit
Video 2
Video equipment equipped with S
VIDEO connected to PJ MULTI
INPUT via the optional signal
interface cable or the interface unit
S-Video 2
Component equipment connected to
Y / P
B/CB / PR/CR on the projector
Component
Digital video equipment connected to
DVI connector on the projector
Digital*
“Memory Stick” inserted into the
“Memory Stick” slot
MS
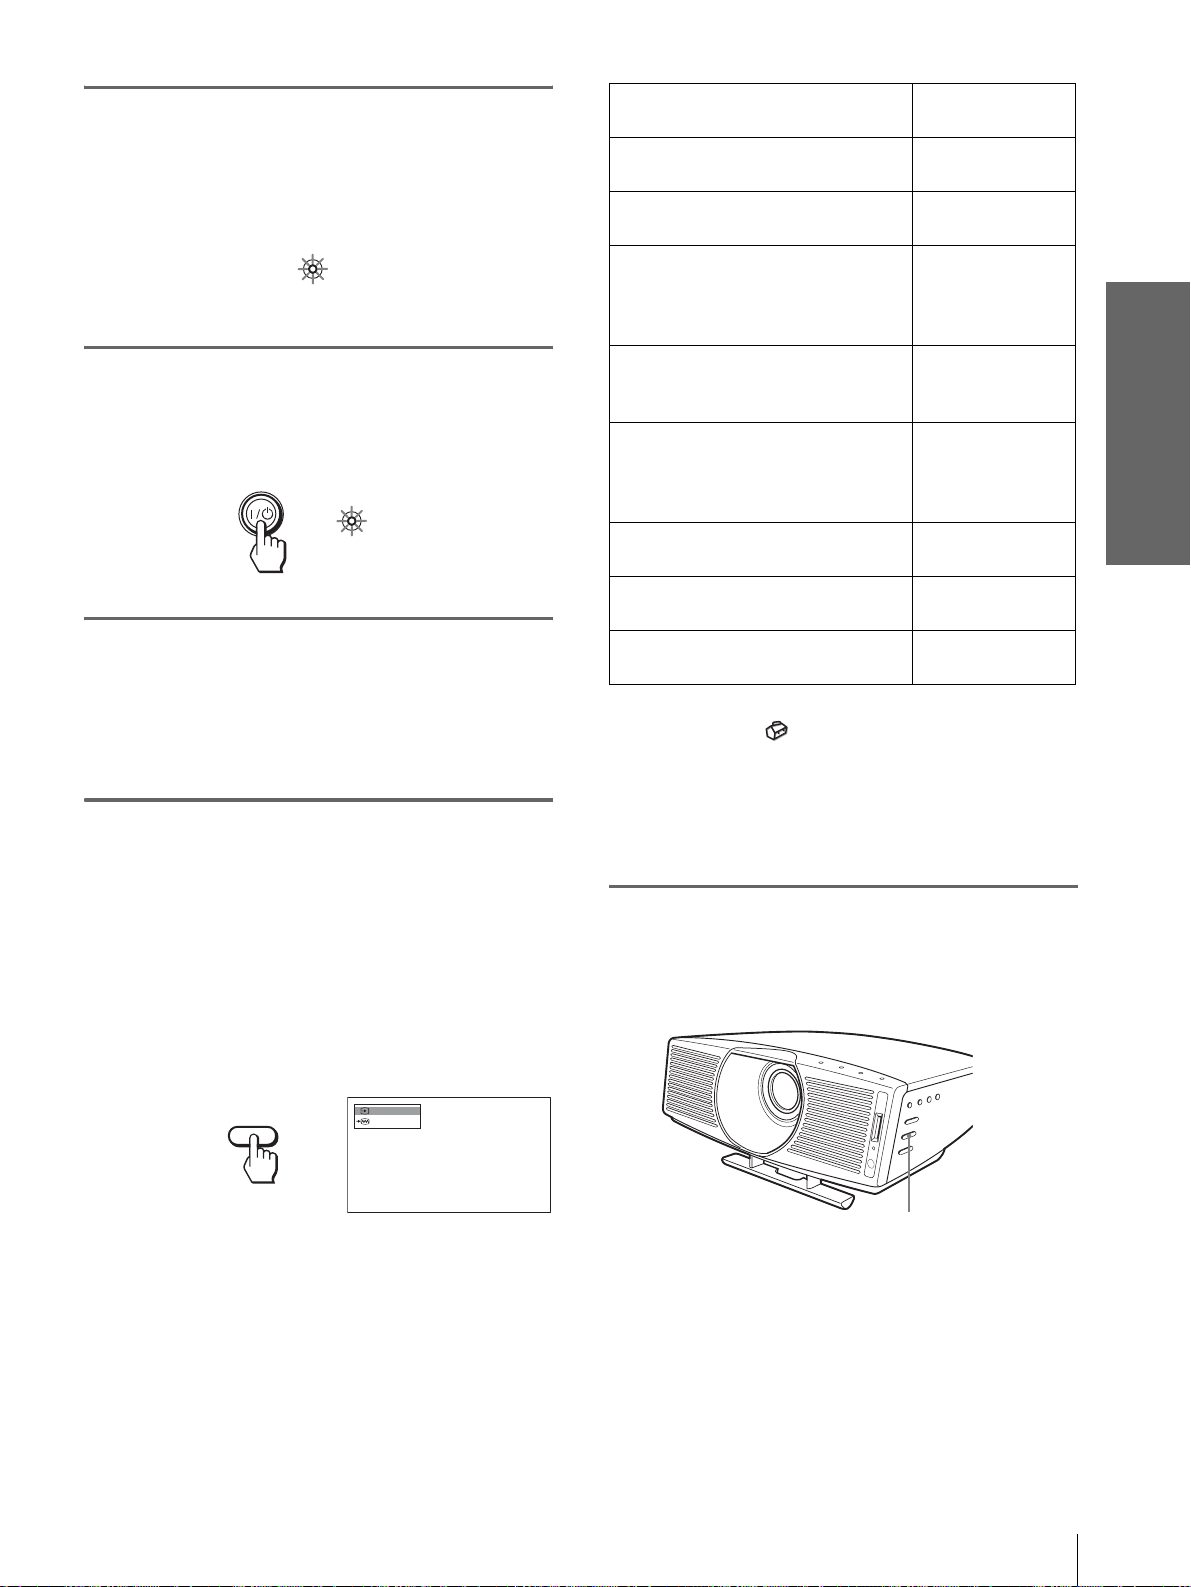
ZOOM +/– button
Loading ...
Loading ...
Loading ...