Loading ...
Loading ...
Loading ...
Part # 4523343 Rev 2 (03/04/10) Page 9
OPERATION
Caution: In the event that a binding malfunction valve or
thermostat control is observed DO NOT light the pilots or
continue operation until an authorized service technician
has inspected the appliance. Failure to do so may result in
injury.
Open Top burners
Lighting
1. Light pilots adjacent to each burner.
2. Turn valve completely on. Burner ame should be 1/2”
(13mm) high, stable and blue in color. It should also
impinge on the bottom of a pot placed on the burner
grate.
CAUTION: Should burner ignition fail within 4 seconds, turn
the burner valve o and repeat steps 1 through 2. If ignition
continues to fail, consult your factory authorized service
agency.
Ovens (Standard)
Lighting
1. Lower front kick panel below oven door, raise oven
hearth bottom for easy access to oven pilot.
2. Turn oven control knob (gure 1) to “ ” position and
then push in to engage the ow of gas through the safety
device to the pilot.
Figure 1
3. While holding knob in, light pilot with a match/BBQ
lighter or use the spark ignition (if provided) to spark
ignite pilot.
4. Continue to hold knob in for 15 seconds after ignition,
then release. Pilot should remain lit.
5. If pilot burner fails to light or does not stay lit, wait 5
minutes and repeat steps 2 through 4.
6. Replace hearth and close kick panel, then turn oven
thermostat to desired cooking temperature.
7. To shut down main burner turn control knob (gure 1) to
“ ” position.
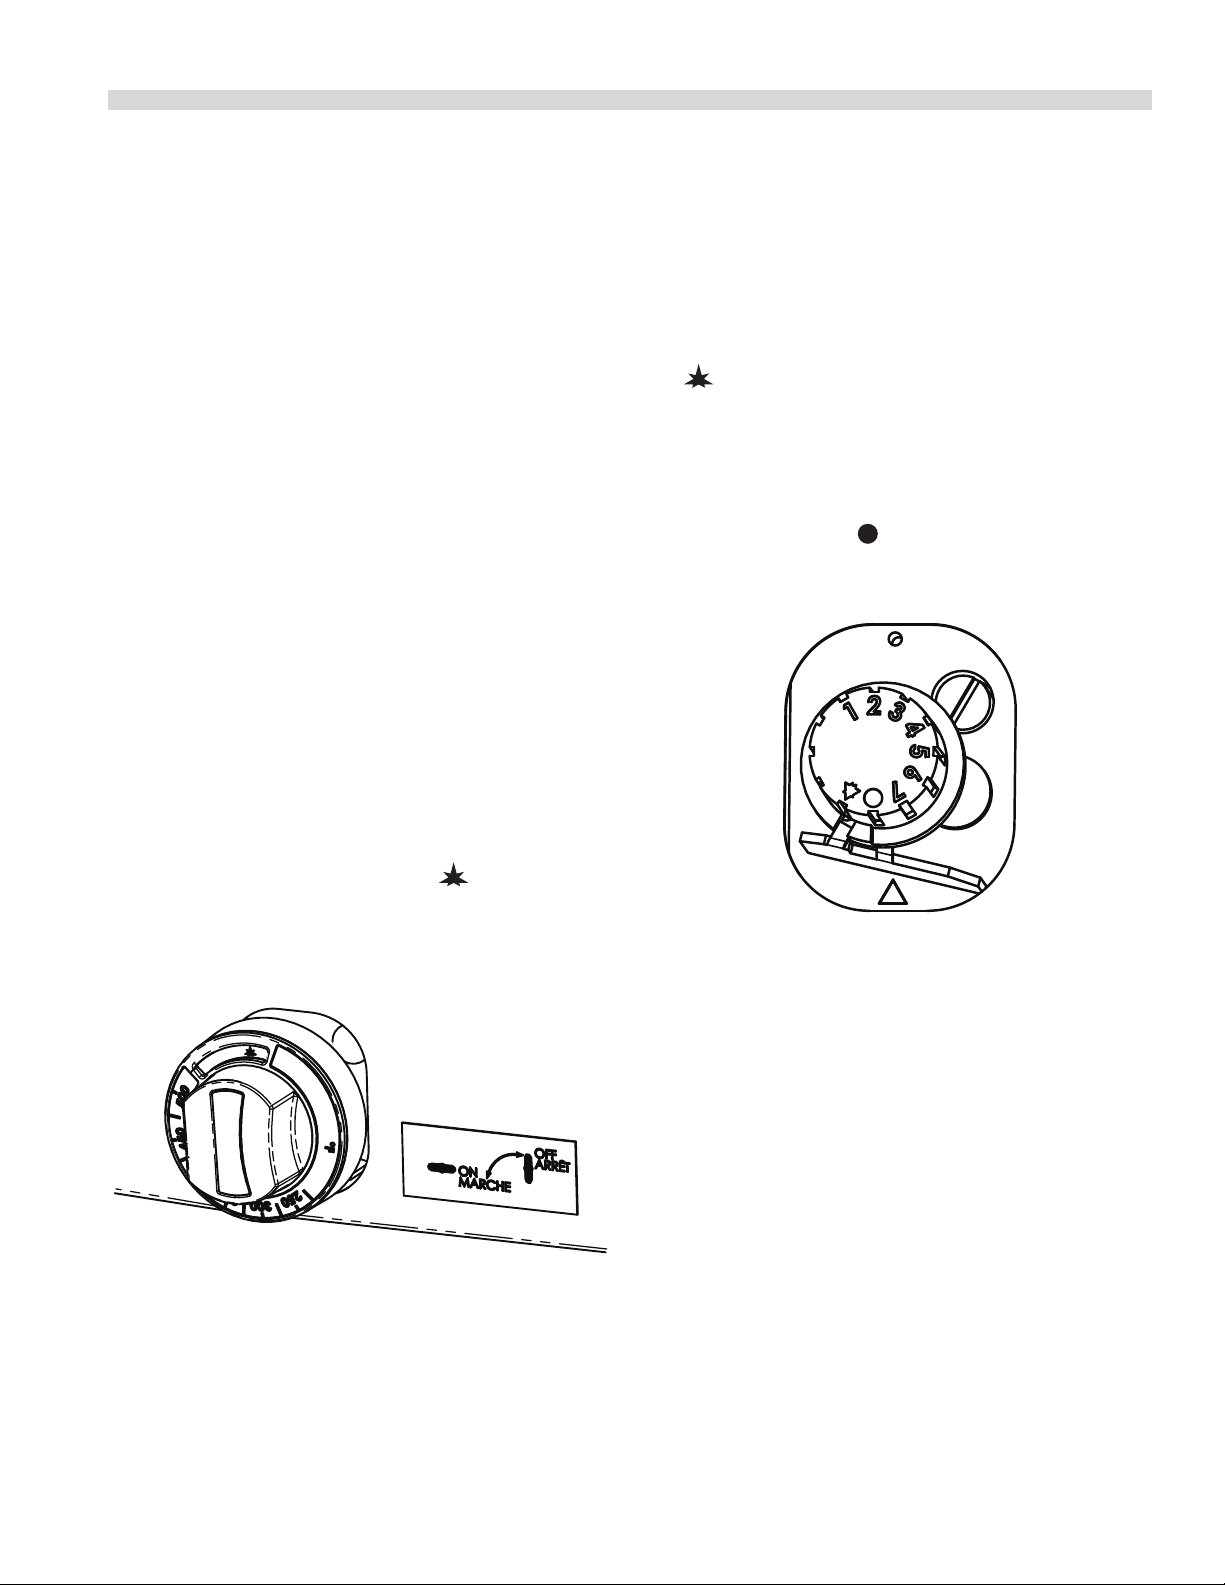
Shut Down
If pilot shut down is required loosen the set screw on the
knob and remove the outer temperature thermostat knob
by carefully pulling it o. Then push in and turn the inner
control knob (gure 2) to position. The system will
disengage with 60 seconds.
Figure 2
Hot Top Sections
1. Raise or remove hot top plate section(s). Each burner has
one pilot located at the front left side of the burner.
2. Light pilots. The pilot burner should be adjusted to
provide for rapid ignition of the burner.
3. Turn the burner valve on. A sharp blue ame should be
approximately 1/4-inch, (6mm), high.
4. Replace hot top sections.
Valve Controlled Griddles
See griddle seasoning before use.
1. Pilots should be lit though the front panel with an extend
match. If necessary the front panel of the range can be
removed to allow the griddle plates to be raised at the
front, block securely.
Loading ...
Loading ...
Loading ...