INSTALLATION INSTRUCTION
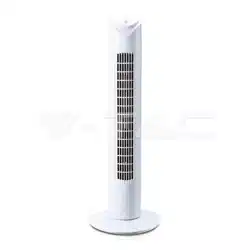
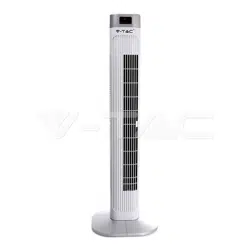
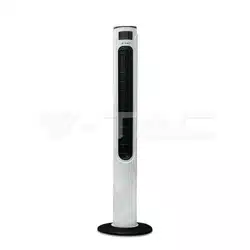
LED DISPLAY TOWER FAN
SPECIFICATIONS
Thank you for selecting and buying V-TAC product. V-TAC will serve you the best. Please read
these instructions carefully before starting the installing and keep this manual handy for future
reference. If you have any another query, please contact our dealer or local vendor from whom
you have purchased the product. They are trained and ready to serve you at the best.
WEEE Number: 80133970
INTRODUCTION
SPEED: 3 ( Low , Medium & High )
MODEL NO: VT-5536
Wind Mode: 3 ( Normal / Natural / Sleep )
Size: 36” Inch
Power: 55W
Timer: 1-15Hours (Max)
Voltage: AC: 220-240V, 50Hz
Power Cord length: 1.8 meters
Plug Type: EU plug
Color: White Finish
Protection Rating: IP20
Material: ABS
1) For INDOOR USE ONLY. Always operate the product from a power source of the same
voltage, frequency rating as indication on the product label.
2) Remove the unit from its packing and check all parts to make sure the product is in good
condition before.
3) Do not operate the product with damaged cord or plug, or malfunctioned product or if
damaged. Before unplugging the power cord, be sure to Turn the Power OFF. Do not touch the
product with Wet Hands.
4) Never install the unit where it is exposed to direct sunlight/excessive moisture/rain/dust/lack
of ventilation/near Heat sources.
5) DO NOT MAKE CONTACT WITH MOVING PARTS of the fan when it is POWERED ON.
6) Always place the Fan on stable, level surface when operating to prevent the fan from
overturning.
7) Do not run the cord under the carpet. Do not cover the power cord with throw rugs or
runners. Connect the power cord away from walking path. The power chord should be kept
away from heat, sharp edges & oil.
8) Switch OFF and unplug the power chord from outlet when not in use, before assembling or
disassembling part or before cleaning. Make sure no other high current appliance is plugged
into the same circuit as your fan, as an overload can occur.
Safety Instructions & Warning
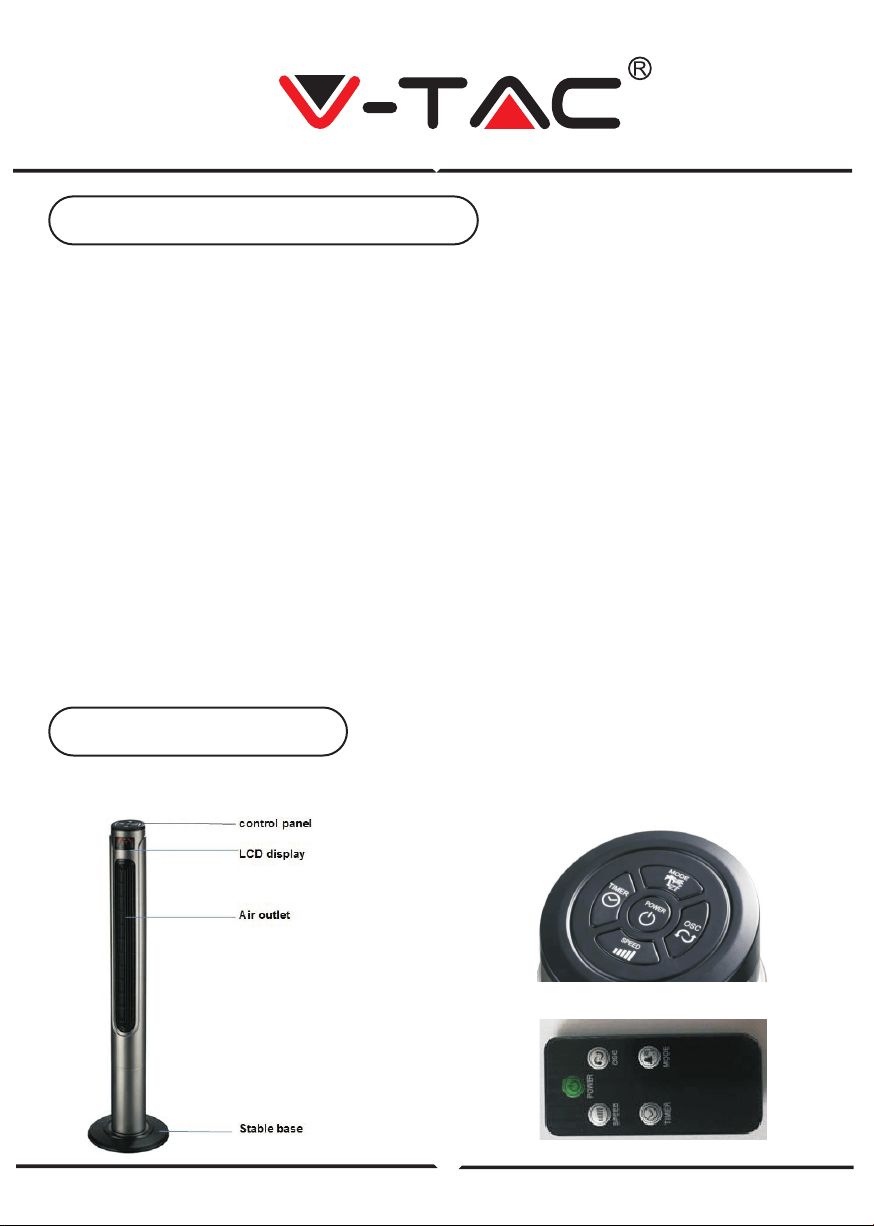
Parts Identification
Main Unit
Control Panel / Remote Control
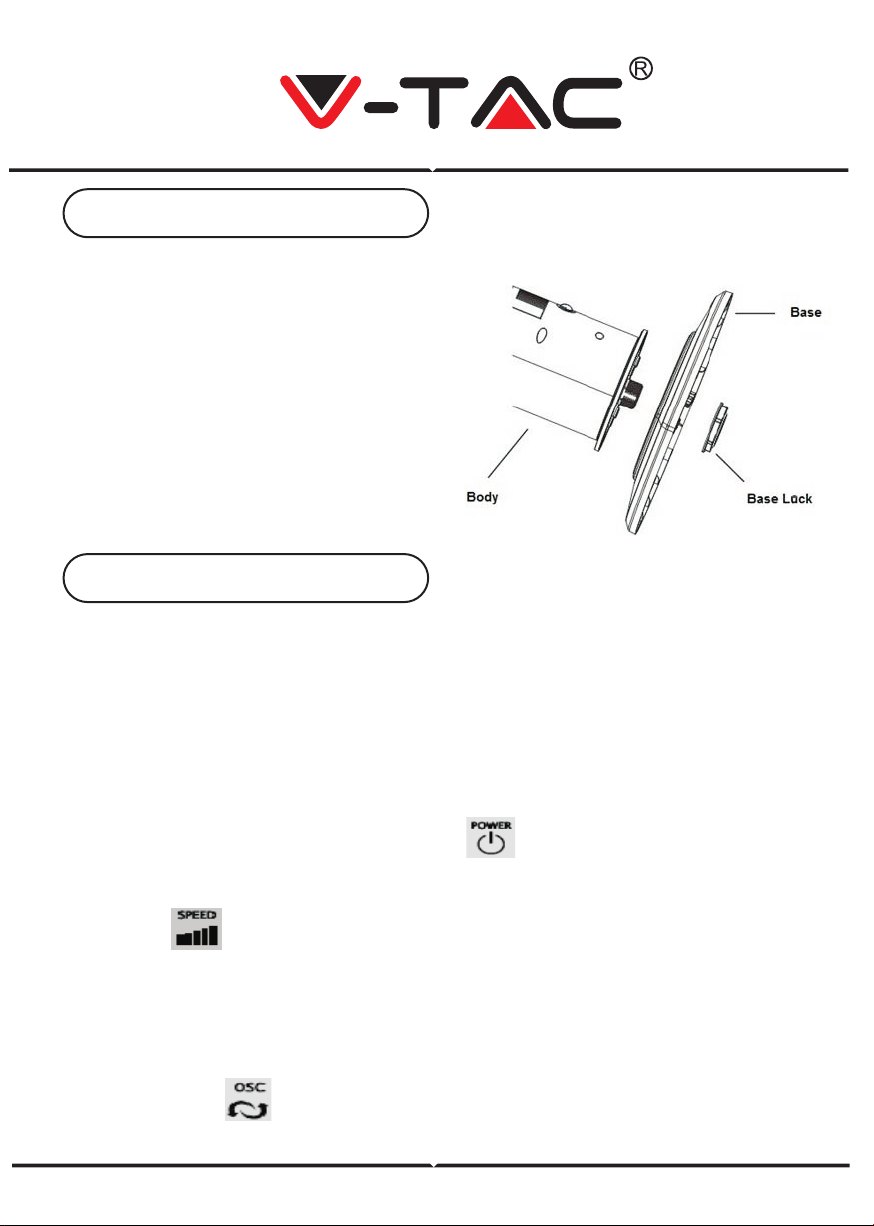
ASSEMBLING
1. Remove the parts from packing.
2. Fix the two parts of base together.
3. Pass the power cord through the
centre of hole of the base, after
fixing the two pieces together.
4. Line up the fan on the base, and fix
with base lock.
No screw(s) is(are) needed to lock the base.
NOTE: Before inserting the plug into a power outlet, make sure that the correct voltage
is being used which corresponds to the information which is indicated on the rating
label, and that the socket has an earth facility.
Caution: Fan must be assembled with the base before use!
Fan can be operated by the control panel located on top of the Fan or by remote control.
1. Place the Fan on a stable and flat surface. Plug the Power Cord into an
AC:220-240V electrical outlet. The LED screen will display the current room tempera-
ture.
2. POWER: Turn the Fan ON by pressing the button, the Fan will start at low
speed.
3. SPEED: Adjust the Fan speed to the desired level from Low to Medium to high by
pressing the button. The speed setting is displayed on the LED screen.
4. MODE: Press the MODE button to set the Fan as Normal, Natural or Sleep mode.
The mode is displayed on the LED screen. a) Normal mode: Speed is constant.
b) Natural mode: Fan speed varies, mimicking natural wind blowing.
c) Sleep mode: Fan speed slows down over time from the original set speed.
As the mode is adjusted, the display cycles through the different icons.
5. OSC: Press the button to allow the Fan to oscillate from left to right. To stop the
oscillation, press the oscillation button again.
Assembly Instruction
Operating Instruction
6. TIMER: Press the TIMER button to set desired auto power-off time. Designed
with 15 time intervals from 1-hour to 15-hour.
7. Power Saving Mode: When the 'Sleep' mode or the 'Timer' is on, the main display
will be off after 30 seconds, and you can press any keys to turn on the display again.
8. Unplug the Fan when not in use.
Remote Control Instructions:
1) Insert the round button shape battery (included in the product) into the back of the
remote control.
2) The remote controls is designed with all the functions same as the base unit.
Follow the same instructions above to operate the fan remotely.
3) Please remove the battery from the remote control if it is not in use for long time.
In case of any query/issue with the product please reach out to us at [email protected]
V-TAC EUROPE LTD, Bulgaria, Plovdiv 4000, bul.L.Karavelow 9B
Note: If the power cord set of this appliance becomes damaged, discontinue
use. Repairs should be undertaken by qualified technician ONLY.
1) Always Switch Power OFF and then unplug power chord before cleaning.
2) Clean the housing with a damp cloth, a vacuum cleaner or a dusting brush.
3) We recommend lightly running a vacuum cleaner brush nozzle over the fan grill to
remove any dust or dirt that may have accumulated.
4) Never use flammable or abrasive cleaning agents such as benzene or spirits to
clean the appliance.
5) Never immerse the appliance in water or rinse under the tap.
Care & Cleaning