Loading ...
Loading ...
Loading ...
38
GB
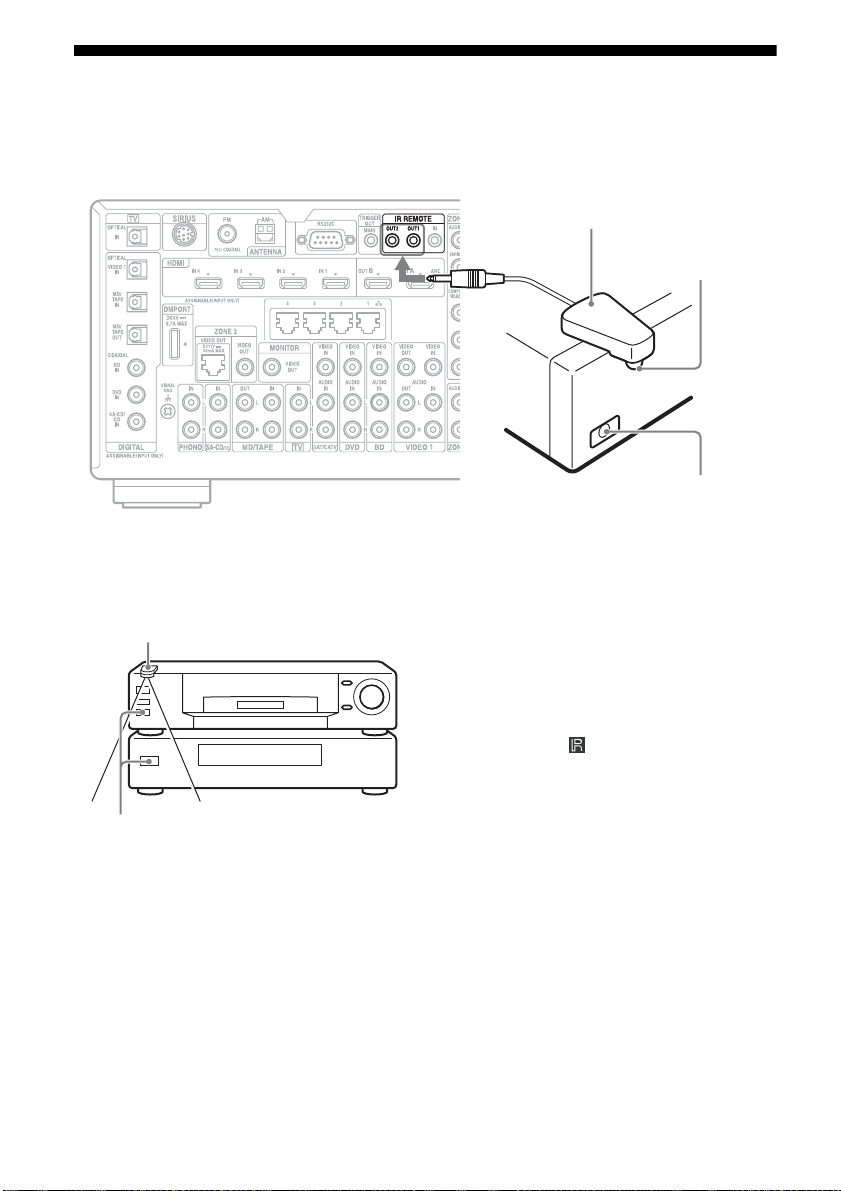
5: Connecting the IR Blaster
Attach the supplied IR Blaster to components connected to the receiver. You can control
components connected to the receiver via the IR Blaster using the on-screen remote control.
Place the components and the IR Blaster as
follows when you want to operate two
components with the IR Blaster.
If the infrared receivers on the two
components do not line up as shown in the
illustration on the left, you must purchase an
optional IR Blaster (VM-50, not supplied) and
install it.
Note
For details on how to set up a component, refer to the
operating instructions of the component.
Tip
If the IR Blaster cable is too short, use a 3.5 mm jack
extension cable (not supplied).
After referring to the operating instructions of
the components connected to the receiver,
make sure to place the IR Blaster just above or
below the remote sensor. Remote sensors on
Sony Recorders and other products are
identified by the symbol.
Note
Do not remove the backing paper from the IR
Blaster yet.
After configuring the settings, remove the backing
paper from the IR Blaster and fix it in place.
IR Blaster (supplied)
Remote sensor
Infrared transmitter
IR Blaster
Remote sensors
Loading ...
Loading ...
Loading ...