Loading ...
Loading ...
Loading ...
34
Connecting a PC (Continued)
1
3
4
5
6
2
INPUT SIGNAL (for PC mode)
Select the computer input signal before displaying the PC
image on the LCD TV screen.
A
• Make sure to select the input signal to “1024
××
××
× 768”, “800
××
××
×
600” or “640
××
××
× 480”, before connecting a PC.
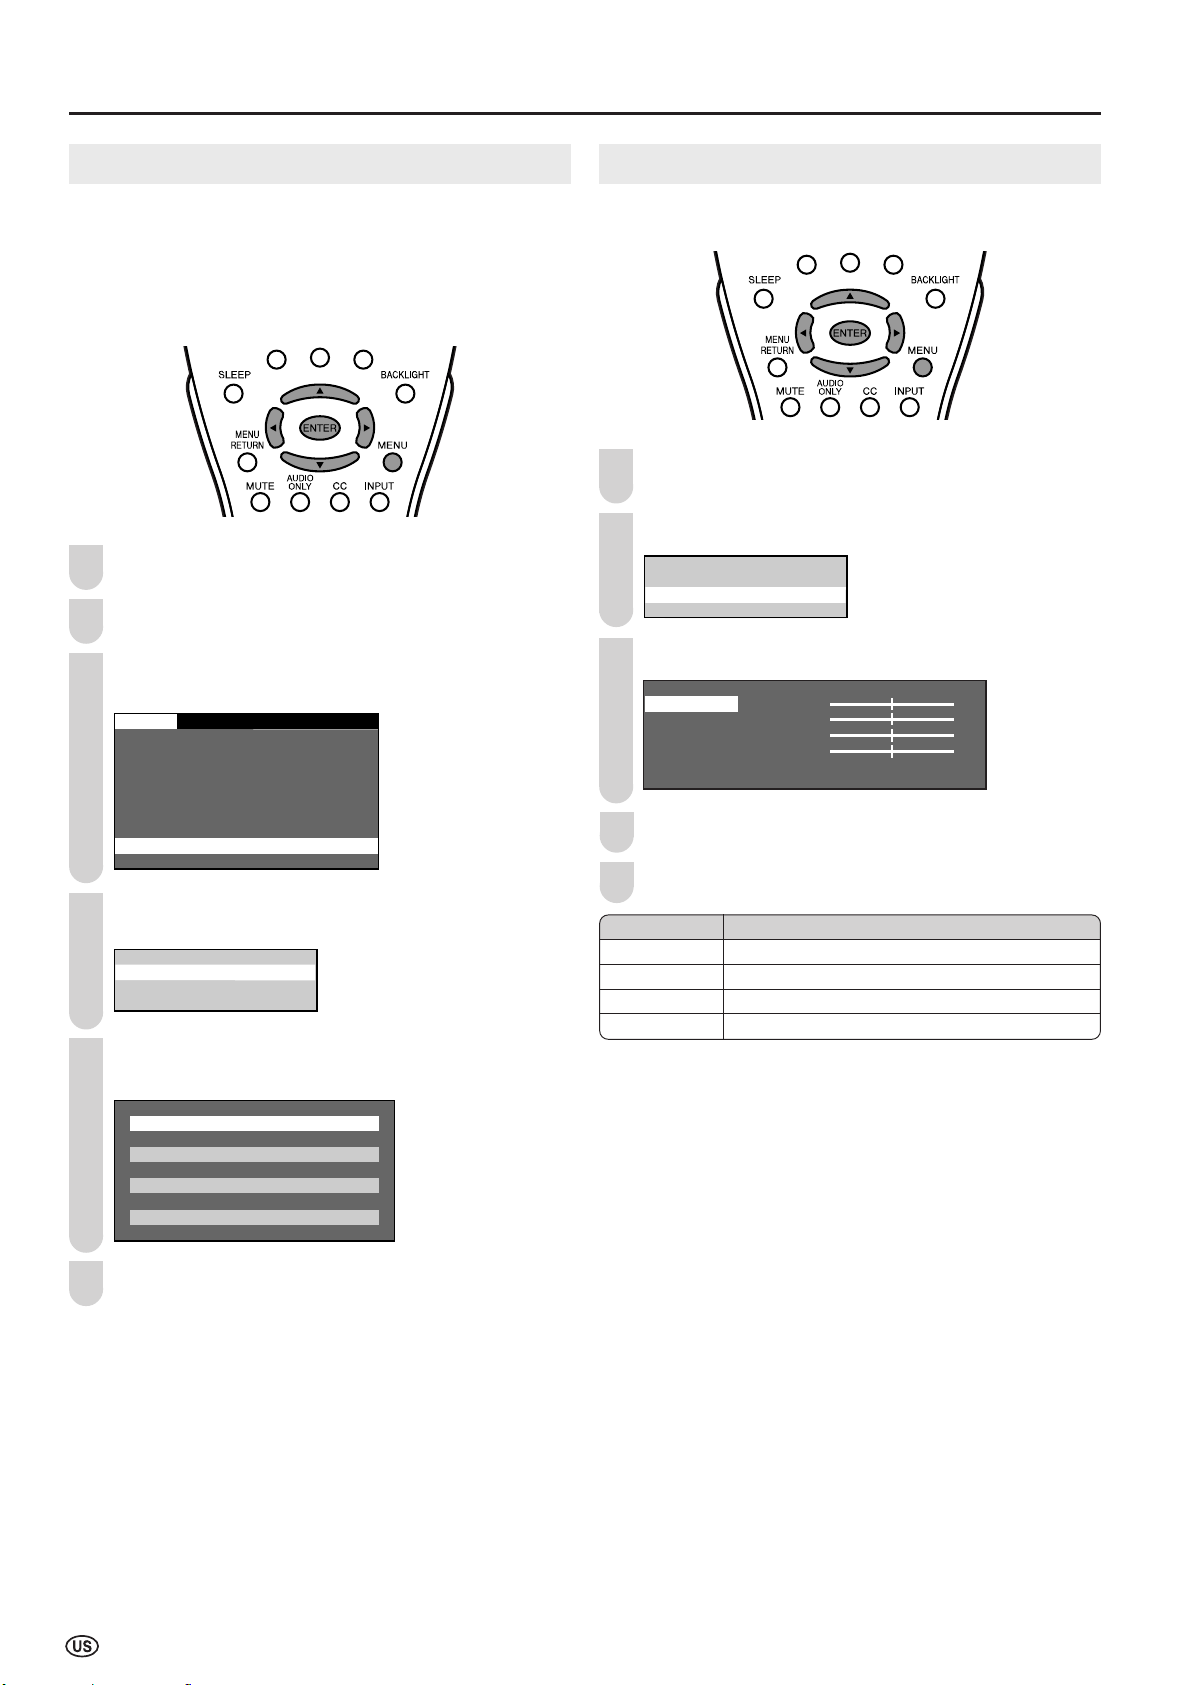
Press MENU to display the Menu screen.
Press \/| to select “SETUP”.
Press '/" to select “PC SETTING”, and press
ENTER.
SETUP
OPTION
CH– SETTING
MTS
CLOCK
INPUT4 SELECT
V – CHIP BLOCK
CLOSED CAPTION
COLOR SYSTEM
PC SETTING
LANGUAGE
Press '/" to select “INPUT SIGNAL”, and press
ENTER.
INPUT SIGNAL
FINE SYNC.
Press '/" to select the desired input signal and
press ENTER.
0 0
000
00
0
0000
0
0
1 24x768(6 Hz)
8 x6 (6 Hz)
8 x6 (56Hz)
64 x48 (6 Hz)
Press MENU to exit.
FINE SYNC. Adjustments (
for PC mode
)
You can adjust the PC image using the FINE SYNC. menu.
Repeat steps 1 to 3 of INPUT SIGNAL (for PC mode)
to display the PC SETTING screen.
Press '/" to select “FINE SYNC.”, and press ENTER.
INPUT SIGNAL
FINE SYNC.
Press '/" to select the specific adjustment item.
H.POS.[ ]– +
V.POS.[ ]– +
CLOCK [ ]– +
PHASE [ ]– +
RESET
0
0
0
0
Press \/| to adjust the item to the desired position.
Press MENU to exit.
A
• When resetting all adjustment items to factory preset values,
perform the following procedure.
1 Press '/" to select “RESET”, and press ENTER.
2 Press '/" to select “YES” and press ENTER.
Description
Centers the image by moving it to the left or right.
Centers the image by moving it up or down.
Adjusts the clock frequency.
Adjusts the clock phase.
Selected item
H.POS.
V.POS.
CLOCK
PHASE
1
2
3
4
5
LC-20B8U_E_P33-35.p65 05.2.4, 11:37 AM34
Loading ...
Loading ...
Loading ...