Loading ...
Loading ...
Loading ...
©2017 Hestan Commercial Corporation
8
EN
IMPORTANT - READ ALL INSTRUCTIONS BEFORE YOU BEGIN
Some parts have sharp edges. Care must be taken when handling the various components to avoid personal
injury. Wear gloves when handling. Two or more people should work together to assemble the cart and
mount the grill.
TOOLS REQUIRED:
Eye goggles or safety glasses
Work gloves
Large slip-joint pliers
Phillips screwdriver
Flat-blade screwdriver
3/8” wrench or socket wrench
7/16” wrench or socket wrench
LOCATING AND ASSEMBLING THE GRILL AND CART
When determining a suitable location for your grill and cart, take into account concerns such as exposure
to wind, rain, sprinklers, proximity to traffic paths, and keeping any gas supply line runs as short as
possible. The cart should be located on flat pavement or patio surfaces.
Locate the grill only in a well-ventilated area. Never locate the grill in a building, garage, breezeway, shed
or other such enclosed areas without an approved ventilation system. Never locate the grill over, under, or
next to unprotected combustible construction. Please read the Aspire Grill manual for more information
on proper placement.
1. Engage the brakes on the casters to prevent movement of the cart. Ensure all packaging, straps,
etc. have been removed from the grill. Remove all items from inside the grill such as rotisserie rod,
cooking grates, radiant trays, etc. You may leave the burners in place, but you will have to check them
for proper placement later on. If any tie-down wires are on the burners, leave them on until grill
installation is complete.
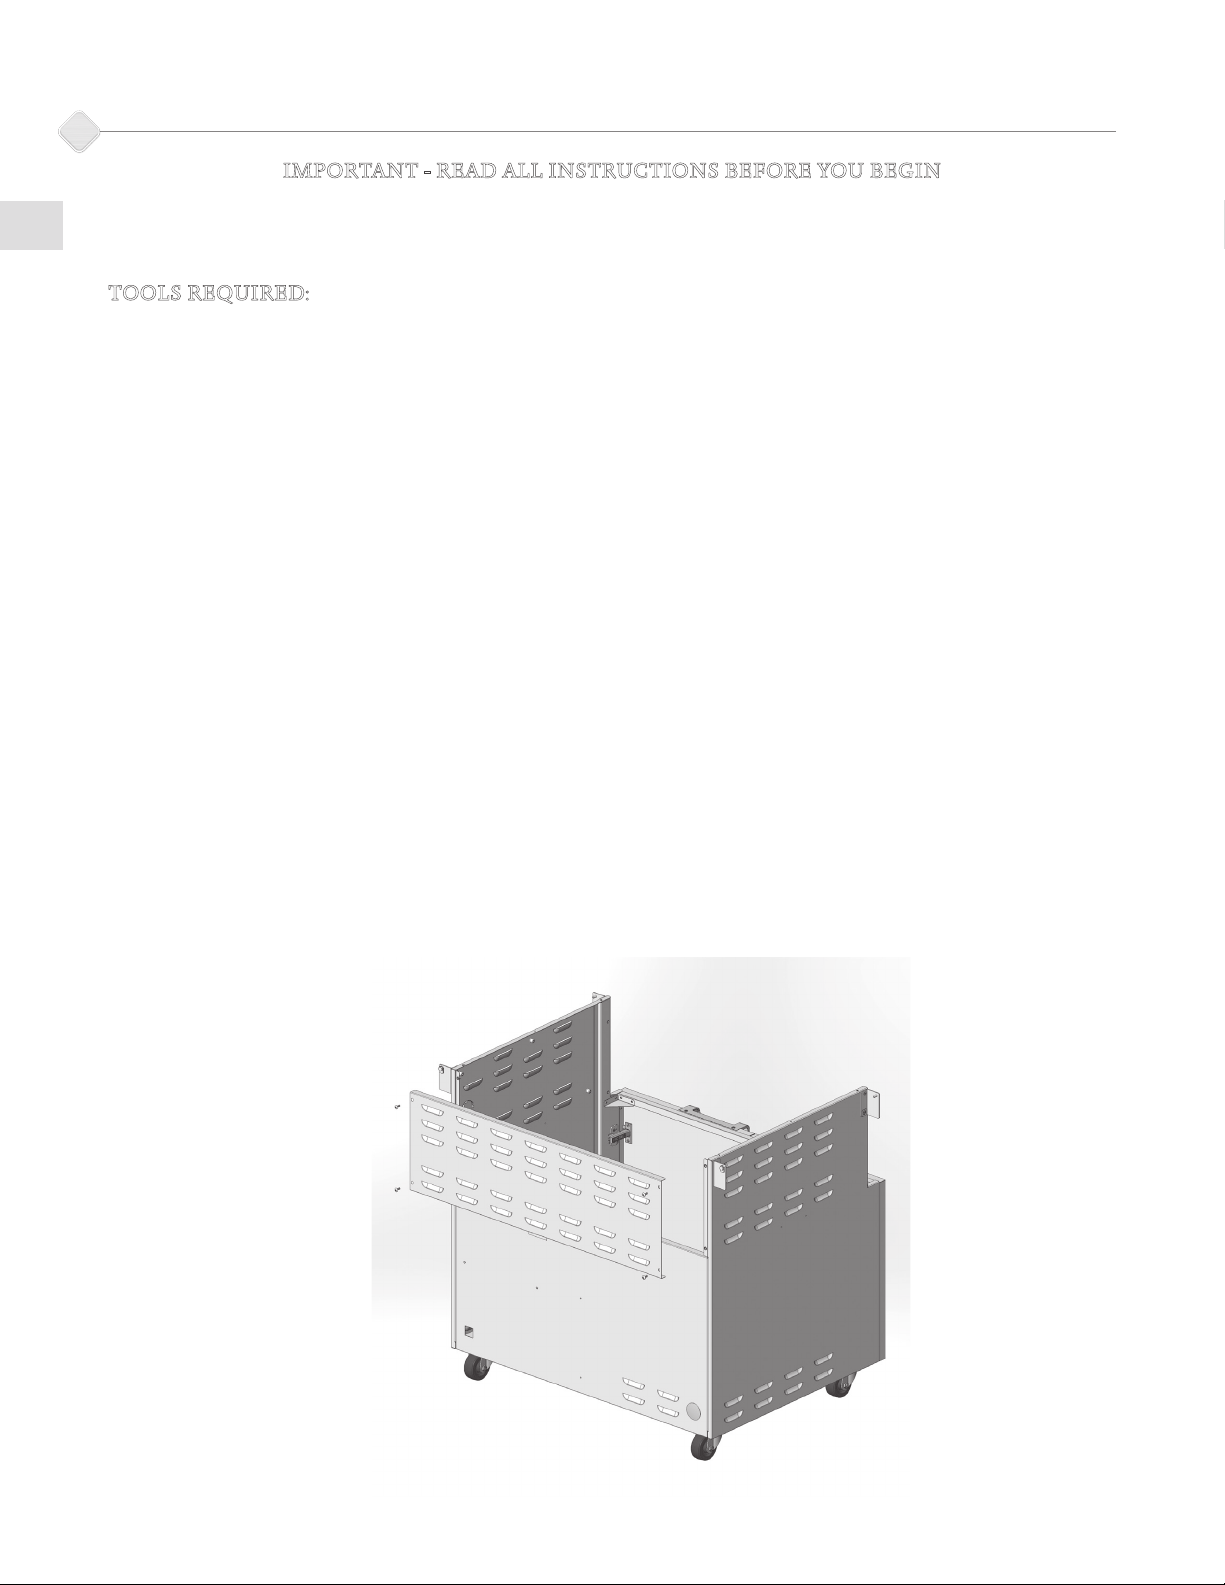
2. Remove the rear access panel from the cart by removing all the Phillips screws securing it to the cart.
CART & GRILL ASSEMBLY
Loading ...
Loading ...
Loading ...