Loading ...
Loading ...
Loading ...
Always shut off the unit and unplug from the mains before cleaning or performing any
maintenance. When it is not in use for long periods it is advisable to remove the plug
from the power socket. Do not use chemical solvents (such as benzene, alcohol or
gasoline) as they may cause irreversible damage to the unit.
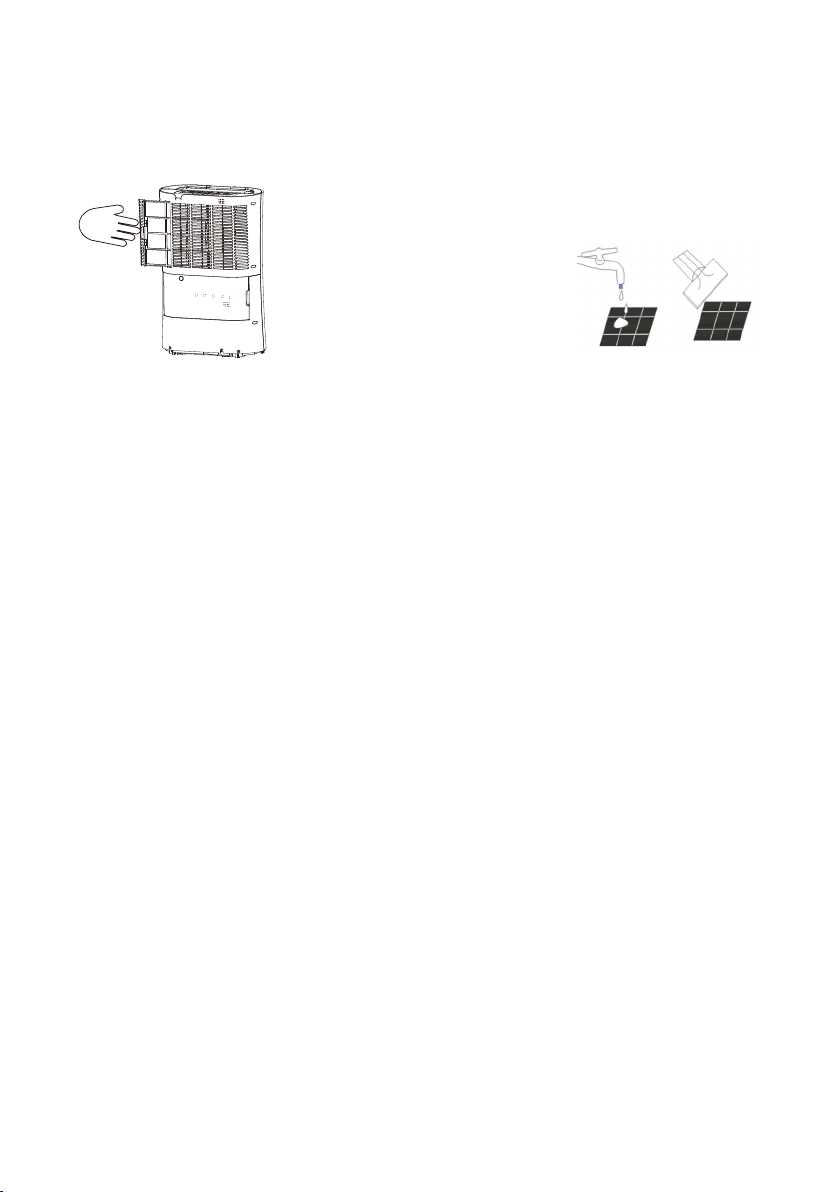
1. CLEAN THE GRILLE AND CASE
Use water and a mild detergent to clean
the washable mesh lters. Do not use
bleach or abrasives. Do not splash
water directly onto the main unit. Doing
so may cause an electrical shock and
can lead to the insulation to deteriorate,
or cause the unit to rust. The air intake
and outlet grilles get soiled easily, so
use a vacuum attachment or soft brush
to clean. Wipe the dehumidifier body
with a soft damp cloth or kitchen towel.
Remove the ABS lter frame. If the optional carbon lters are tted, remove them from the
frame and hoover gently approcimately every 2-3 weeks.
If the mesh lter is dirty hoover it, if it is heavily soiled wash it with warm soapy water and dry
thoroughly before reinserting it in the unit.
When lter cleaning is nished and lters are dry placed them back into the unit.
NOTE: While the carbon filter is optional never run the unit without the mesh filter frame
correctly inserted.
2. CLEAN THE WATER TANK
Every few weeks, clean the tank to prevent growth of mould, mildew and bacteria. Partially ll
the tank with clean water and add a little mild detergent. Swish it around and than empty the
tank and rinse.
NOTE: Do not use a dishwasher to clean the tank. After cleaning and drying, the tank must
be reinserted securely into dehumidier in order to restart operation.
END OF SEASON MAINTENANCE
1. Empty and clean the water tank.
2. Clean the unit and the lters as per cleaning procedure above.
3. Coil the power cord on the special cord storage rest at the back of the unit
4. Cover the unit and keep it in a dry place.
CARE AND MAINTENANCE
1413
Loading ...
Loading ...
Loading ...