Loading ...
Loading ...
Loading ...
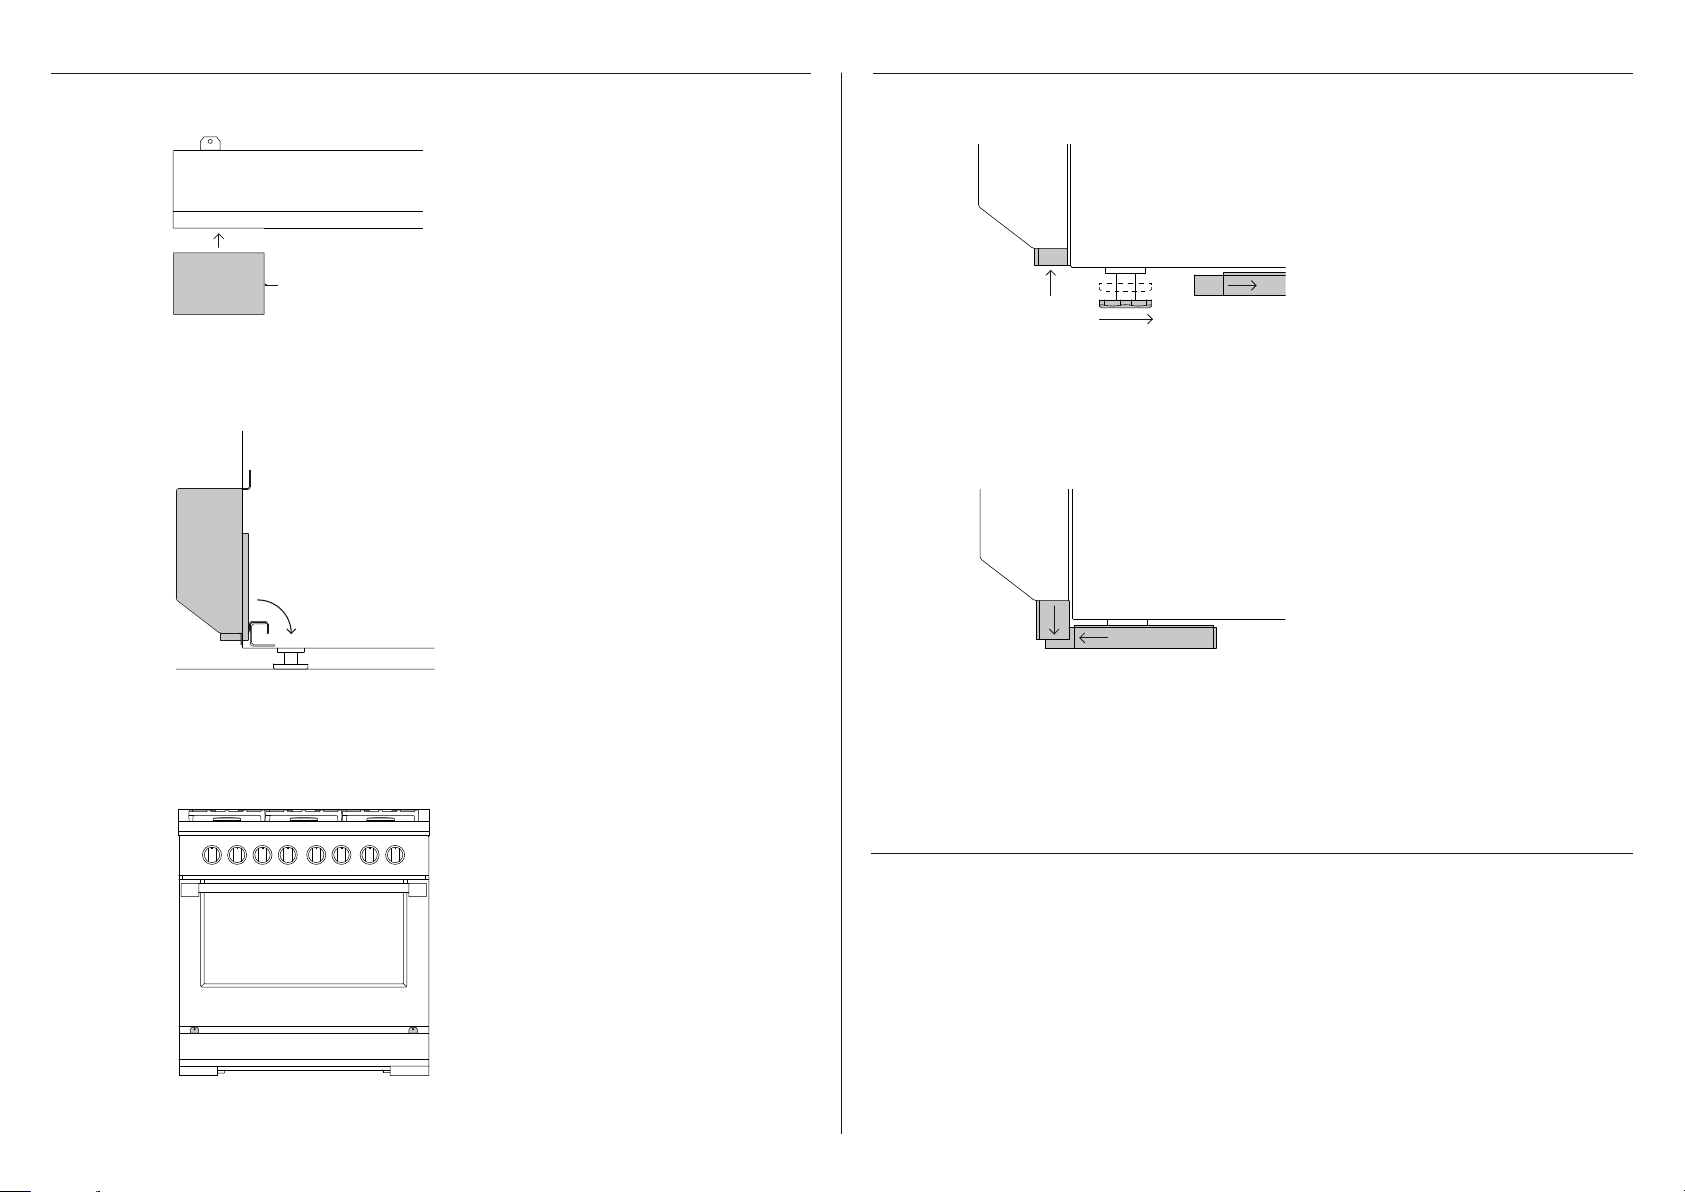
16
1 1
2 2
3
Replace both sets of covers,
ensuring each set locks together.
Insert both foot covers into
the toe kick ensuring the long
hem edge is facing the inside of
the product.
Align the toe kick with side
panels of the range.
Clip into place by rotating and
pushing the bracket down over
the range structure.
Check toe kick is flush with the
range and secure using 2 screws.
To expose both front feet,
slide the interlocking foot
covers out of the way.
Turn feet to adjust the height.
Long hem edge
z
Ensure the doors and toe kick panel are securely in place, if removed previously.
z
Ensure any backguard is fitted prior to final positioning. Refer to page 12 for all
backguard options.
z
Ensure all electrical and gas connections have been done as per instructions.
z
Ensure flooring and adjacent cabinetry are also level. To achieve a flush fit of the range to
adjoining countertops, it will be necessary to have level cabinets (front to back, and left to
right across opening of the range).
TOE KICK INSTALLATION LEVELLING THE RANGE
PRIOR TO FINAL POSITIONING
FRONT VIEW
CROSS SECTION PROFILE VIEW PROFILE VIEW
PROFILE VIEW
Loading ...
Loading ...
Loading ...