Loading ...
Loading ...
Loading ...
6
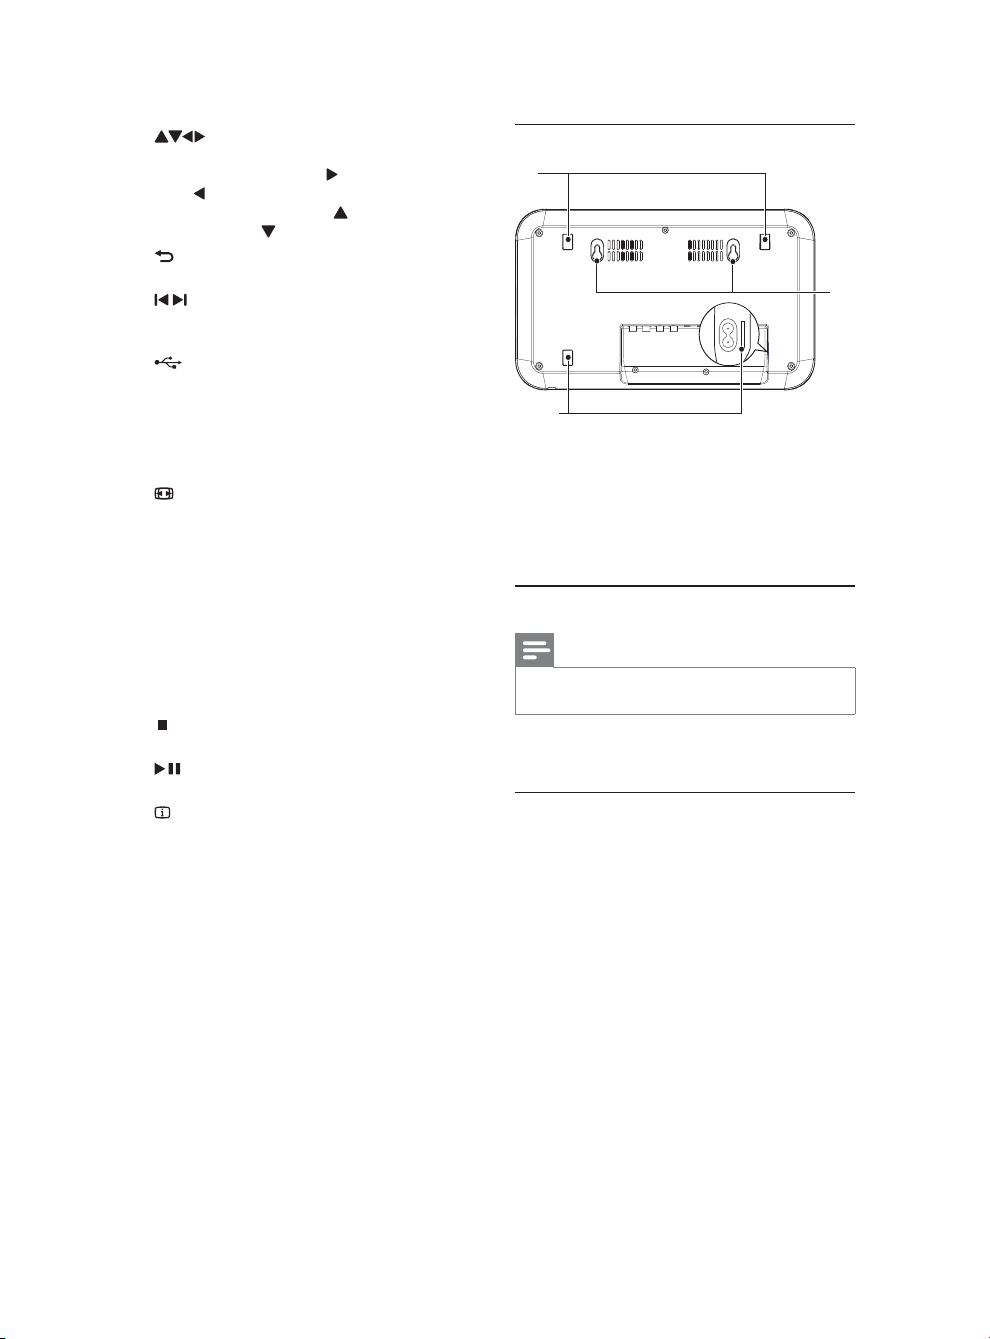
Rear panel
a Stand holes (group 1)
b Stand holes (group 2)
c Suspension holes
3 Connect and Place
Place your product
Note
Before product placement, connect audio/video cables
and power cord to your product.
3ODFH\RXUSURGXFWRQDÁDWVXUIDFHZLWKWKH
supplied stand
Wall-mount your product
2SWLRQ3ODFHRQDÁDWVXUIDFH
1
Align the stand latches to the stand holes
(group 1 or group 2).
Before the installation with group-2 stand
holes, thread the audio/video cables and
power cord through the elliptical hole in
the stand.
2 Push the stand and slide along the bottom of
your product until you hear a “Click”.
3 3ODFH\RXUSURGXFWRQDÁDWVXUIDFH
a
b
c
d
Navigate the menus.
Search fast-forward (
) or fast-backward
(
).
Search slow-forward (
) or slow-
backward (
).
e
BACK
Return to the previous display menu.
f
/
Skip to the previous or next title, chapter,
or track.
g
Switch to the USB mode.
h Numeric buttons
Select an item to play.
i SUBTITLE
Select a subtitle language on a disc.
j
ZOOM
Fit the picture display to the TV screen.
Zoom the picture in or out.
k REPEAT
Select various repeat play modes.
l REPEAT A-B
5HSHDWSOD\IRUDVSHFLÀFVHFWLRQ
m AUDIO/CREATE MP3
Select an audio language or channel on
a disc.
$FFHVVWKHPHQXRIFUHDWLQJ03ÀOHV
n
Stop play.
o
Start, pause or resume disc play.
p
INFO
For discs, access the play options or
display the current disc status.
For slideshows, display a thumbnail view
RISKRWRÀOHV
q OK
&RQÀUPDQHQWU\RUVHOHFWLRQ
r SETUP
Access or exit the setup menu.
EN
Loading ...
Loading ...
Loading ...