Loading ...
Loading ...
Loading ...
18
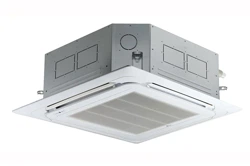
THE INDOOR UNIT INSTALLATION
ENGLISH
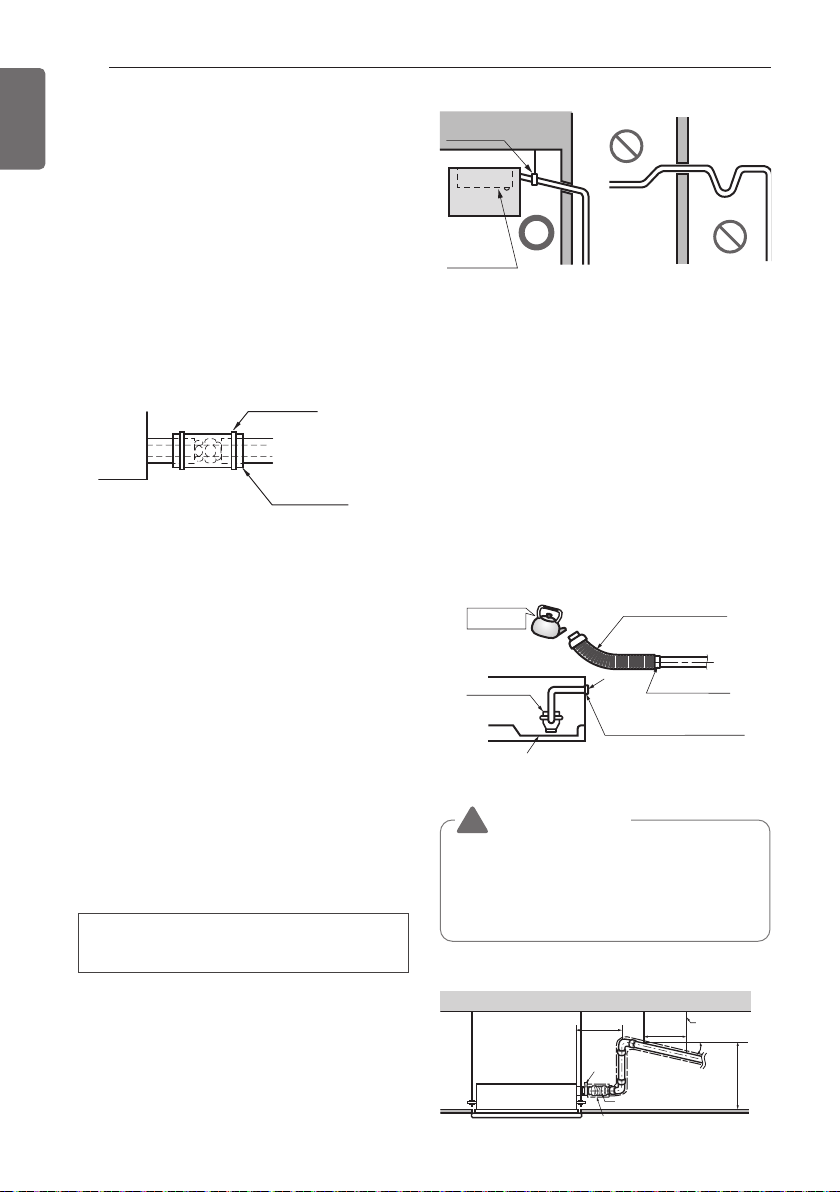
Heat Insulation
- Use the heat insulation material for the
refrigerant piping which has an excellent
heat-resistance (over 120 °C).
- Precautions in high humidity circumstance:
This air conditioner has been tested according
to the "KS Standard Conditions with Mist" and
confirmed that there is not any default.
However, if it is operated for a long time in high
humid atmosphere (dew point temperature:
more than 23 °C), water drops are liable to fall.
In this case, add heat insulation material
according to the following procedure:
- Heat insulation material to be prepared...
Adiabatic EPDM or NBR with thickness 10 to
20 mm.
- Stick glass wool on all air conditioners that are
located in ceiling atmosphere.
Indoor
unit
Thermal insulator
(accessory)
Fastening band
(accessory)
Refrigerant
piping
Maintenance
drain port
Upward
routing
not allowed
Pipe clamp
Indoor unit
300mm or less
Indoor Unit Drain Piping
- Drain piping must have down-slope (1/50 to
1/100): be sure not to provide up-and-down
slope to prevent reversal flow.
- During drain piping connection, be careful
not to exert extra force on the drain port on
the indoor unit.
- The outside diameter of the drain connection
on the indoor unit is 32 mm.
- Be sure to execute heat insulation on the
drain piping.
- Install the drain raising pipes at a right
angle to the indoor unit and no more than
300 mm from the unit.
Piping material: Polyvinyl chloride pipe
VP-25 and pipe fittings
Drain test
The air conditioner uses a drain pump to drain
water.
Use the following procedure to test the drain
pump operation:
- Connect the main drain pipe to the exterior
and leave it provisionally until the test comes
to an end.
- Feed water to the flexible drain hose and
check the piping for leakage.
- Be sure to check the drain pump for normal
operating and noise when electrical wiring is
complete.
- When the test is complete, connect the
flexible drain hose to the drain port on the
indoor unit.
Feed water
Drain Pump
Drain pan
Flexible drain hose
(accessory)
Main drain pipe
Glue the joint
Drain
port
Drain hose connection
Use the clip (accessory)
1/50~1/100 slope
Hanger
distance
Hanger Bracket
Max 700 mm
Flexible drain hose
Insulation
Metal
clamp
Max 300 mm
1~15 m
CAUTION
The supplied flexible drain hose should
not be curved, neither screwed. The
curved or screwed hose may cause a
leakage of water.
!
Loading ...
Loading ...
Loading ...