Loading ...
Loading ...
Loading ...
10
Hooking up the unit
General about connection
Picture and sound
Digital TV is a transmission technology that replaces the traditional analogue
technique.
This means that several TV channels, radio channels and other digital services
can be transmitted on the same space as just one channel took up before. As a
consumer you get access to many more channels and services than before at
the same time as they are received with perfect picture and audio quality.
The recorder converts the digital signal into a format that is suitable for your TV
and sound system.
Connecting your recorder is just as simple as connecting for example a video
recorder. You get the best picture quality by using a HDMI cable for connection
to your TV-set. The best audio experience is obtained by connecting an optical
cable to your sound system.
Coverage
Before buying this product it is anticipated that you have made sure that there
are digital transmissions covering your region.
Antenna / Signal source
Depending on the reception your recorder may be connected to a simple indoor
antenna or to an existing outdoor antenna system. If you live in a flat you should
make sure that the digital terrestrial signals are distributed to your wall antenna
outlet. If you have your own antenna system you must make sure that it is
equipped with antennas, filter and/or amplifier that can handle those frequen-
cies that the digital channels are transmitted on.
Cable-TV
Please observe that this recorder is not designed for the reception of regular
digital cable-TV signals (QAM-signal). Despite this, operators of smaller cable
networks may have chosen to distribute the digital terrestrial signals
(COFDM signal) in the network. In this case this recorder may well be used.
Check with your landlord if you are insecure about what type of TV-signal that is
provided in the wall antenna outlet.
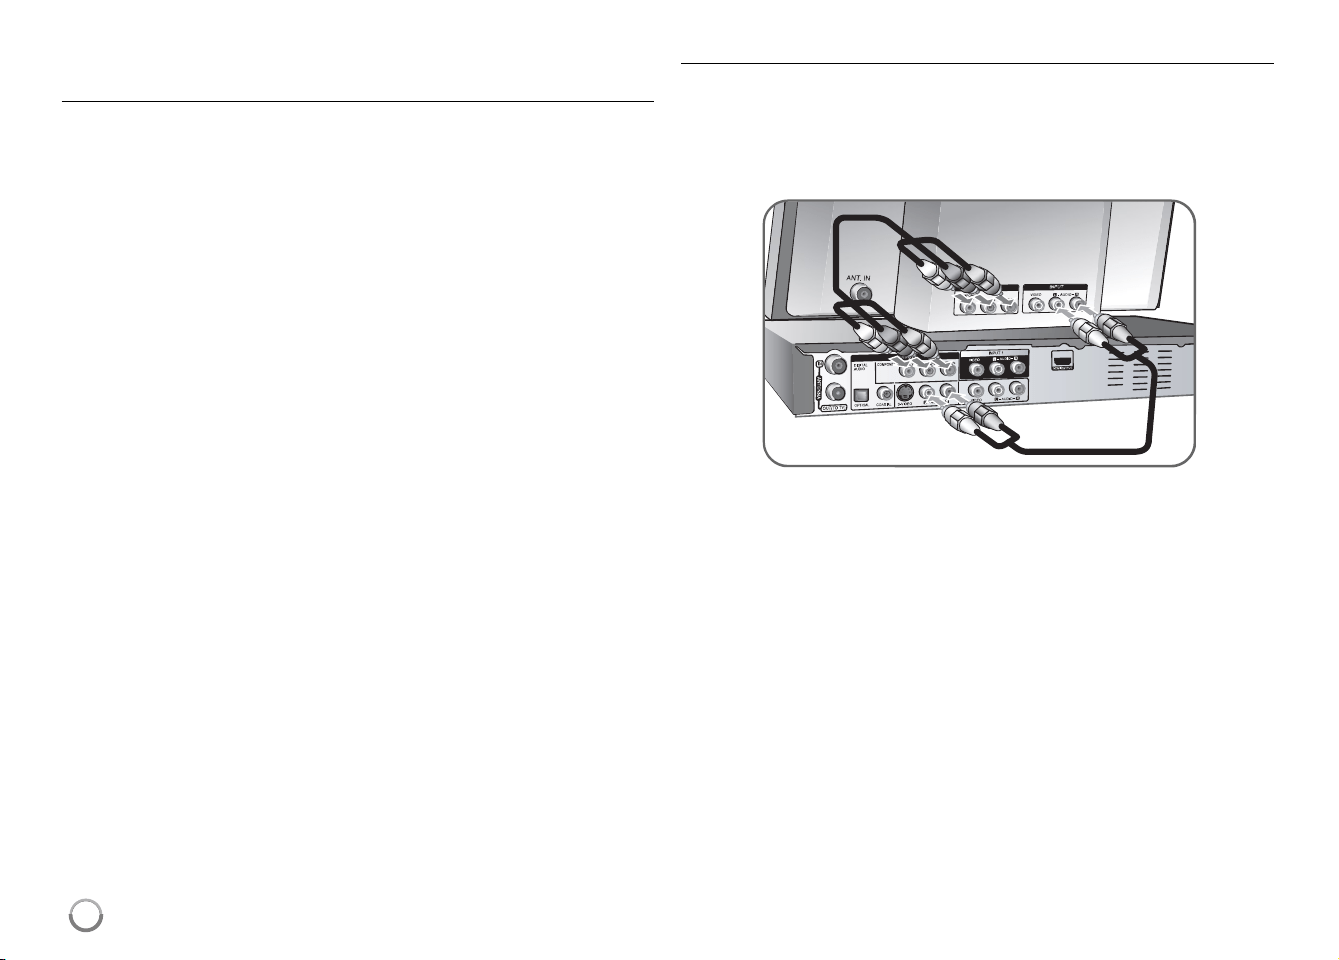
Component connection
Connect one end of the component (Y PB PR) cables to the COMPONENT
OUTPUT jacks on the unit and other ends to the COMPONENT INPUT jacks on
your TV.
Connect one end of the audio cables (red and white) to the analog AUDIO
OUTPUT jacks on the unit and other ends to the AUDIO INPUT jacks on your
TV.
If your television is a high-definition or “digital ready” television, you may take
advantage of the unit’s progressive scan output for the highest video resolution
possible. If your TV does not accept the Progressive Scan format, the picture
will appear scrambled with the progressive signal.
Set the resolution to 576p using RES. button on the front panel to obtain the
progressive signal.
RH397D-W_BAUSLL_ENG 6/16/08 1:31 PM Page 10
Loading ...
Loading ...
Loading ...