Loading ...
Loading ...
Loading ...
Recording using Timer Recording
Allows you to specify a time at which the Video will start recording.
This can be done up to one month in advance with up to seven recordings being pre-programmed.
Ensure the television channels have been tuned and stored correctly and that the clock is set to the correct time.
9
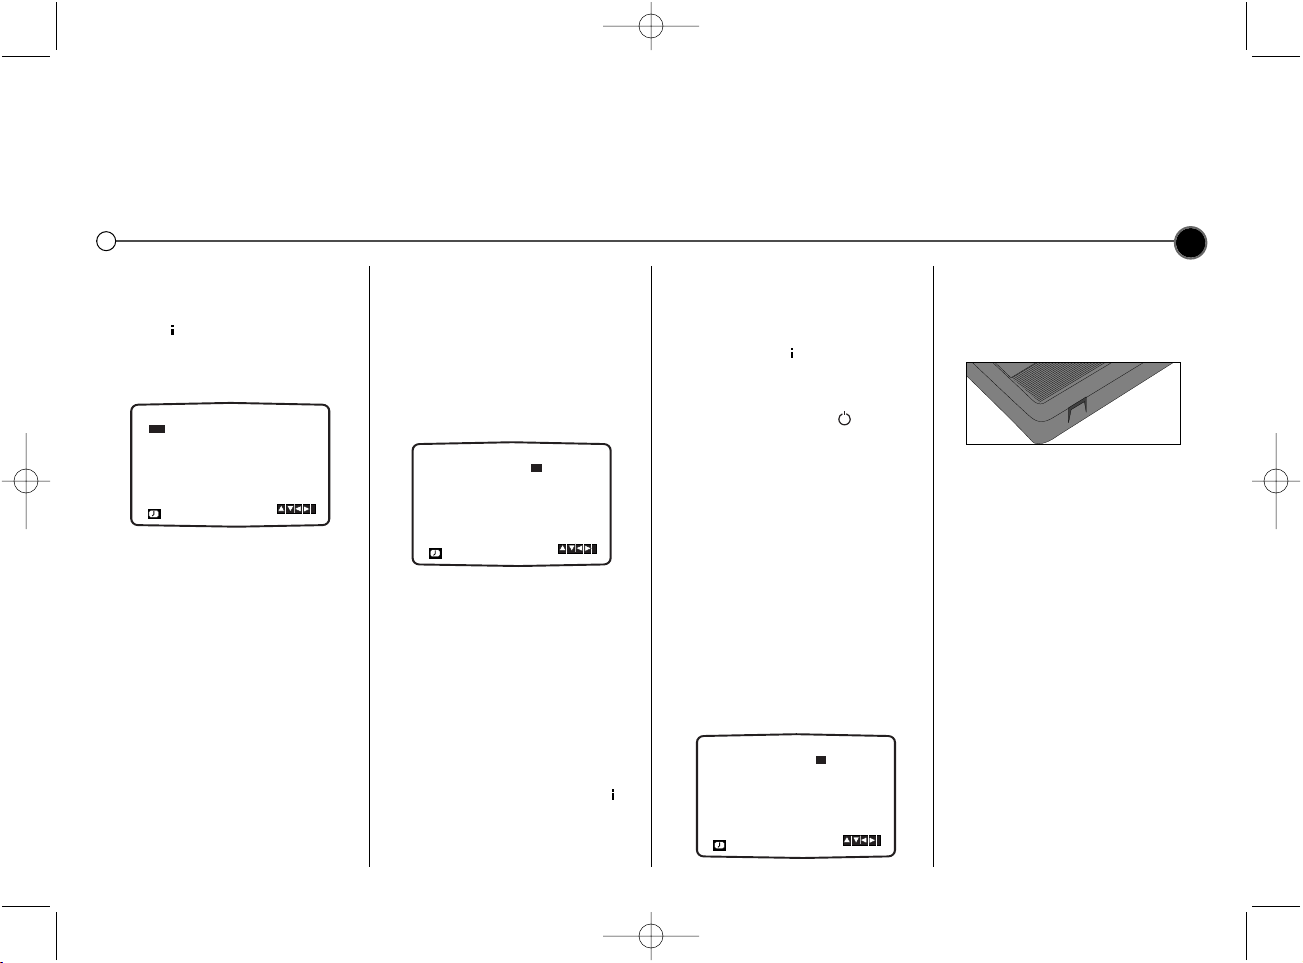
Timer Recording
Insert a video tape.
1 Press for the main menu.
2 Use 1 or 2 to select REC.
3 Press OK. Press OK again to
enter the timer record menu.
4 To enter the programme number
that you wish to record you can
scroll through the available options
using the 3 or 4 buttons or you
can enter the numbers directly.
When selecting single digit
numbers remember to put 0 first.
If you wish to record from the
VIDEO IN/AUDIO IN sockets
press AV.
5 Press 2 and enter the date of the
programme that you wish to
record. Press OK before entering
a date to select one of the
automated features.
They are DLY (daily) to record
every day except Saturday and
Sunday at the set time, or
individual days e.g. MO (Monday)
to record at the same time every
week. Press 1 or 2 to select,
then press OK to confirm.
6 Enter the time of the start and end
of the programme that you wish to
record. The Video uses a 24 hour
clock.
7 Press 2 to select the recording
speed.
Use the 3 or 4 to move among
Standard Play, Intelligent Play and
Long Play.
IP (Intelligent Play) determines how
much tape is left and switches
speed from SP to LP, if necessary,
to complete recording the
programme.
8 Check that the timer event details
are correct, if they are, press to
save your settings. If PLEASE
CHECK is displayed you have
entered incorrect information.
Check the details on the television
screen and reenter it. If you want
to enter more Timer recordings,
repeat the above process from
point 3. Press again to remove
the menu.
9 Place the Video on standby by
pressing the POWER on the
remote control.
TIMER will appear in the Video
display to show that it is set to
record. The Video is now set to
record at the time you have
specified.
10 Press POWER to end recording.
Changing timer events
If you wish at any time to change a
recording event press 3 or 4 to
select the timer slot that you wish to
change.
Press 1 to delete or OK to edit that
entry.
Use the 1 or 2 buttons to select the
section you wish to change and the 3
or 4 buttons to change those sections.
Protect your recordings
To stop a recording you have made
being recorded over, break off the
protection tab on the rear of the video
tape. To record on a tape that has
had its protection strip removed,
cover the hole with adhesive tape.
Recording tape to tape
You will need a second Video for tape
to tape copying. Connect using a AV
cable from AUDIO IN/VIDEO IN
sockets of your Video. Select
audio/video mode on the recording
Video by pressing the AV on the
Remote Control. To monitor the
recording, connect the recording
Video to your TV using the standard
coaxial aerial cable.
NOTE
Your Video may also record NTSC
signal from AV input jack on the front
of Video.
PR DATE
T I M E
- - - -
26
SP
- - - - SP
- - - - SP
- - - - SP
- - - - SP
- - - - SP
PR-01
- - - - - - - -~::
10 00 00~::
- - - - - - - -~::
- - - - - - - -~::
- - - - - - - -~::
- - - - - - - -~::
- - - - - - - -~::
SP
i
11
PR DATE
T I M E
- - - -
26
SP
- - - - SP
- - - - SP
- - - - SP
- - - - SP
- - - - SP
PR-01
- - - - - - - -~::
10 00 00~::
- - - - - - - -~::
- - - - - - - -~::
- - - - - - - -~::
- - - - - - - -~::
- - - - - - - -~::
SP
i
11
PR DATE
T I M E
- - - - SP
- - - - SP
- - - - SP
- - - - SP
- - - - SP
- - - - SP
- - - - - - - -~::
- -
- - - - - - - -~::
- - - - - - - -~::
- - - - - - - -~::
- - - - - - - -~::
- - - - - - - -~::
- - - - - - - -~::
SP
i
- -
GC980W1F_BAUSLLS_ENG 1/19/09 10:18 AM Page 9
Loading ...
Loading ...
Loading ...