Loading ...
Loading ...
Loading ...
7
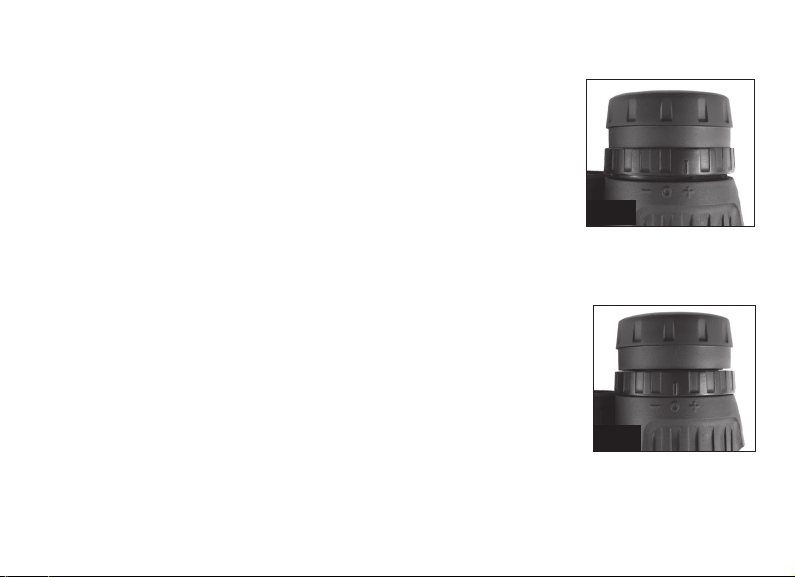
Diopter Adjustment
Ring Locked
Fig. 3
Diopter Adjustment
Ring Unlocked
Fig. 2
FOCUSING
1. Adjust the interpupillary distance (Fig. 1) until you see a single circular
image.
2. e diopter adjustment ring is located directly below the right eyecup.
To unlock the diopter adjustment, pull the ring straight up (Fig. 2). is
may be easier if you twist the right eyecup up first (if you wear glasses,
you can return the eyecup to the down position after unlocking the
diopter ring).
3. Make sure the diopter adjustment is set to “zero” (Index mark on diopter
ring is lined up “0” on binocular). Keep both eyes open at all times.
4. Using the attached lens cap or your hand, cover the objective (front) lens
on the right side of the binocular as you look into the eyepieces.
5. Using the center focus knob, focus on a distant object with fine detail
(e.g., brick wall, tree branches, etc) until it appears as sharp as possible
on the left side.
6. Uncover the objective lens on the right side, and cover the left objective
lens while continuing to view the same object.
7. Rotate the unlocked diopter adjustment ring to bring the object into
focus in the right side of the binocular. Avoid over-turning or forcing the
diopter mechanism. If you are unable to bring the object into focus in
the right side by adjusting the diopter ring, make sure the left side is still
focused and that the center focus knob was not moved from its original
setting. e diopter adjustment only affects the right side.
Loading ...
Loading ...
Loading ...