Loading ...
Loading ...
Loading ...
26
Function
1. Press the MENU button. Then, move to SCREEN with the ∧, ∨, <,
> buttons and press the ꔉOK button.
2. Move to a sub-item with the > button. Then, use the ∧, ∨ buttons to
move to RGB Config. and press the ꔉOK button.
3. Move to a desired item with the ∧, ∨ buttons and then press the >
button.
4. Press the ∧, ∨, <, > button to adjust the screen condition as you want and then press the ꔉOK button.
• The Auto Configure function operates only for RGB input. If you execute screen adjustment for a video from PC
graphic signal, optimal state may not be found. Execute the Auto Configure function for a still image.
• The variable range can be different depends on input resolutions.
• To exit the menu display, press the EXIT button.
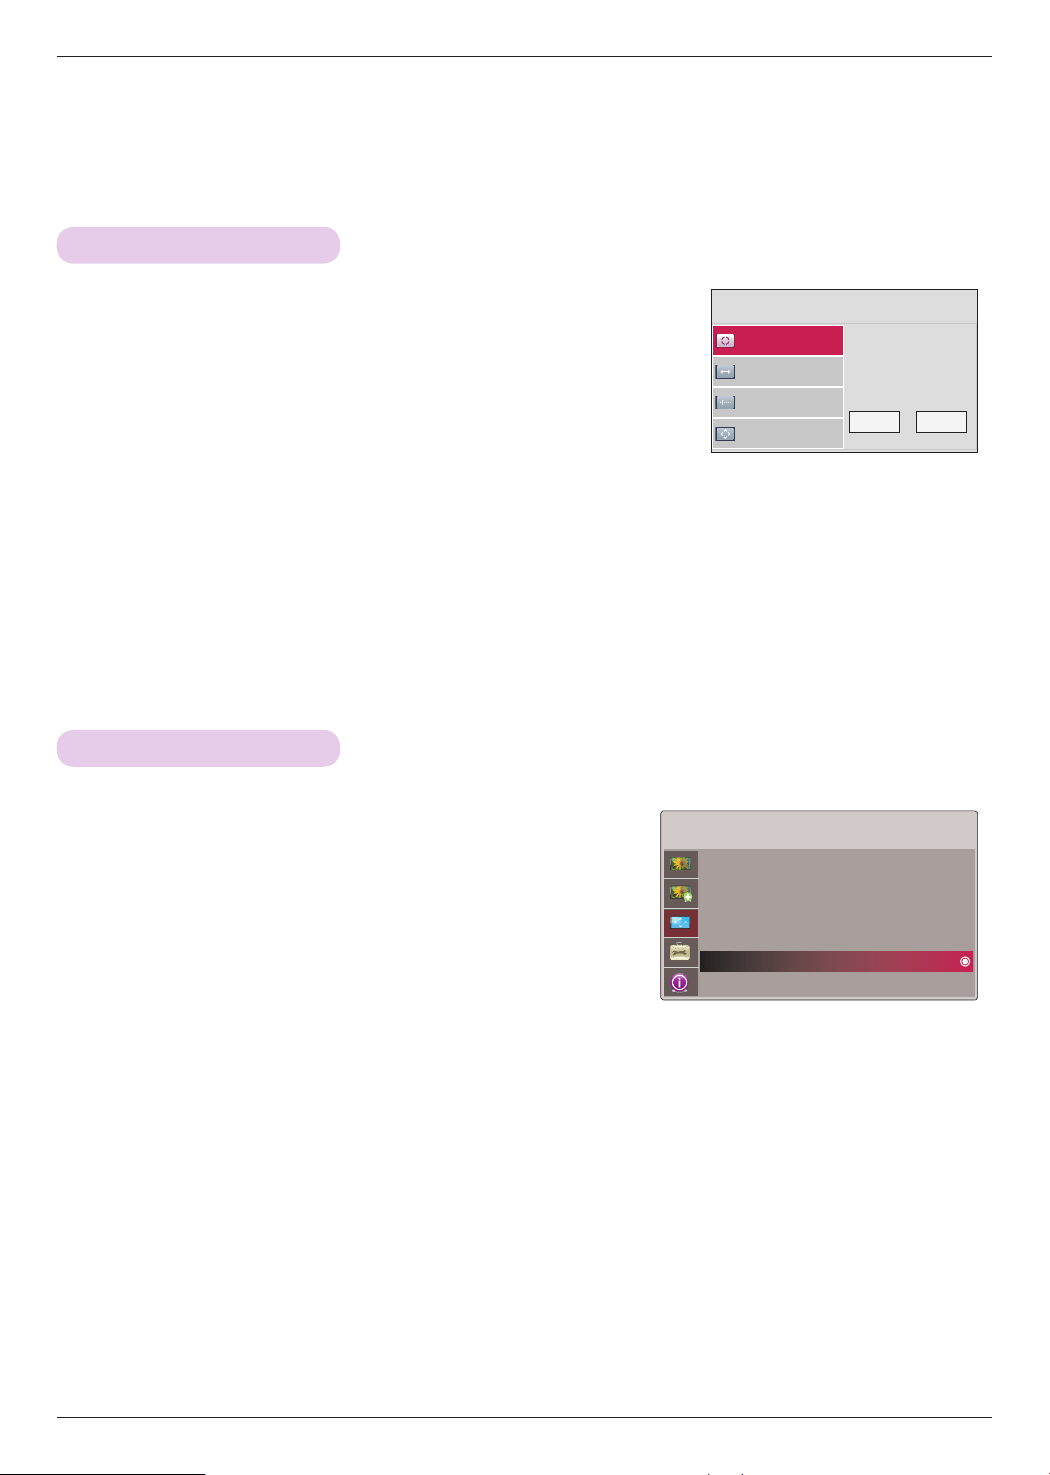
1. Press the MENU button. Then, move to SCREEN with the ∧, ∨, <,
> buttons and press the ꔉOK button.
2. Move to a sub-item with the > button. Then, use the ∧, ∨ buttons to
move to Screen Reset and press the ꔉOK button.
3. Move to Yes with the <, > buttons and then press theꔉOK button.
• Keystone function is not reset.
• Press the MENU or EXIT button to exit the menu screen.
* Settings of the selected SCREEN modes return to the default factory settings.
RGB Config.
Phase
Clock
Auto Configure ꔃ
Position
Auto Configure?
Yes No
ꔂMove ꔉOK
SCREEN
PJT Mode : Front
Aspect Ratio : 16 : 9
Keystone
Test Pattern
RGB Config.
Screen Reset
ꔂMove ꔉOK
RGB Config. Function
Screen Reset Function
Loading ...
Loading ...
Loading ...