Loading ...
Loading ...
Loading ...
64
Copying images to your computer
This section describes the process using a
Windows computer as an example.
You can copy images from the camera to
your computer as follows.
For a computer with a “Memory Stick”
slot
Remove the “Memory Stick” from the
camera and insert the “Memory Stick” into
the “Memory Stick” slot of the computer,
then copy the images.
For a computer without a “Memory
Stick” slot
Follow Stages 1 through 5 on pages 64 to
68 to copy images.
• Screens when copying images on a “Memory
Stick” to a computer are used as examples.
• A driver is software that enable equipment
connected to the computer to operate properly.
• When using Windows XP, start from Stage 2.
• When “PicturePackage” is already installed,
Stage 1 is unnecessary.
NOTE: Do not connect the camera to
the computer at this time.
1 Shut down all application
software in use.
• In Windows 2000, log on as Administrator
(authorized Administrators).
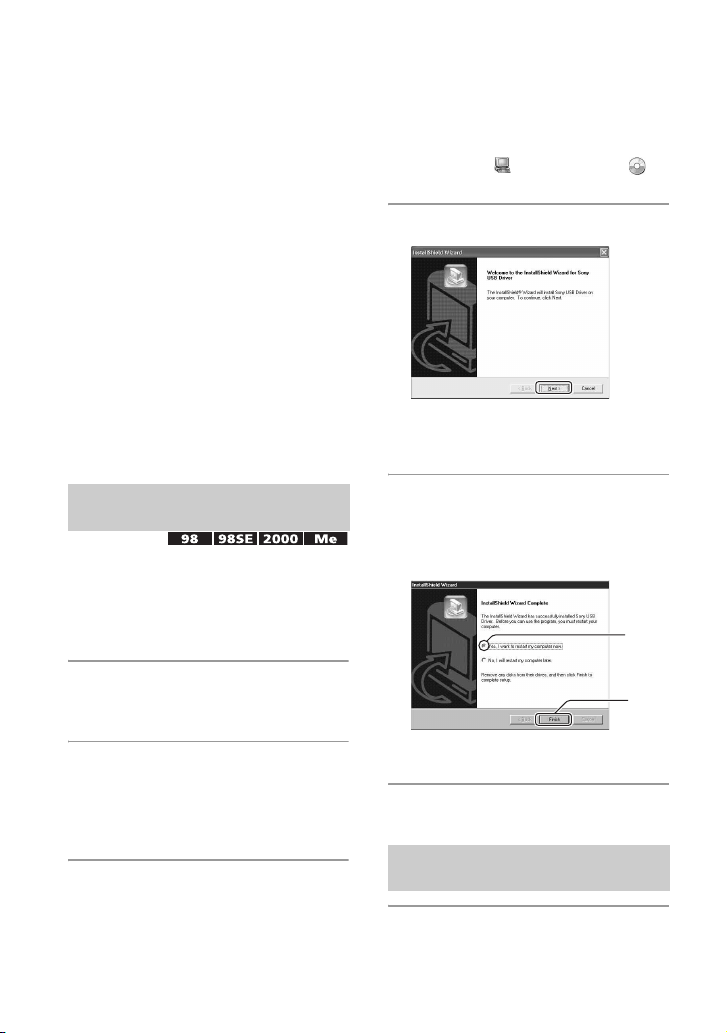
2 Insert the CD-ROM into the
computer, then click [USB Driver]
when the install menu screen
appears.
The “InstallShield Wizard” screen
appears.
• If the install menu screen does not appear,
double-click (My Computer)
t
(PICTUREPACKAGE).
3 Click [Next].
The USB driver installation starts.
When the installation is finished, the
screen informs you of completion.
4 Click the radio button next to
[Yes, I want to restart my
computer now] to select it, then
click [Finish].
Your computer restarts. Now, you can
establish a USB connection.
Remove the CD-ROM when the installation
is completed.
1 Insert a “Memory Stick” with
recorded images into the camera.
Stage 1: Installing the USB
Driver
Stage 2: Preparing the camera
and the computer
1
2
Loading ...
Loading ...
Loading ...