
Loading ...
Loading ...
Loading ...
50 51
Cleaning the underside
Ensure the main power switch (11) is in OFF position. Wear protective gloves. Turn the
Robomower onto its side to expose its underside. Clean the blade disc and frame using a soft
brush or damp cloth. Rotate the blade disc to make sure that it moves freely, and check that the
blades can turn on their pivots and no grass is obstructing them.
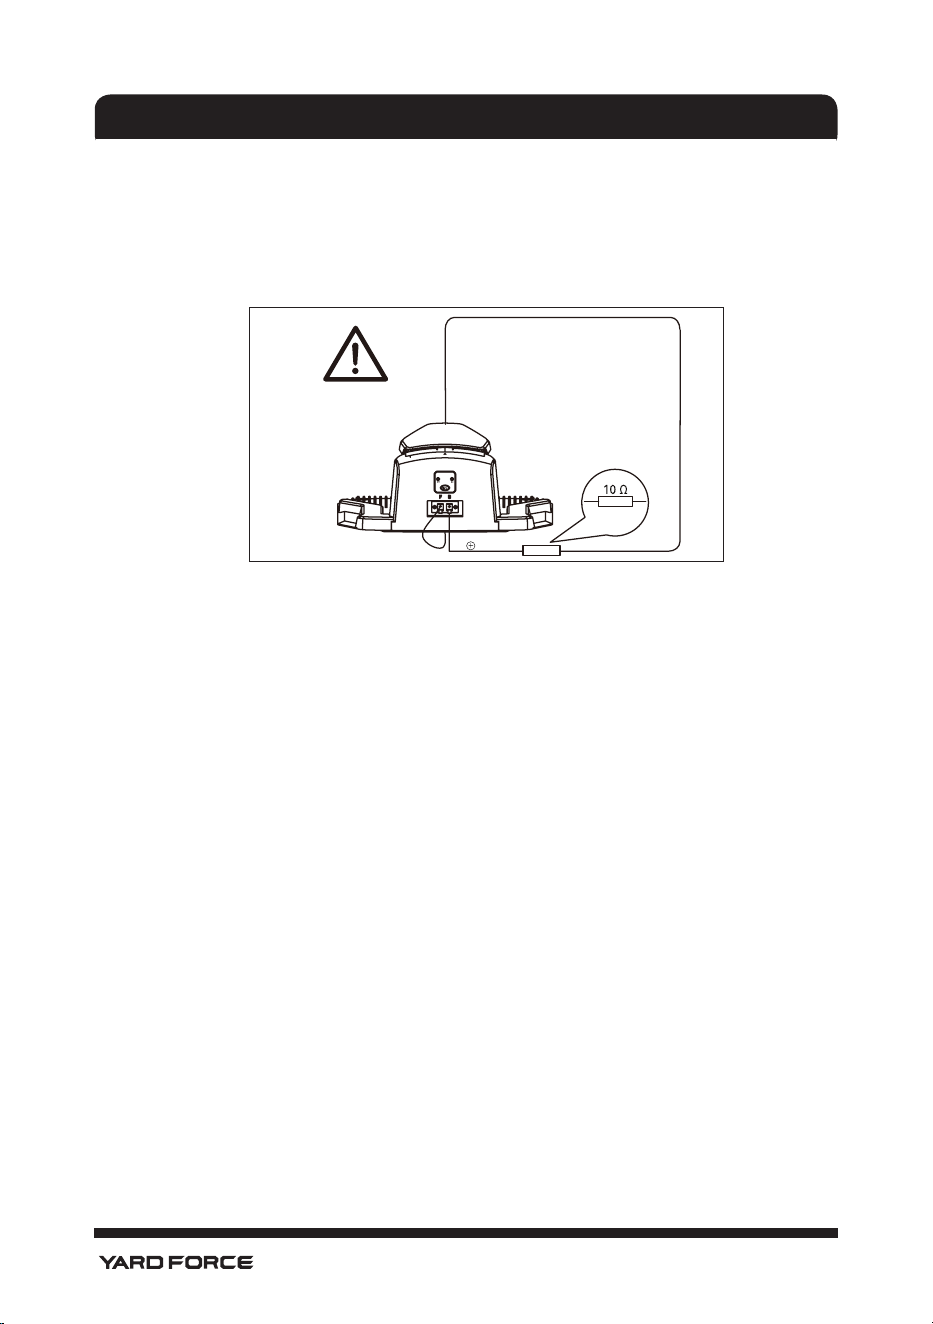
Clean the contact pins and the charging strips
Using wire wool, metal cleaner or very ne grade emery paper, clean the contact pins and
the charging strips on your mower and charging station. Remove any debris, leaves, or grass
clippings around the contact pins and charging strips to ensure efcient charging.
Reversing or replacing the blades
WARNING!
Ensure the Robomower is completely shut off before cleaning, adjusting or replacing
the blades. Always wear protective gloves.
WARNING!
To ensure maximum cutting efciency and safety, always use recommended
replacement blades and blade mounting parts when replacing.
Your Robomower has three blades, xed to the blades disk.
Unless damaged by hard obstacles, these blades can last for up to ve months of everyday
use.
Weekly inspection of the blades and the xing screws is required. Note that the blades are
double-edged. Once the rst side is blunt, loosen the xing screw. Turn the blade upside-
down and x it again with the xing screw. After tightening the xing screw, verify that the
blade can rotate freely around the screw.
A set of spare blades is included with the Robomower. More are available from customer
support. The blade's spare part number is 846210.
Only use original spare parts. For best performance and avoiding imbalance, always turn or
replace all three blades at the same time.
Replacing the battery
While the actual battery life will depend on usage and environmental factors, the typical
service life is several years. Spare batteries are available from customer support. To
replace the battery, please follow the instructions below.
1) Ensure the main power switch (11) is turned OFF. Clean the underside as instructed.
2) Set the Robomower to the lowest cutting height.
3) Turn the mower upside-down. Remove the 5 screws xing the battery compartment's lid.
Note one screw is partially covered by the blade protector and is only accessible through
a service hole.
4) Pull out the battery and disconnect it from the Robomower.
5) Carefully clean the lid and the edge of the battery compartment. Debris may allow
excessive water entering the battery compartment, causing major damage to the device.
6) Connect and insert the replacement battery, close the compartment and x the lid with 5
screws. Do not turn on the Robomower before placing it back on its wheels - beware of
sharp blades!
CLEANING/MAINTENANCE CLEANING/MAINTENANCE
Loading ...
Loading ...