Loading ...
Loading ...
Loading ...
4
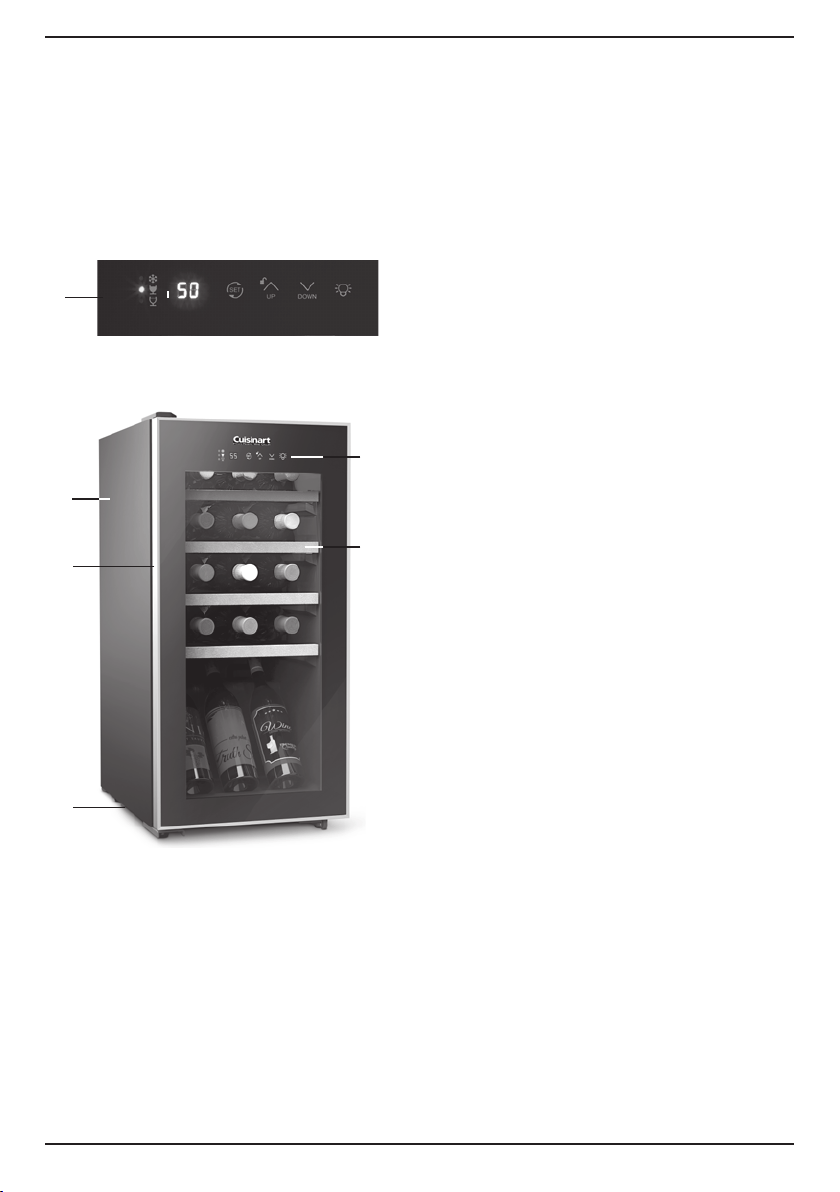
FEATURES
1. Touchscreen Controls
2. Slide-Out, Wood-Trimmed Shelves
3. Tempered Glass Door
4. Stainless Steel Door Frame
5. Leveling Legs
UNPACKING YOUR
WINE CELLAR
Unpack your cellar and carefully check the interior
and exterior. Should any damage be evident, do
not plug the appliance in. Contact the store from
which you purchased it.
This unit must always be kept upright – before,
during and after unpacking.
SETTING UP YOUR
WINE CELLAR
ALWAYS REMOVE ALL BOTTLES BEFORE
MOVING THE WINE CELLAR
Select the Right Location
NOTE: The cellar is designed for freestanding
operation. It is not made to be recessed or
built in (fully recessed).
The cellar must be positioned on a at surface that
is strong enough to support it when fully loaded.
Choose a location where there is no risk of
extreme temperatures, either hot or cold, such as
a garage that is not properly insulated or heated.
Do not place the unit in a moist area or in an area
where it is exposed to direct sunlight.
Do not place the unit next to any appliance
that emits large amounts of heat, such as a
dishwasher, microwave, toaster oven, oven or
barbecue, etc., or near radiators, baseboard
heaters or other heat sources.
NOTE: Allow enough space in the front of the
unit to open the door 120°.
Proper Air Circulation
To assure that your wine cellar works at the
maximum efciency for which it was designed,
you should install it in a location where there is
proper air circulation and electrical connections.
The cellar is designed to be freestanding and
should not be recessed or built in. Allow 2 inches
of space on both sides and back of the wine cellar
to allow proper ventilation.
To ensure proper internal air circulation, do not
overll your wine cellar.
1
2
1
3
4
4
Loading ...
Loading ...
Loading ...