Loading ...
Loading ...
Loading ...
24
4. Initial use
The batteries are already inserted in all new devices. Before first use, remove the protruding plastic insulating strip from the
battery compartment. The thermometer will then switch on automatically.
Further information and FAQs available at: http://www.beurer.com
5. Setting the device
Set the unit for the temperature display as well as the date and the time.
888
8
88:88
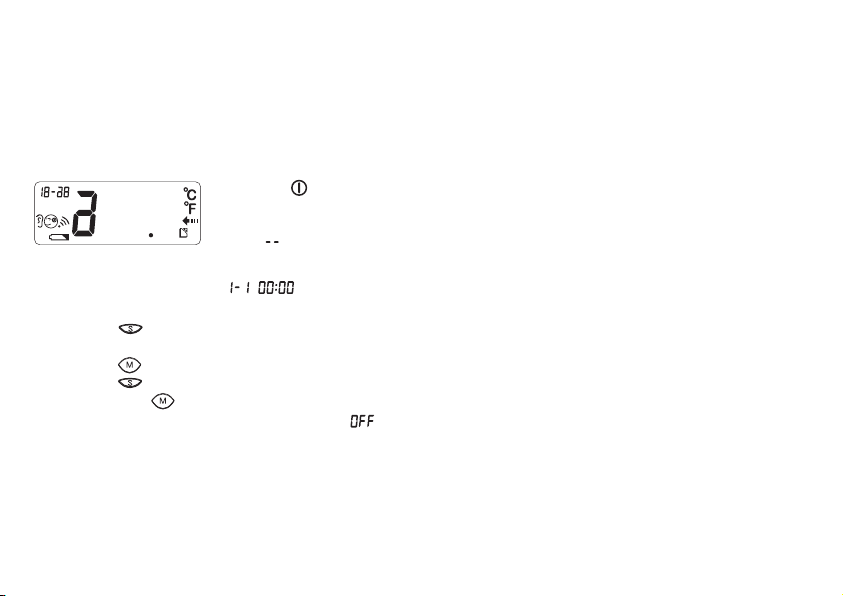
Press the button for 1 second to switch the thermometer on. The device performs a brief
self test: all elements of the display are shown for approx. 1 second. Following a successful
self test, the device emits two short beeps. In Standby mode, the date and time are shown
and “ ” is displayed.
When the thermometer is used for the first time and each time the batteries are changed, the date and time are displayed (after
the self test) in the basic setting ( ). Now set the unit in which the temperature will be displayed, the date and the
time. To set the device, proceed in stages: Unit – year – month – day – hours – minutes.
•
Press the button for approx. three seconds in order to reach Set mode.
The setting to be changed will flash each time.
•
Press the button again to save the setting or
•
press the button to change the setting.
•
Then press the button to save the setting.
After this process, the thermometer shows the word
in the display and switches o automatically.
6. What you should know about using this thermometer
There are dierent thermometers for taking temperature measurements in dierent parts of the body:
•
Ear/forehead thermometer (this thermometer, for measuring in the ear or on the forehead area)
•
Rod thermometer (for rectal [in the back passage], axillary [under the arm] or oral measurement [in the mouth])
Loading ...
Loading ...
Loading ...