Loading ...
Loading ...
Loading ...
6
Cooktop Controls
The touch-activated electronic controls offer a variety of heat
settings for optimal cooking results. When you are melting foods
such as chocolate or butter, or when proofing bread, the surface
cooking area can be set to the keep warm function for minimal
surface cooking area operation.
For maximum surface cooking area operation, the left rear, right
rear, and right front surface cooking areas can be set to
Performance boost function when bringing liquids to a fast and
rapid boil. Set the surface cooking area heat setting level to 9,
then touch the “plus” (+) key to immediately reach the highest
setting.
NOTE: Where 240V installation is not available, this cooktop will
automatically adjust to 208V operation.
First use or after a power failure:
After connecting the cooktop to an electrical power suppy or
after a power failure, the control panel will be locked. An indicator
light above the key icon will be on. To unlock the control panel,
press and hold CONTROL LOCK for 3 seconds. The indicator
light will turn off, and the cooktop is ready for use.
To Use
To Turn On the Cooktop:
1. Press ON/OFF.
The indicator light above the Power keypad and a dash (“-”)
in each surface cooking area will light to indicate that each
surface cooking area is ready to be activated.
Inactivity for 45 seconds after the main power has been
turned on will automatically turn off the power to the cooktop.
To Turn on a Surface Cooking Area:
2. Touch directly on the display area for the surface cooking
area you want to use.
The current power level and indicator light will flash for
10 seconds then remain on.
Touching any other feature or Power Setting Increase/
Decrease button stops the flashing, and information for the
keypad that was touched will be displayed.
When a surface cooking area is left at the “0” power level for
30 seconds, the surface cooking area will automatically turn
off and display only the middle dash without the indicator
light.
3. Select a heat setting from 1 - 9 by touching the Power Setting
Increase/Decrease buttons. The heat setting will appear in
the surface cooking area display.
The power settings consists of 9 positions plus a “Boost”
button. When the user selects a power setting of 0, “0” will be
displayed. The surface cooking area will not turn on but
remains active/selected.
When a surface cooking area is left at the “0” power level for
1 minute, the zone will automatically turn off and display only
the middle dash without the indicator light.
Use the following chart as a guide when setting heat levels.
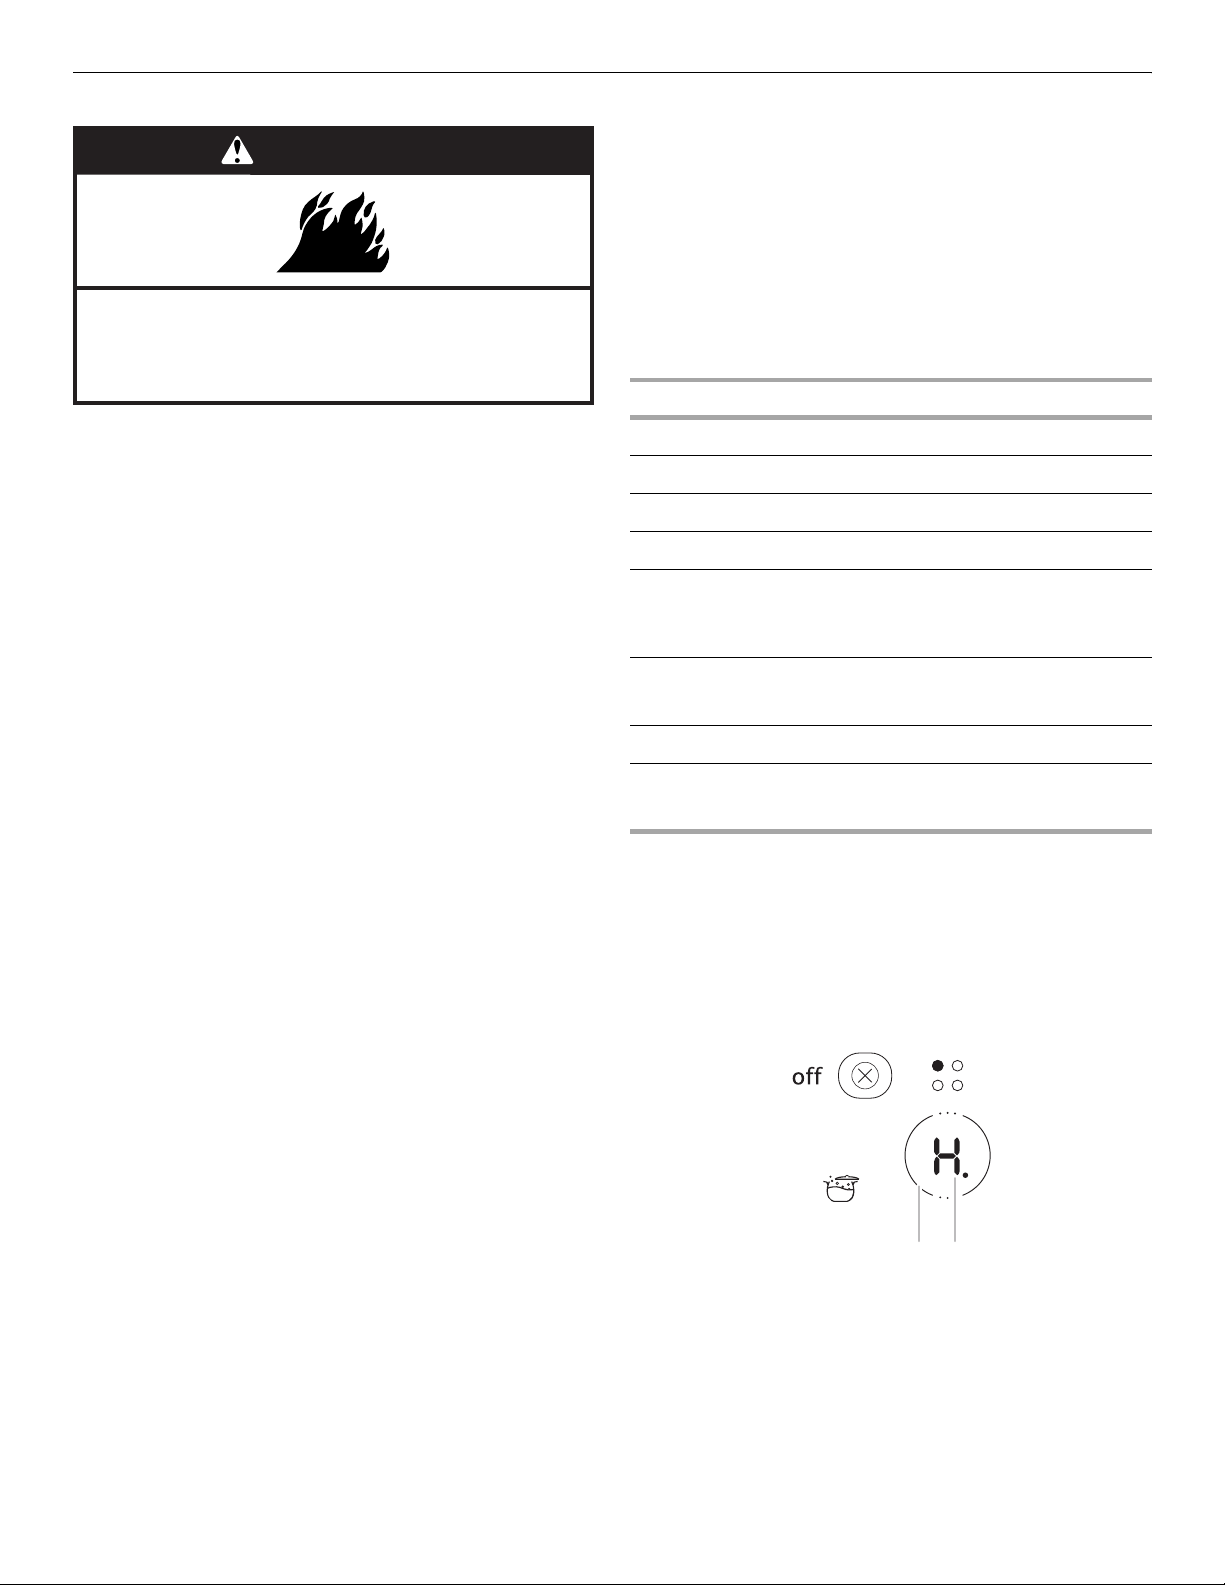
To Turn Off:
1. Touch OFF to turn off desired surface cooking area. One tone
will sound when Off is pressed.
2. Touch ON/OFF to turn off the cooktop when finished.
Hot Surface Indicator
An “H” will appear in the heat setting display of a surface cooking
area that is too hot to touch, even after that surface cooking area
is turned off.
If the cooktop is on when a power failure occurs, the Hot Surface
Indicator “H” will remain on up to 45 minutes after the power is
restored to the cooktop.
WARNING
Fire Hazard
Turn off all controls when done cooking.
Failure to do so can result in death or fire.
SETTING RECOMMENDED USE
9 - Boost
■ Bring liquid to a boil.
9
■ Start food cooking.
7 - 8
■ Quickly brown or sear food.
6 - 7
■ Hold a rapid boil.
5 - 6
■ Fry poultry or meat.
■ Cook soups, sauces and
gravies.
4 - 5
■ Maintain a slow boil.
■ Stew or steam food.
3 - 5
■ Simmer
1 - 2 ■ Keep cooked food warm.
■ Melt chocolate or butter.
A. Heat setting display
B. Hot surface indicator “H”
B
A
Loading ...
Loading ...
Loading ...