Loading ...
Loading ...
Loading ...
Installing the Unit
GB
12
1 Position the unit so that the lens is parallel to the
screen.
2 After connecting the AC power cord to the unit, plug
the AC power cord into a wall outlet.
3 Press the ?/1 (On/Standby) button to turn on the unit.
4 Project an image on the screen, then adjust the focus,
size, and position.
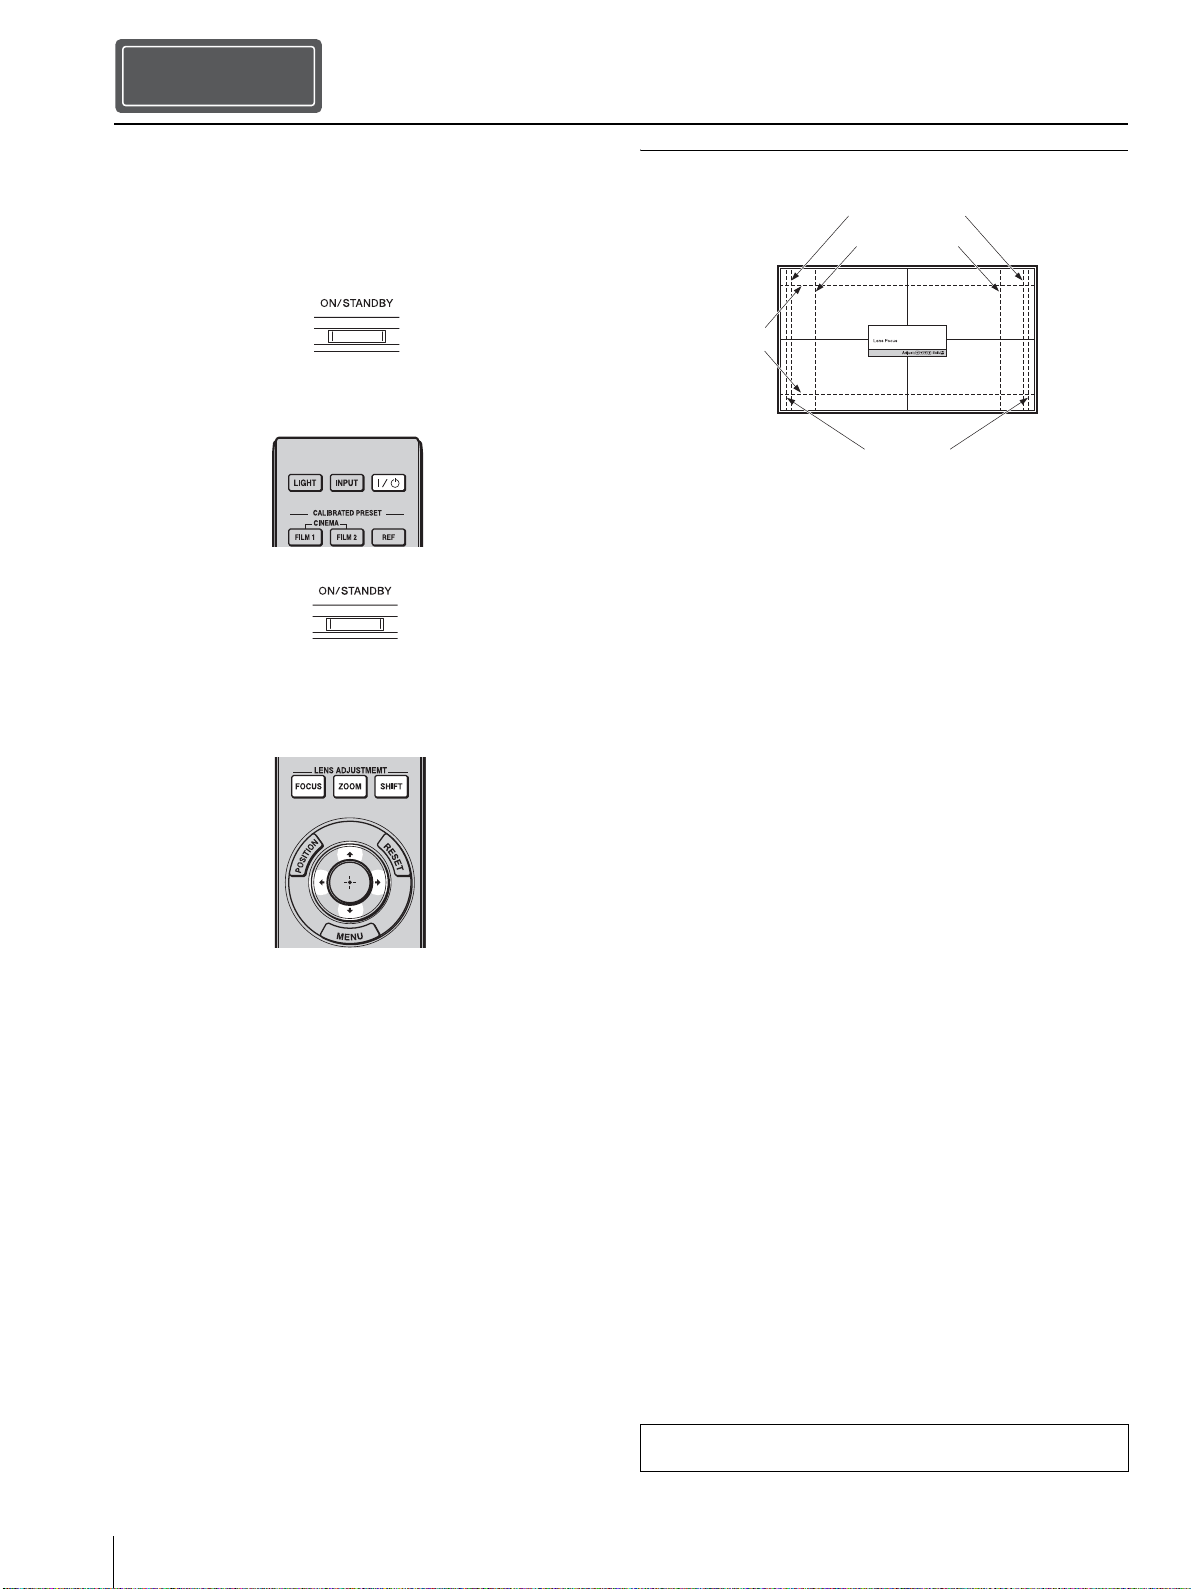
a Adjust the focus.
Press the LENS ADJUSTMENT (FOCUS) button to
display the Lens Focus adjustment window (test
pattern). Then adjust the focus of the picture by
pressing the M/m/</, buttons.
b Adjust the picture size.
Press the LENS ADJUSTMENT (ZOOM) button to
display the Lens Zoom adjustment window (test
pattern). Then adjust the size of the picture by
pressing the M/m/</, buttons.
c Adjust the picture position.
Press the LENS ADJUSTMENT (SHIFT) button to
display the Lens Shift adjustment window (test
pattern). Then adjust to the proper position of the
picture by pressing the M/m/</, buttons.
Lens adjustment window (test pattern)
Installing the Unit
Step 2
Lights in red.
Flashes in green for
tens of seconds and
then lights in green.
1.78:1 (16:9)
2.35:1
1.85:1
1.33:1 (4:3)
The dashed lines show the screen sizes of
each aspect ratio.
For more information, refer to “Connections and Preparations” in
the Operating Instructions contained in the supplied CD-ROM.
Loading ...
Loading ...
Loading ...