Loading ...
Loading ...
Loading ...
7
Menu Demonstration
The following demonstrates a sequence showing how to cook
from the Main Menu using a timed bake cycle.
This manual covers different models. The locations and
appearances of the features shown may not match those of your
model.
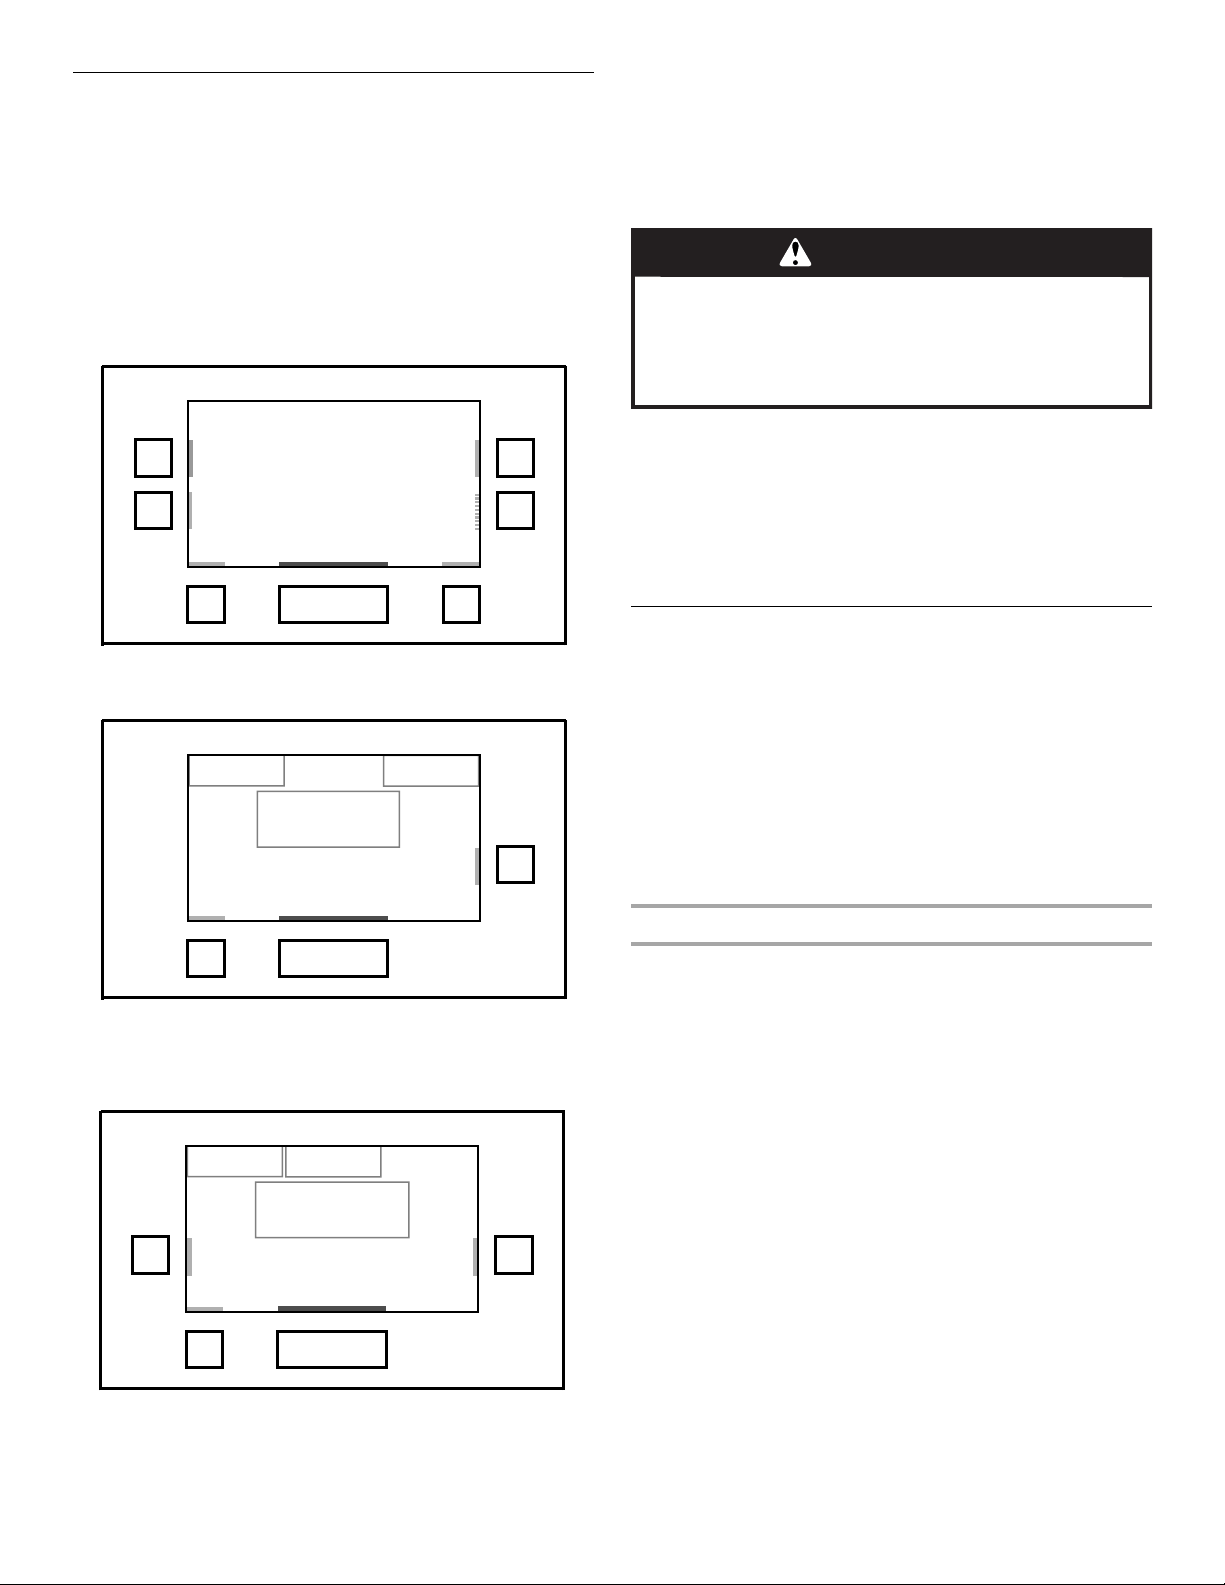
1. Touch the OVEN button.
NOTE: If Start is selected, the microwave screen will be
activated.
2. From the Select Mode menu, touch the quickset pad next to
BAKE.
3. From the Temperature menu, use the number keypad to enter
desired cooking temperature.
4. Press the quickset pad next to Set Cook Timer. Enter cooking
time using the number keypad to set a timer to alert you
when cooking ends. The oven will turn off when the cook time
expires. See “Cook Timer” section for additional information.
5. If desired, the Keep Warm and Delay Start options can be
programmed from the Cook Timer screen. See the “Keep
Warm” and “Delay Start” sections for additional information.
6. Press START to begin preheating oven.
7. Place food in oven when preheat signal sounds. The screen
will also prompt you when to insert food. If a Delay Start is
programmed, place food in oven when setting the mode.
NOTE: Do not use Delay Start for items that require a
preheated oven, such as cakes, cookies and breads. If food
is in the oven during preheat, it may become overcooked.
8. To change the temperature or cook time while the oven is
active, touch the appropriate quickset pad, make the
adjustment, and select Start.
9. Press CANCEL OVEN (CANCEL UPPER or CANCEL LOWER,
on double models) to turn off the oven.
Setup Menu
Your oven provides you with the ability to control several of the
default settings and access information through the on screen
display. These include: Clock, Sound, Screen Appearance,
Language, Temp Units, Service Info, Sabbath Mode, Oven
Calibration and Restore Defaults.
To Access Setup Menu:
1. Press START or Oven.
2. From the Select Mode menu, press the MORE button until
you see the Setup Menu choice.
3. Touch the quickset pad next to the Setup Menu choice.
Clock
This clock can be used in 12-hour or 24-hour format.
At any time desired, press BACK to return to the Setup Menu.
1. From the Setup menu, touch the quickset pad next to Clock.
2. From the Clock menu, touch the quickset pad next to Time.
3. Enter current time (--:--). Choose AM or PM.
4. Select SAVE. This will return you to the Clock settings menu.
5. From the Clock menu, touch the quickset pad next to DATE.
6. Enter current date (MM/DD/YYYY). Select ON or OFF for
Daylight Savings Adjust.
7. Select SAVE. This will return you to the Clock settings menu.
8. From the Clock menu, touch the quickset pad next to Format.
9. Select time format: AM/PM or 24 hour (Military Time).
10. Select SAVE. This will return you to the clock display screen.
11. From the Setup Menu, touch the quickset pad next to Clock.
12. From the Clock menu, touch the quickset pad next to Clock
Style.
13. Select clock style on idle screen: Analog or Digital.
14. Select SAVE. This will return you to the clock display screen.
Select mode:
Bake
Broil
Auto Convection
Multimode
Back Start More
1 of 3
Conversion
Convection
Temperature
Range: 170-550
350
˚
Bake Cook Timer
Set Cook Timer
Back Start
˚
350
HR: MIN: SEC
Bake Cook Timer
Delay Start
Back Start
Keep Warm
when done: Off
:00
00 :00
WARNING
Food Poisoning Hazard
Do not let food sit in oven more than one hour before
or after cooking.
Doing so can result in food poisoning or sickness.
Loading ...
Loading ...
Loading ...