READ BEFORE USING
IMPORTANT
AVANT TOUTE UTILISATION
À LIRE
QUICK START GUIDE
GUIDE DE DÉMARRAGE RAPIDE
turtlebeach.com/recon70
FOR MODEL: RECON 70
Any Questions? Des questions ?
Package Contents
Contenu de la boîte
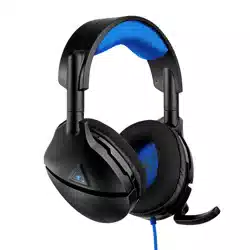
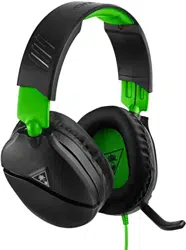
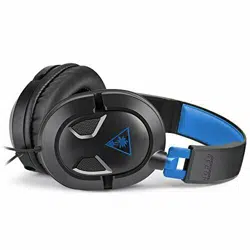
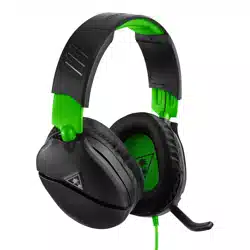
Recon 70 Headset
Casque Recon 70
For more information on Xbox Surround Sound visit:
Pour plus d’informations sur l’effet Surround Xbox, rendez-vous sur:
turtlebeach.com/sonic
VOLUME SETUP | CONFIGURATION DU VOLUME
SURROUND SOUND SETUP (AVAILABLE ONLY ON XBOX ONE)
CONFIGURATION DU SON SURROUND
(DISPONIBLE UNIQUEMENT SUR XBOX ONE)
PS4
®
Setup
Configuration PS4
®
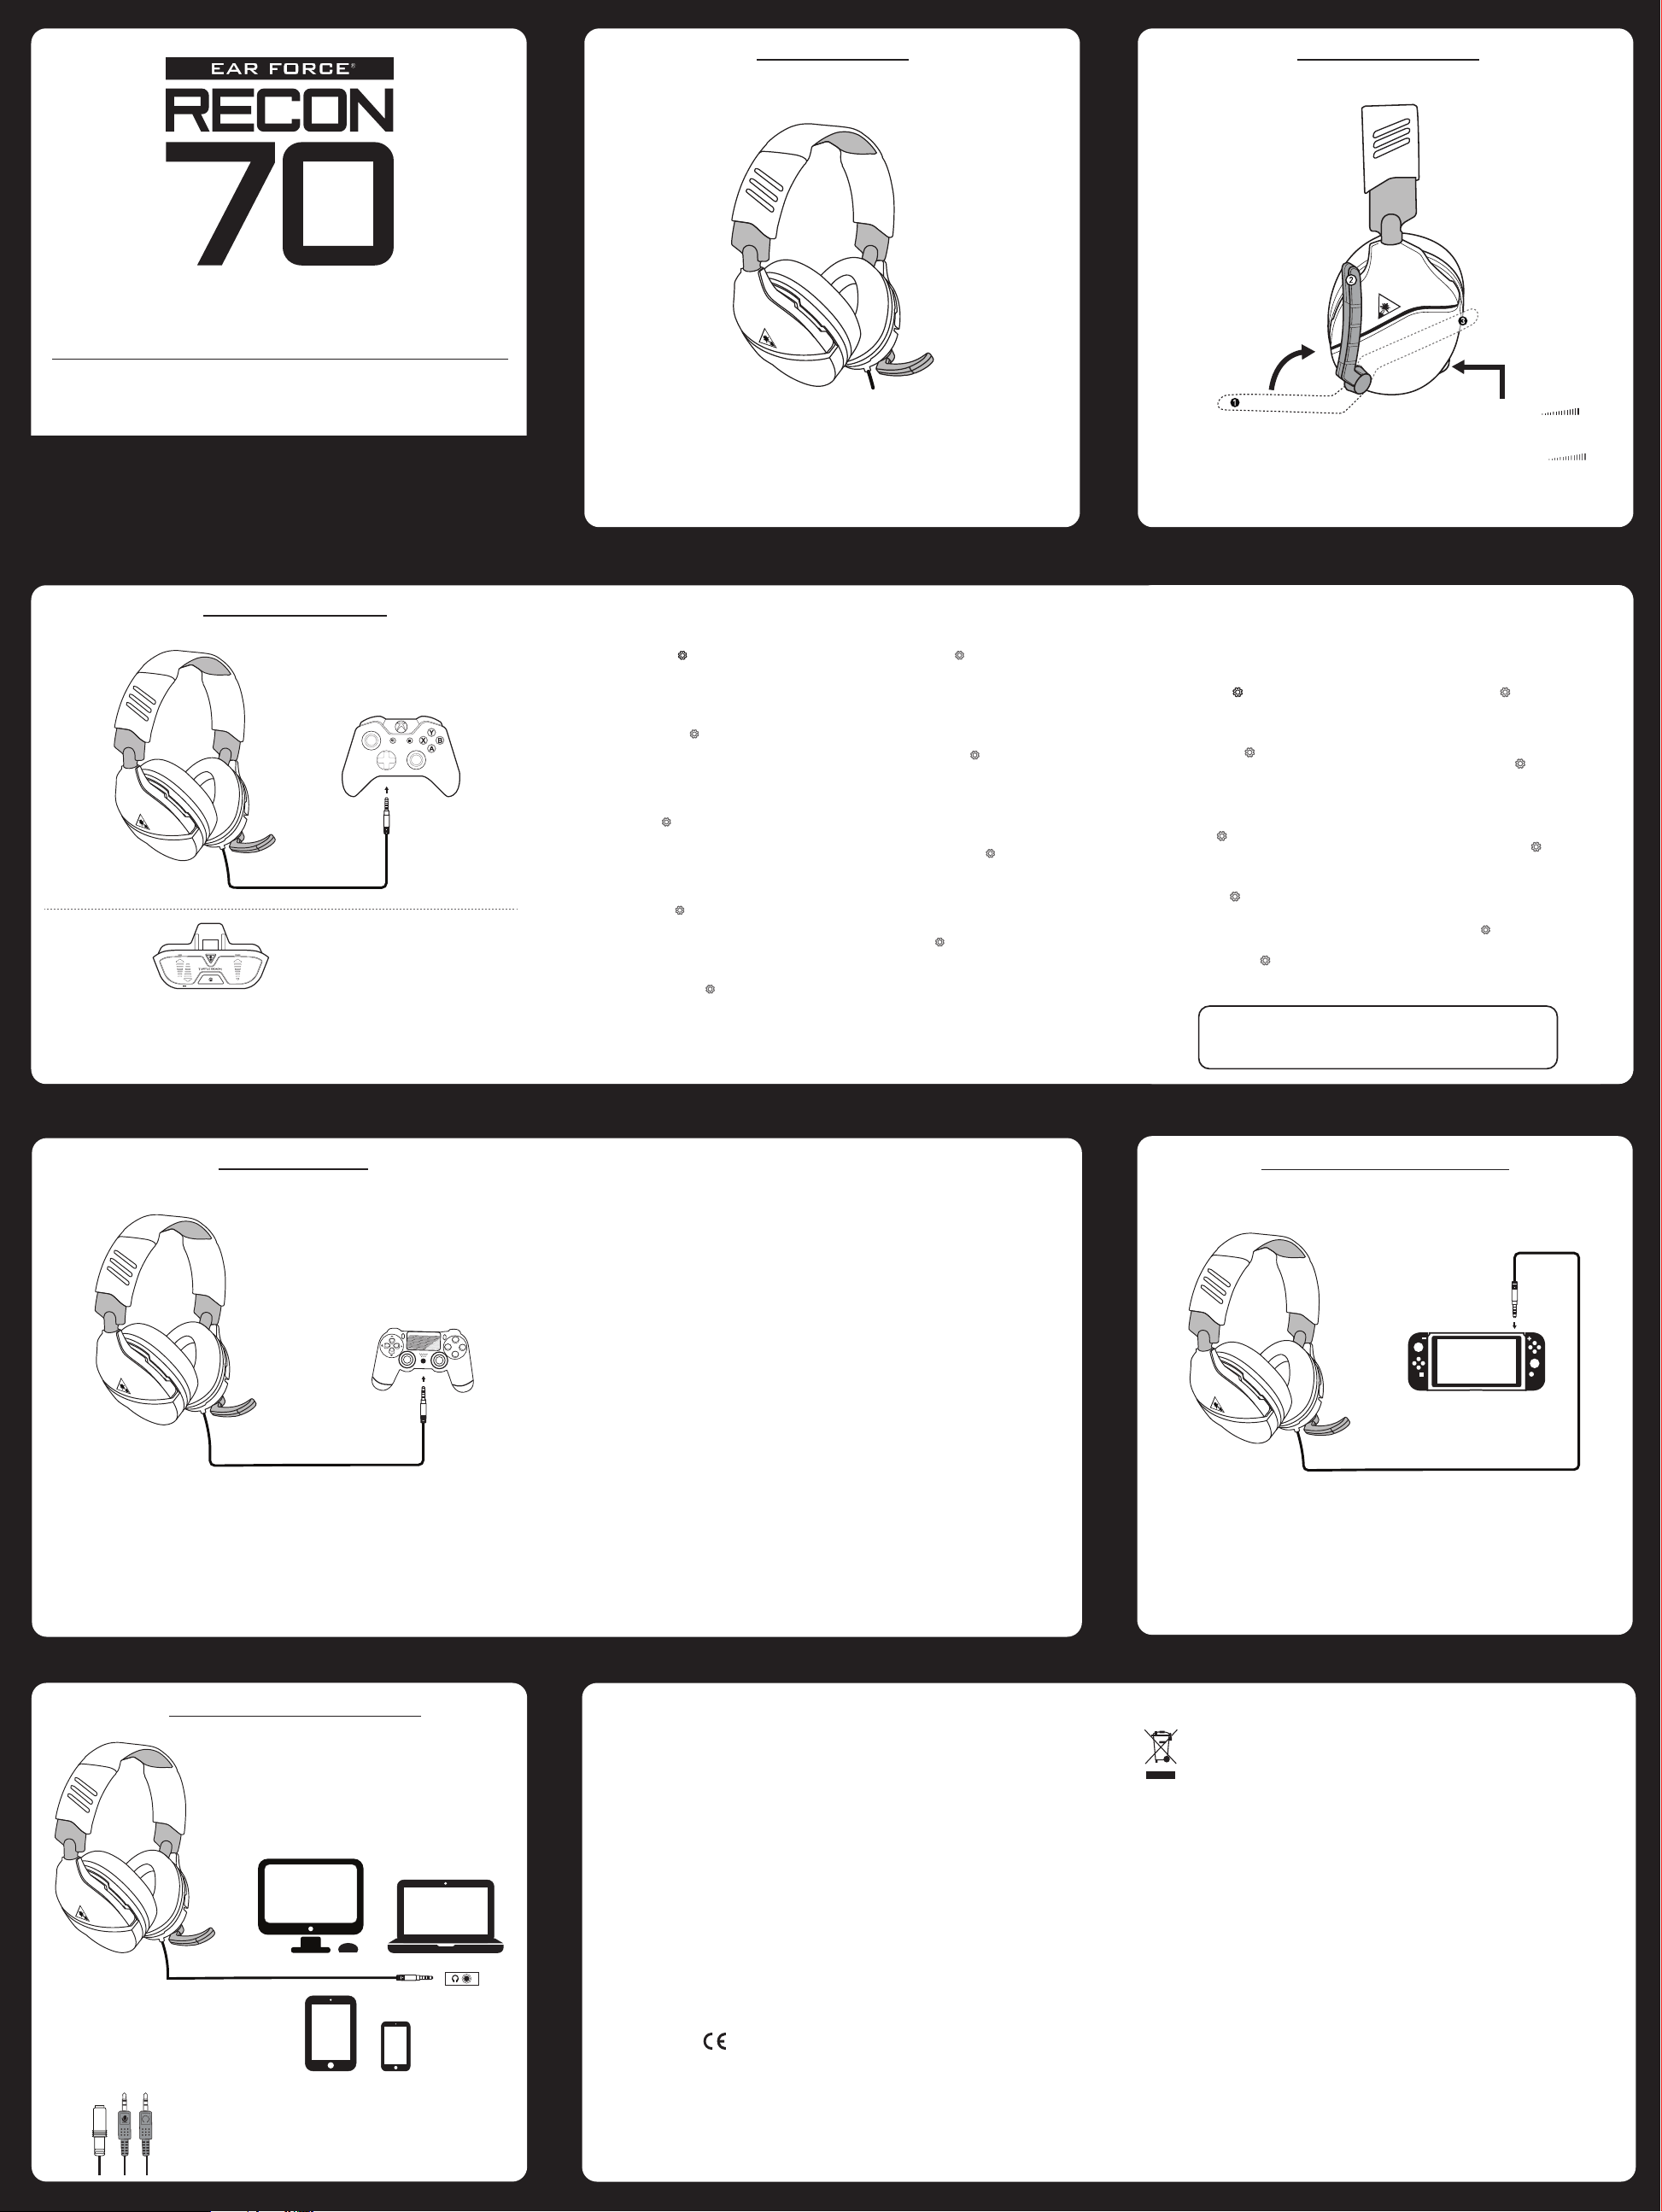
PC/Mac
®
& Mobile Setup
Configuration PC/Mac
®
& Mobile
EN
1. Go to Settings >> Devices >> Audio Devices
2. Set Input & Output Device to Headset Connected
to Controller
3. Set Output to Headphones to All Audio
4. Set Volume Control (Headphones) level to maximum
5. Select Adjust Microphone Level and follow the
on-screen instructions to calibrate your microphone
FR
1. Ouvrez Paramètres >> Périphériques >> Périphériques audio
2. Dans Périphérique d'entrée et Périphérique de sortie,
sélectionnez Casque branché à la manette
3. Dans Sortie vers le casque, sélectionnez Tout audio
4. Le niveau de volume du paramètre Réglage du volume
(casque) doit être au maximum
5. Sélectionnez Régler le niveau du microphone et suivez les
instructions à l'écran pour régler votre microphone
ES
1. Ve a Configuración >> Dispositivos >> Dispositivos de sonido
2. Configura los Dispositivos de entrada y de salida
a auriculares conectados al mando
3. Configura la salida de los auriculares a todos los sonidos
4. Configura el nivel del control de volumen (cascos) al máximo
5. Selecciona Ajustar el nivel del micrófono y sigue las
instrucciones para calibrar el micrófono
IT
1. Selezionare Impostazioni >> Dispositivi >> Dispositivi audio
2. Selezionare come dispositivo di ingresso e di uscita le cuffie
collegate al controller
3. Impostare l’opzione Riproduci l’audio tramite cuffie su
Tutto l’audio
4. Impostare il livello di Controllo del volume (cuffie)
al massimo
5. Selezionare l’opzione Regola il livello del microfono
e seguire le istruzioni a schermo per calibrare il microfono
PT
1. Dirija-se a Definições » Dispositivos » Dispositivos de Áudio
2. Selecione os auscultadores ligados ao comando como o
dispositivo de entrada e saída de áudio
3. Selecione "Todo o Áudio" em "Enviar áudio para
os auscultadores"
4. Defina o "Controlo de volume (auscultadores)" para
o máximo
5. Selecione "Ajustar nível do microfone" e siga as instruções
de calibração no ecrã
NL
1. Ga naar Instellingen > Apparaten > Audioapparaten
2. Stel Invoer- en uitvoerapparaat in op Headset aangesloten
op controller
3. Stel de uitvoer in op Hoofdtelefoon naar alle audio
4. Stel Volumebediening (hoofdtelefoon) in op maximaal
5. Selecteer Microfoonniveau aanpassen en volg de instructie
in beeld om je microfoon te kalibreren
DE
1. Wählen Sie Einstellungen >> Geräte >> Audiogeräte
2. Wählen Sie unter Eingabe- und Ausgabe-Gerät das mit
dem Controller verbundene Headset aus
3. Stellen Sie die Ausgabe an Kopfhörer auf Gesamter
Sound ein
4. Stellen Sie die Lautstärkeregelung (Kopfhörer) auf
Maximum ein
5. Wählen Sie die Option zur Einstellung des
Mikrofonpegels und folgen Sie den Anweisungen zur
Kalibrierung Ihres Mikrofons
SE
1. Gå till Inställningar >> Enheter >> Ljudenheter
2. Ställ in In- och utdataenhet till Headset anslutet
till handkontroll
3. Ställ in Utdata till hörlurar till Allt ljud
4. Ställ in volymkontroll (hörlurar) till maximal nivå
5. Välj Justera mikrofonnivå och följ instruktionerna på
skärmen för att kalibrera din mikrofon
DK
1. Gå til Indstillinger >> Enheder >> Lydenheder
2. Indstil Input & Output Device til Headset Connected
to Controller
3. Vælg Send til hovedtelefoner for Al lyd
4. Indstil lydstyrken (hovedtelefoner) til det maksimale
niveau
5. Vælg Tilpas mikrofonlydstyrke, og følg instruktionerne
på skærmen for at kalibrere din mikrofon
Note: If your PC uses separate Green/Pink connectors for audio
you will need a PC Splitter Cable. This adapter is available online
at turtlebeach.com
Remarque : Un câble Y est nécessaire pour les PC dotés de
sorties audio rose et verte. Ce câble est également en vente sur
turtlebeach.com
EN
1. Press the Xbox Button on your controller
2. Go to the System tab ( )
3. Select Audio
4. Set Headset Volume to maximum
5. Set Headset Chat Mixer to the middle setting
6. Set Mic Monitoring to your preferred level
ES
1. Pulsa el botón de Xbox en el mando
2. Ve a la pestaña Sistema ( )
3. Selecciona Sonido
4. Configura el volumen de los auriculares al máximo
5. Configura el mezclador de chat de los auriculares a
la configuración intermedia
6. Configura el monitor de micrófono a tu nivel preferido
IT
1. Premi il pulsante Xbox sul controller
2. Sezione Sistema ( )
3. Seleziona Audio
4. Imposta il volume delle cuffie al massimo
5. Configura il mixer per la chat delle cuffie al
valore medio
6. Impostare il controllo microfono sul livello preferito
SE
1. Tryck på Xbox-knappen på handkontrollen
2. Gå till fliken System ( )
3. Välj Ljud
4. Höj headsetvolymen till högsta nivå
5. Ställ in headsetets chattmix på mellaninställningen
6. Ställ in mikrofonåterspelning till önskad nivå
NL
1. Druk op de Xbox-knop op je controller
2. Ga naar het tabblad System ( )
3. Selecteer Audio
4. Stel Headset Volume in op Maximum
5. Stel Headset Chat Mixer in op de middelste instelling
6. Stel Mic monitoring in op je gewenste niveau
FR
1. Appuyez sur la touche Xbox de votre manette
2. Ouvrez l'onglet Système ( )
3. Sélectionnez Audio
4. Paramétrez le volume du casque au maximum
5. Pour le mélangeur de tchat du casque, choisissez le
réglage du milieu
6. Paramétrez le réglage du microphone selon vos
préférences
DE
1. Drücke die Xbox-Taste deines Controllers
2. Navigiere zum Systemreiter ( )
3. Wähle Audio
4. Stelle die Headset-Lautstärke auf das Maximum ein
5. Stelle die Chat-Abmischung des Headsets auf den
mittleren Wert ein
6. Stelle den Mikromonitor auf deine bevorzugte
Lautstärke ein
PT
1. Premir o Botão Xbox no comando
2. Selecionar o separador Sistema ( )
3. Selecionar Áudio
4. Colocar o volume dos auscultadores no máximo
5. Configurar o editor de som do chat dos auscultadores
para a definição do meio
6. Colocar a monitorização de microfone no nível desejado
DK
1. Tryk på Xbox-knappen på din controller
2. Gå til fanen System ( )
3. Vælg lyd
4. Sæt headset-lydstyrke til maksimum
5. Sæt Headset-chatmixer til den midterste indstilling
6. Set Mikrofonkontrol til dit foretrukne niveau
Xbox One Setup
Configuration Xbox One
Le casque Recon 70 nécessite la manette Xbox One avec 3,5mm casque jack. Pour toute utilisation avec la
manette Xbox One d'origine, l'adaptateur audio pour casque Ear Force est nécessaire. Disponible sur
turtlebeach.com.
The Recon 70 requires the Xbox One Controller with 3.5mm headset jack. Purchase the Ear Force Headset Audio
Controller from turtlebeach.com for use with the original Xbox One Controller.
Note/ Remarque :
Chat available for games that support in-game chat capability.
Chat en jeu disponible pour les jeux disposant de cette option.
Note/ Remarque :
Nintendo Switch
™
Setup
Configuration Nintendo Switch
™
426-021-001-011 RB
FR
1. Appuyez sur la touche Xbox de votre manette
2. Ouvrez l'onglet Système ( )
3. Ouvrez Paramètres >> Affichage et son >> Sortie audio
4. Paramétrez le format de casque sur Windows
Sonic pour casque
DE
1. Drücke die Xbox-Taste deines Controllers
2. Navigiere zum Systemreiter ( )
3. Wähle Einstellungen >> Anzeige & Sound >>
Audioausgabe
4. Wähle als Headset-Format „Windows Sonic for
Headphones“
PT
1. Premir o Botão Xbox no comando
2. Selecionar o separador Sistema ( )
3. Selecionar Definições >> Imagem e Som >> Saída de
Áudio
4. Configurar o formato dos auscultadores em Windows
Sonic para auscultadores
DK
1. Tryk på Xbox-knappen på din controller
2. Gå til fanen System ( )
3. Vælg Indstillinger >> Billede og lyd >> Lyd-output
4. Vælg headset-formatet Windows Sonic til
hovedtelefoner
EN
1. Press the Xbox Button on your controller
2. Go to the System tab ( )
3. Select Settings >> Display & sound >> Audio Output
4. Set Headset format to Windows Sonic for Headphones
ES
1. Pulsa el botón de Xbox en el mando
2. Ve a la pestaña Sistema ( )
3. Selecciona Configuración >> Pantalla y sonido >> Salida
de sonido
4. Configura el formato de los auriculares a Windows Sonic
para auriculares
IT
1. Premi il pulsante Xbox sul controller
2. Sezione Sistema ( )
3. Impostazioni >> Schermo e audio >> Uscita audio
4. Imposta il formato su Windows Sonic per cuffie
SE
1. Tryck på Xbox-knappen på handkontrollen
2. Gå till fliken System ( )
3. Välj Inställningar >> Bildskärm och ljud >> Videoutgång
4. Ställ in headsetformat till Windows Sonic för hörlurar
NL
1. Druk op de Xbox-knop op je controller
2. Ga naar het tabblad System ( )
3. Selecteer Settings >> Display & Sound >> Audio Output
4. Stel Headset format in op Windows Sonic for Headphones
Declaration of Conformity
Marking by this symbol:
indicates compliance with the Essential Requirements of the
EMC Directive of the European Union (2014/30/EU). This
equipment meets the following conformance standards:
Safety:
EN 60950-1: 2006 + A11: 2009 + A1: 2010 + A12: 2011 + A2: 2014
(T-Mark License)
IEC 60950-1: 2005 (2nd Edition) + Am 1: 2009 + Am 2: 2013 (CB
Scheme Certificate), EN 50332-1: 2013, EN 50332-2: 2013, EN
71-3: 2013
Additional licenses issued for specific countries available on
request
Emissions:
EN 55032: 2012, CISPR 32: 2015
Immunity:
EN 55024: 2010, CISPR 24: 2010
EN 61000-4-2: 2009, EN 61000-4-3: 2006 + A1: 2008 + A2: 2010
EN 61000-4-8: 2010
The products are licensed, as required, for additional country
specific standards for the International Marketplace. Additional
issued licenses available upon request.
Environmental:
Low Voltage Directive 2014/35/EU, RoHS 2011/65/EU,
REACH 2006/1907/EC, WEEE 2012/19/EU, Packaging 94/62/EC,
Toys Safety Directive 2009/48/EC
Regulatory Compliance Statements for the EAR FORCE RECON 70
Federal Communications Commission (FCC) Compliance Notices
Class B Interference Statement
This equipment has been tested and found to comply with the limits for a Class B digital device, pursuant to Part 15, Subpart B of
the FCC Rules. These limits are designed to provide reasonable protection against harmful interference in a residential
installation. This equipment generates, uses, and can radiate radio frequency energy and, if not installed and used in accordance
with the instructions, may cause harmful interference to radio communications. However, there is no guarantee that interference
will not occur in a particular installation. If this equipment does cause harmful interference to radio or television reception, which
can be determined by turning the equipment off and on, the user is encouraged to try to correct the interference by one or more
of the following measures:
• Reorient or relocate the receiving antenna.
• Increase the separation between the equipment and receiver.
• Connect the equipment into an outlet on a circuit different from that to which the receiver is connected.
• Consult the dealer or an experienced radio/TV technician for help.
FCC Caution:
This device complies with Part 15 of the FCC Rules. Operation is subject to the following two conditions: (1) This device may not
cause harmful interference, and (2) this device must accept any interference received, including interference that may cause
undesired operation.
This product is compliant with the Consumer Product Safety Improvement Act of 2008, Public Law 110-314 (CPSIA)
Canadian ICES Statements
Canadian Department of Communications Radio Interference Regulations
This digital apparatus does not exceed the Class B limits for radio-noise emissions from a digital apparatus as set out in the Radio
Interference Regulations of the Canadian Department of Communications. This Class B digital apparatus complies with Canadian
ICES-003.
Règlement sur le brouillage radioélectrique du ministère des Communications
Cet appareil numérique respecte les limites de bruits radioélectriques visant les appareils numériques de classe B prescrites
dans le Règlement sur le brouillage radioélectrique du ministère des Communications du Canada. Cet appareil numérique de la
Classe B est
conforme à la norme NMB-003 du Canada.
European Union and European Fair Trade Association (EFTA) Regulatory Compliance
This symbol on the product or its packaging indicates that this product must not be disposed of with your other household
waste. Instead, it is your responsibility to dispose of your waste equipment by handing it over to a designated collection
point for the recycling of waste electrical and electronic equipment. The separate collection and recycling of your waste
equipment at the time of disposal will help conserve natural resources and ensure that it is recycled in a manner that
protects human health and the environment. For more information about where you can drop off your waste for recycling,
please contact your local authority, or where you purchased your product.
Please visit the following URL for a complete copy of the Declaration of Conformity:
http://www.turtlebeach.com/homologation
Turtle Beach Europe Ltd is obligated as a producer with a main activity of selling under The Producer Responsibility Obligations
(Packaging Waste) Regulations 2007. To fulfil our obligation we are registered with Comply Direct and their Recycling Room.
Here you will find advice and information on packaging waste management, recycling symbols and the waste hierarchy principles
of reduce, reuse and recycle.
https://www.complydirect.com/the-recycling-room/
Master Volume
Adjusts the master volume of the
incoming game and chat audio.
Volume principal
Règle le volume principal du jeu
et du chat vocal entrant.
Microphone muet
Relevez le microphone pour le
couper (voir position2).
Mic Mute
Flip up mic to mute (see position 2).
NOTE: Over Rotating Mic
Turning the mic past positions
1 & 3 may cause damage to the mic.
REMARQUE: Positionnement du
microphone
Orienter le microphone au-delà
des positions1 et 3 risque de
l'endommager.
Headset Controls
Commandes du casque