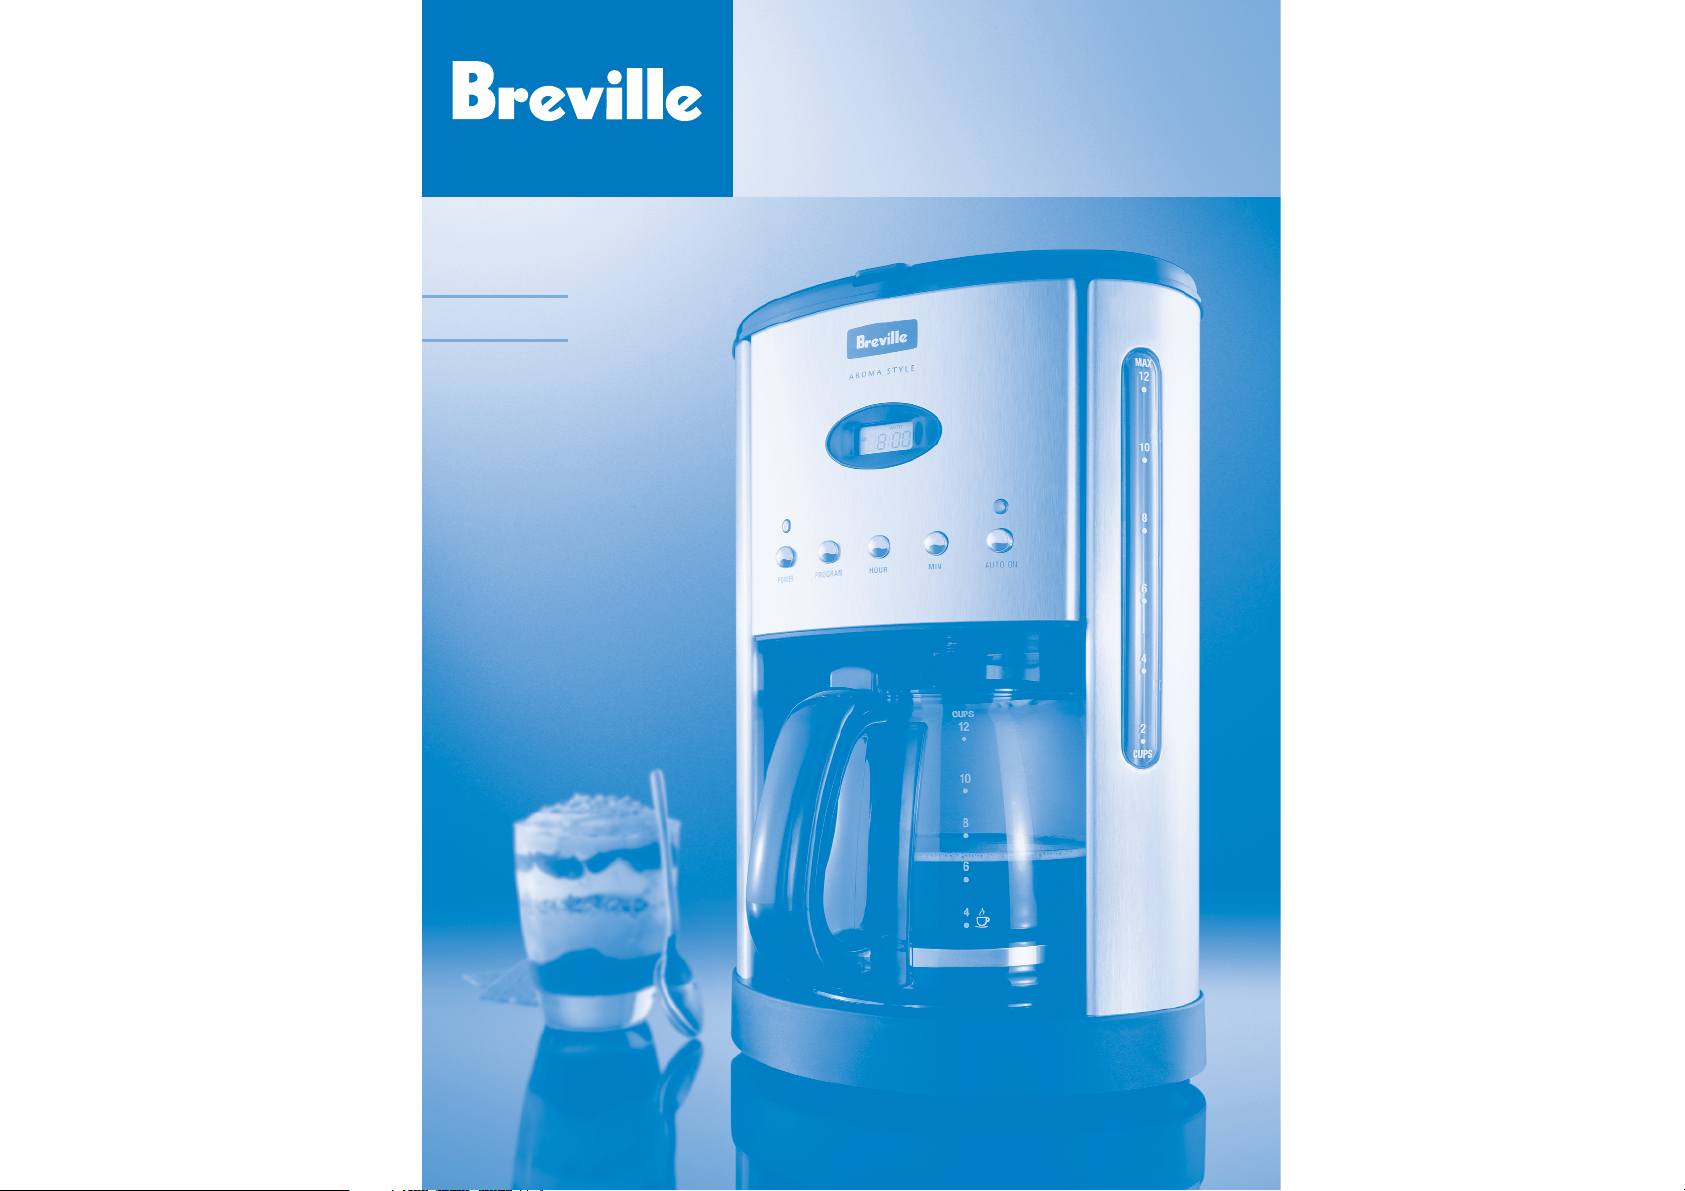
Model BCM600
Instructions for use
Includes recipes
Aroma Style Electronic
Brews fresh, hot coffee in minutes

Contents
Page
Breville recommends safety first 4
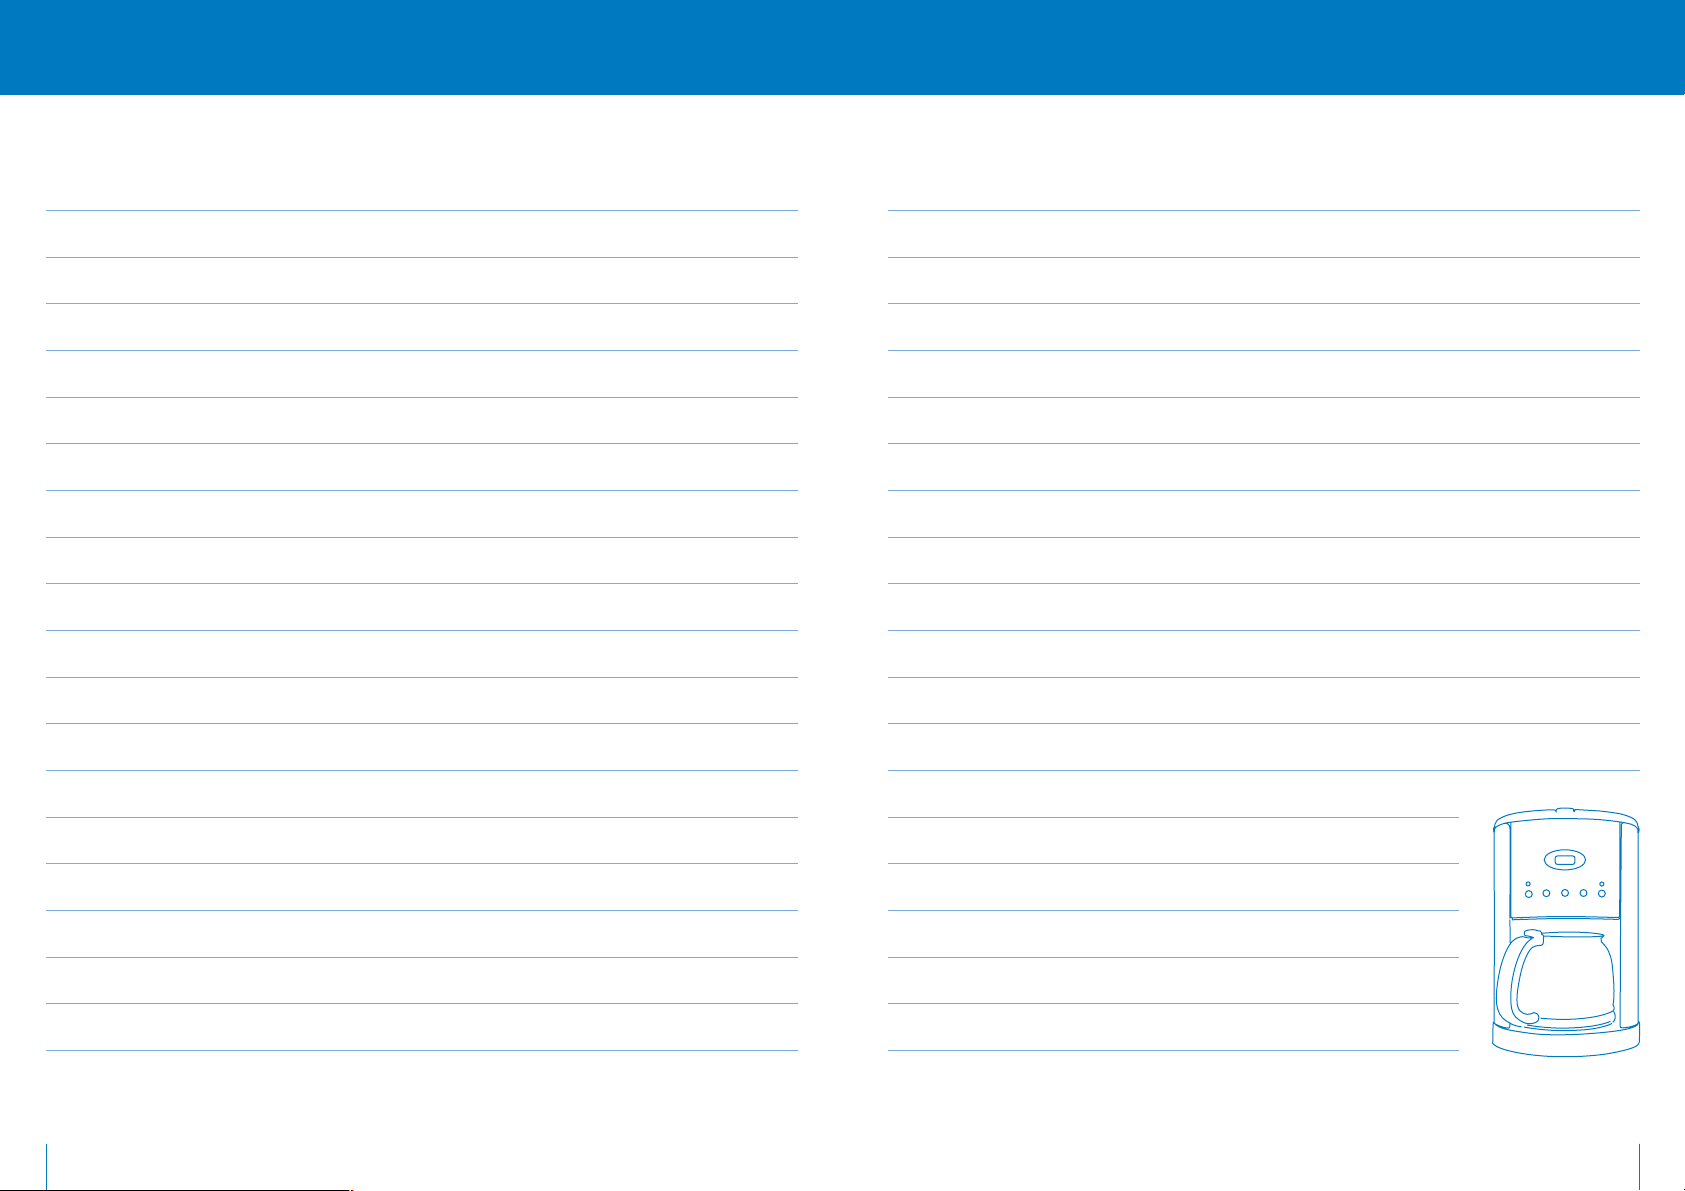
Know your Breville Aroma Style Coffee Maker 5
Operating your Breville Aroma Style Coffee Maker 6
Care and cleaning 9
Handy hints 10
Recipes R2
2
Congratulations
on the purchase of your new Breville Aroma Style Electronic Coffee Maker
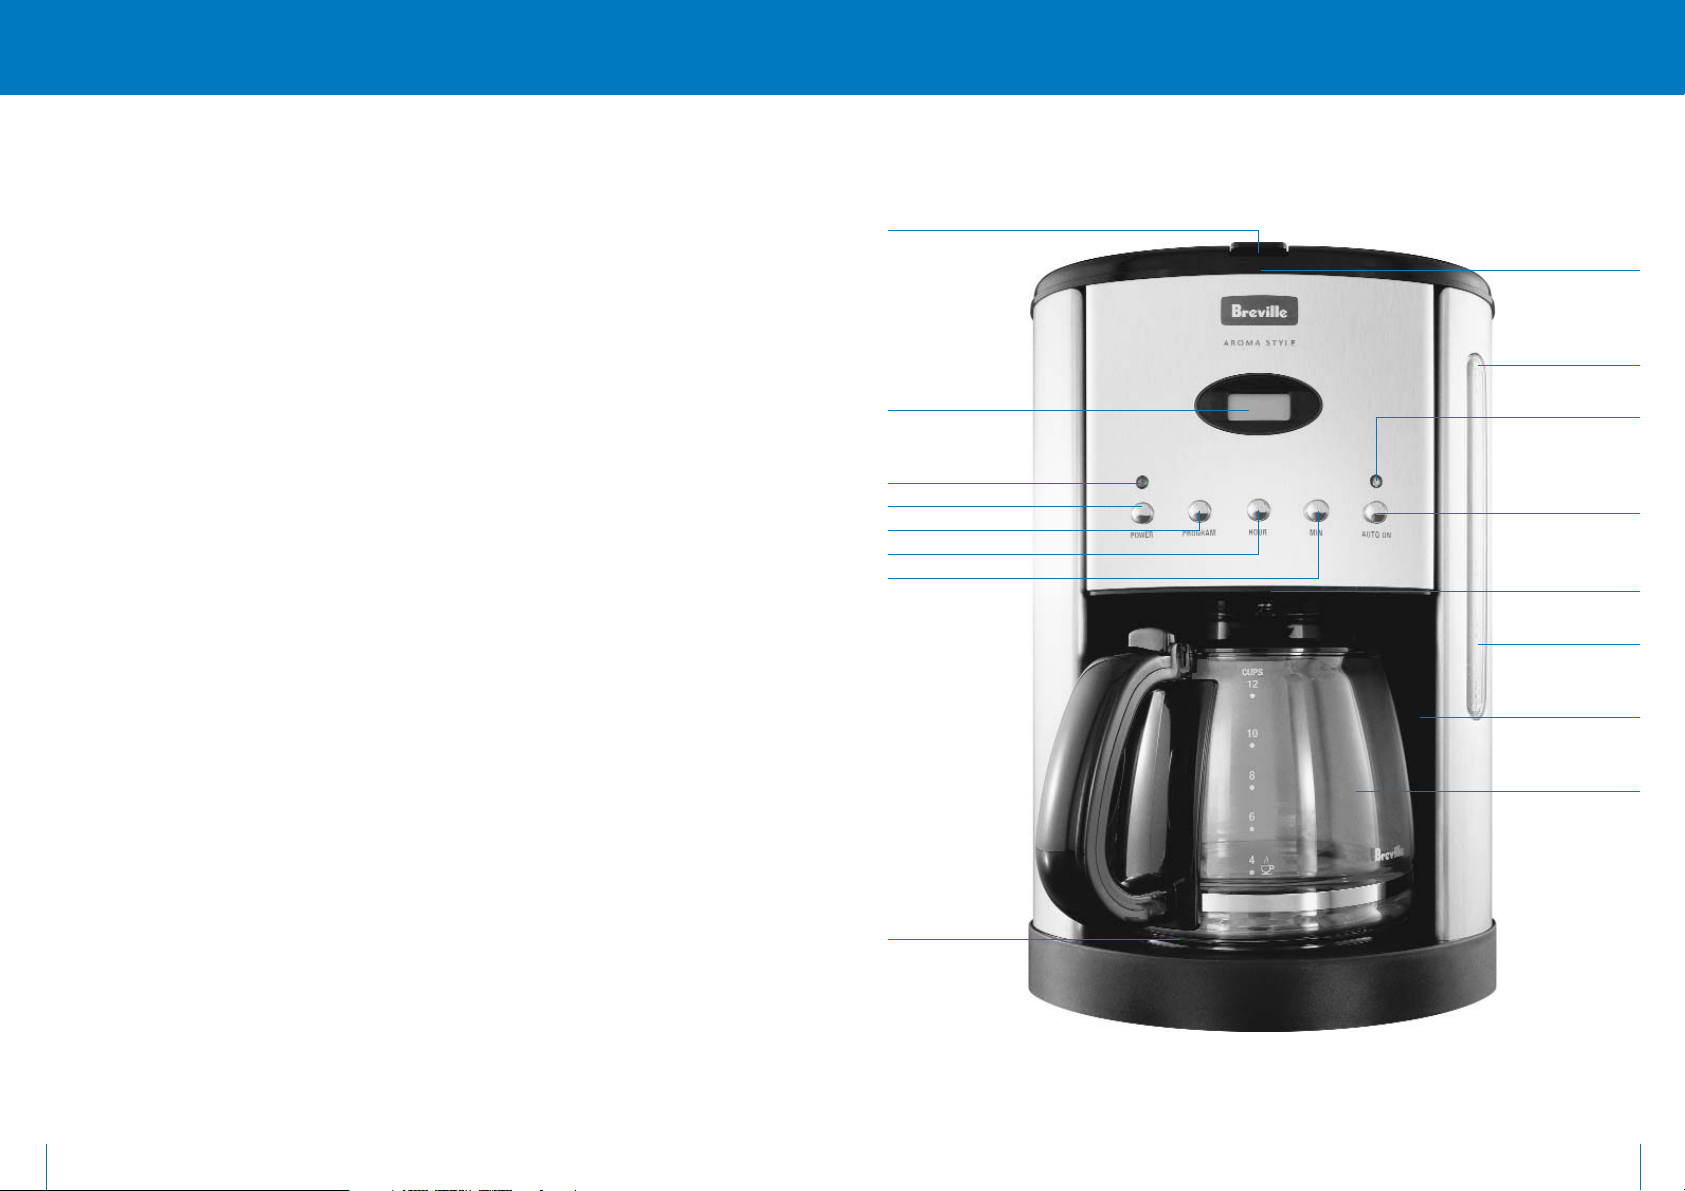
Know your Breville Aroma Style Coffee Maker
5
Breville recommends safety first
We at Breville are very safety conscious. We design and manufacture consumer products with the safety of you,
our valued customer foremost in mind. In addition, we ask that you exercise a degree of care when using any
electrical appliance and adhere to the following precautions:
Important safeguards for your Breville Aroma Style
Electronic Coffee Maker
• Carefully read all instructions before operating and
save for future reference.
• Do not place the coffee maker near the edge of a
bench or table during operation. Ensure the surface
is level, clean and free of water.
• Remove any promotional stickers before using the
coffee maker for the first time.
• Do not place the coffee maker on or near a hot gas
or electric burner, or where it could touch a heated
oven. Place coffee maker at least 20cm away from
walls and curtains.
• Use only the carafe provided, do not substitute with
any other carafe.
• Use the carafe on the coffee maker’s hot plate only.
Do not place the carafe on a heated stove top or in
a microwave oven.
• Do not use on metal surfaces, for example, a sink
drain board.
• To protect against electric shock, do not immerse
cord, plug or coffee maker body in water or any
other liquid.
• Do not move the coffee maker whilst in operation
or when hot.
• Do not open the water tank lid during the brewing
cycle as hot steam could cause injury.
• Do not touch hot surfaces.
• Do not leave the appliance unattended when in use.
• Always press the ‘On/Off’ button to off, then switch
off at the power outlet and unplug if the appliance is
to be left unattended, if not in use and before cleaning.
• Keep the appliance clean. Follow the cleaning
instructions provided in this book.
4
Removable stainless
steel mesh filter basket
Large 12 cup
capacity
Green auto on light
AUTO ON button
with ‘Auto-brew’
pre-set timer
Non-drip
valve system
Water level indicator
Multiple
flow system
Glass carafe
with hinged lid
Filter basket holder
LCD
(Liquid Crystal Display)
Red on/off light
ON/OFF button
PROGRAM button
HOUR button
MINUTE button
Thermostatically
controlled hot plate
• Unwind the cord fully before use.
• Do not let the cord hang over the edge of a table
or counter, touch hot surfaces, or become knotted.
• This appliance is not intended for use by young
children or infirm persons without supervision.
• Young children should be supervised to ensure that
they do not play with the appliance.
• It is recommended to inspect the appliance
regularly. Do not use the appliance if power supply
cord, plug, or appliance becomes damaged in any
way. Return the entire appliance to the nearest
authorised Breville Service Centre for examination
and/or repair.
• Any maintenance other than cleaning should be
performed at an authorised Breville Service Centre.
• This appliance is for household use only. Do not use
this appliance for other than its intended use. Do not
use in moving vehicles or boats. Do not use outdoors.
• The installation of a residual current device (safety
switch) is recommended to provide additional safety
protection when using electrical appliances. It is
advisable that a safety switch with a rated residual
operating current not exceeding 30mA be installed
in the electrical circuit supplying the appliance. See
your electrician for professional advice.
Important safeguards for all electrical appliances
2. Insert plug into a 230/240V power outlet and then
switch on at the outlet.
3. Ensure the filter holder is firmly positioned into
place. Insert the stainless steel mesh filter basket
into the filter holder.
4. Spoon ground coffee into the stainless steel mesh
filter basket. Allow approximately 1 heaped
teaspoon of ground coffee for each cup of brewed
coffee. Close the water tank lid.
5. Position the empty carafe, with the lid on, onto
the hot plate.
6. Press the on/off button to switch the Coffee Maker
on. The light above the on/off button will
illuminate and the coffee will start to drip through.
7. The non-drip valve feature allows you to interrupt
the brewing cycle before the entire carafe has
finished filling.
8. When the brewing process ends and the water
tank level indicator is on empty, there will still
be hot liquid in the filter basket. Wait a few
minutes for the rest of the liquid to drip through
into the carafe.
9. After the coffee grounds have cooled, open the
water tank lid and carefully remove the mesh
filter basket by grasping the handle, and lifting
straight up from the filter basket holder.
10. The hot plate will keep the coffee hot for two
hours as long as the Coffee Maker is switched on.
11. Always switch the Coffee Maker off when the
carafe is empty or when you no longer want to
keep the coffee hot.
If you wish to brew another carafe of coffee
immediately, press the on/off button to off,
switch off at the power outlet and unplug,
clean the carafe and the stainless steel mesh
filter basket, then follow the steps under
‘Brewing coffee’.
Note
7
Operating your Breville Aroma Style Coffee Maker
6
Before first use
Before brewing your coffee for the very first time,
clean the Aroma Style Electronic Coffee Maker
thoroughly as follows:
1. Lift the water tank lid and fill the water tank
with cold water to the maximum mark.
2. Insert plug into a 230/240V power outlet
and then switch on at the outlet.
3. Ensure the filter holder is firmly positioned
into place. Close the water tank lid.
4. Position the empty carafe, with the lid on, onto
the hot plate and switch the Coffee Maker on.
The light above the on/off button will illuminate
and the water will start to drip through.
5. When the water has dripped through, press
the on/off button to switch the Coffee Maker
off. Remove the carafe from the hot plate,
empty and wash in hot soapy water. Rinse
and dry thoroughly.
The Aroma Style Electronic Coffee Maker is now
ready for use.
Permanent stainless steel mesh
filter basket
This filter basket is provided to ensure optimal
flavour extraction from the finely ground coffee
into the brewed coffee.
The filter basket is removable and should be
washed in warm, soapy water after each use,
then rinsed and dried thoroughly. Replace back
into the filter holder.
Disposable paper coffee filters are not necessary
and should not be used with or without the
permanent stainless steel mesh filter basket.
Note
Setting the clock to the time of day
on the LCD
The clock does not have to be set to the time of
day for the manual operation of the Coffee Maker
The clock has to be set for time of day for the
automatic operation of the Coffee Maker.
Note
To set the clock to the time of day:
1. When the Coffee Maker is plugged in and
switched on at the power outlet the LCD will flash
12:00 and the AM icon in the top left hand corner.
2. Press the ’HOUR‘ button to select the current
hour time. Press and hold the ’HOUR‘ button to
scroll through numbers quickly. When the number
displayed approaches the desired setting, press
and release the button to advance one digit at
a time. (AM is indicated in the upper left hand
corner of the clock display and PM in the lower
left hand corner).
3. Press the ’MIN‘ button to select the current
minute time. Press and hold the ’MIN‘ button to
scroll through numbers quickly. When the number
displayed approaches the desired setting, press and
release the button to advance one digit at a time.
Brewing coffee – manual operation
1. Lift the water tank lid and fill the water tank
with cold water. The number of cups is shown
by the water level indicator. Do not exceed the
maximum fill level. It is recommended not to
make less than 4 cups.
There are two drip holes on the back of the
water tank to prevent exceeding the capacity of
the Coffee Maker. If too much water is added it
will flow from these holes down the back of the
Coffee Maker.
Note
While the non-drip feature is a convenient
way to pour a cup of coffee mid-cycle, we
recommend you wait until the completion
of the brew cycle, as the strength and flavour
of the coffee poured mid-cycle will vary from
the finished brew.
While this temporarily stops the coffee from
dripping into the carafe, it does not stop the
brewing cycle. After pouring a cup of coffee,
the carafe should immediately be returned
to the hot plate for completion of the brewing
cycle and to prevent the filter basket from
over flowing.
Note
TO AVOID THE FILTER BASKET OVERFLOWING, THE CARAFE MUST FIT SECURELY INTO THE COFFEE
MAKER HOT PLATE, WITH THE LID ON AT ALL TIMES. IF NOT PROPERLY POSITIONED ON THE
HOT PLATE, HOT WATER OR HOT COFFEE MAY OVERFLOW.
DO NOT OPEN THE WATER TANK LID DURING THE BREWING CYCLE AS HOT STEAM COULD CAUSE
INJURY. IF WATER/COFFEE IS NOT DRIPPING FROM THE COFFEE MAKER, IMMEDIATELY PRESS THE
ON/OFF BUTTON, SWITCH OFF AT THE POWER OUTLET, UNPLUG AND WAIT 10 MINUTES BEFORE
OPENING THE WATER TANK LID AND CHECKING THE FILTER BASKET.
THE COFFEE MAKER BECOMES VERY HOT DURING THE BREWING CYCLE. PLEASE HANDLE WITH
EXTREME CARE.
Care and cleaning
9
Cleaning
Before cleaning ensure that the on/off button is in
the off position. Switch off at the power outlet,
unplug the power cord and allow the Coffee Maker
to cool.
Open the water tank lid and remove the stainless
steel mesh filter basket. The stainless steel mesh
filter basket, filter basket holder and carafe can
be washed in hot soapy water then rinsed and
dried thoroughly.
The outer housing can be cleaned with a soft, damp
cloth (do not use abrasive agents or cloths which can
damage the surface). The warming plate can be
wiped with a clean damp cloth when necessary.
Do not try to clean the inside of the water
chamber with a cloth, this will leave a residue
of lint and may clog your Coffee Maker. Just
rinse with cold water periodically.
Note
Removal of mineral deposits
Mineral deposits from hard water can build up
in the water tank and internal tubes. If these
deposits are not removed, the brew time will
be extended.
To remove mineral deposits
1. Fill the water tank to the maximum mark with
2
/3 cold tap water and
1
/3 white vinegar.
2. Ensure the filter holder is firmly positioned into
place. Close the water tank lid.
3. Position the carafe, with the lid on, on the hot
plate and switch the Coffee Maker on. Allow the
mixture to drip through the machine until the
cycle is complete.
4. Once the cycle is complete empty the carafe and
refill the water tank with water. Place the carafe
back into position on the hot plate.
5. Switch the Coffee Maker on and allow the fresh
water to drip through. Once the cycle is
complete, switch the machine off and empty the
carafe. Mineral deposits will have been removed
from the water tank and internal pipes.
Storage
• Press the on/off button to off, switch off at the
power outlet and unplug.
• Ensure all water has been removed from the
Coffee Maker.
• Wash the mesh filter basket, carafe and lid in
warm, soapy water, rinse and dry thoroughly.
• Replace all parts back into position in the Coffee
Maker and close the water tank lid.
• Store upright on the bench top or in a cupboard.
Operating your Breville Aroma Style Coffee Maker
continued
Programming your Coffee Maker –
automatic operation
• The clock has to be set to the time of day for the
automatic operation of the Coffee Maker.
To set the clock to the time of day:
1. Press the ’HOUR‘ button to select the current
hour time. Press and hold the ’HOUR‘ button to
scroll through numbers quickly. When the number
displayed approaches the desired setting, press
and release the button to advance one digit at a
time. (AM is indicated in the upper left hand
corner of the clock display and PM in the lower
left hand corner).
2. Press the ’MIN‘ button to select the current
minute time. Press and hold the ’MIN‘ button to
scroll through numbers quickly. When the number
displayed approaches the desired setting, press and
release the button to advance one digit at a time.
To select the automatic operation:
1. Press the ’PROGRAM‘ button. The word PROGRAM
will appear on the LCD to indicate an auto brew
time is being selected.
2. Select the time you want coffee to start brewing
by using the ’HOUR‘ button, then the ’MIN‘
button, following the same instructions for
setting the clock.
After selecting the auto brew start time, the
program indicator will automatically stop
flashing after a few seconds and the display
will return to the current time.
Note
3. To confirm your auto brew start time, simply
press the ’PROGRAM‘ button and the pre-set time
will be displayed for a few seconds on the LCD.
The PROGRAM indicator will continue to flash
while confirming the pre-set auto brew time. It
will automatically return to the current time after
a few seconds.
4. After setting the auto brew start time, prepare
coffee following the directions in ‘Brewing coffee’
Steps 1–7
5. Press the ‘AUTO ON’ button. The green auto on
light will illuminate and the word AUTO will be
displayed in the upper right hand corner of
the LCD.
6. Your Coffee Maker will automatically begin
brewing at the pre-set time. When the brew
cycle begins, on the LCD the ’AUTO‘ icon will
disappear and the ’ON‘ icon will be displayed.
The green auto on light will go out and the
red on light will come on to indicate the Coffee
Maker is in operation.
7. To re-set the auto brew time for the same pre-set
time for the next day, simply press the ’AUTO ON‘
button. The green auto on light will illuminate
and the word AUTO will again be displayed in the
upper right hand corner of the LCD.
Brewing tea
The Coffee Maker can be used for brewing tea if
desired. Simply place 4-6 teabags or teaspoons
of tea in the stainless steel mesh filter basket and
follow the same procedure as for brewing coffee.
It is advisable to thoroughly clean out the
coffee residue in the stainless steel mesh filter
basket and filter basket holder before brewing tea
and vice versa.
8
DO NOT IMMERSE THE DRIP FILTER COFFEE MAKER BODY IN WATER OR ANY OTHER LIQUID.
Breville Customer Service Centre
Australian Customers
✉
Breville Customer Service Centre
Locked Bag 2000
Botany NSW 2019
AUSTRALIA
☎
Customer Service: 1300 139 798
Fax (02) 9384 9601
Email Customer Service: askus@breville.com.au
New Zealand Customers
✉
Breville Customer Service Centre
Private Bag 94411
Greenmount
Auckland, New Zealand
☎
Customer Service: 09 271 3980
Fax 0800 288 513
Email Customer Service: askus@breville.com.au
Breville is a registered trademark of Breville Pty. Ltd. ABN 98 000 092 928
www.breville.com.au
© Copyright. Breville Pty. Ltd. 2004
Aroma Style Electronic is a trademark of Breville Pty. Ltd.
Due to continual improvements in design or otherwise, the product you
purchase may differ slightly from the one illustrated in this booklet.
Model BCM600 Issue 1/04
Handy hints
• Coffee strength and flavour is an individual
preference. It is suggested that you experiment
with different brands, flavours and amounts
of coffee.
• Always use finely ground coffee for drip filter
coffee makers. If the coffee is too coarse the
water will pass rapidly through the Coffee Maker
resulting in poor extraction of coffee flavour.
• To maintain coffee freshness, store opened
packets of coffee in an air tight container in
a cool dark place.
• Brewed coffee can be kept hot for an indefinite
period of time, however the flavour of the coffee
will deteriorate with time.
10
Recipes
Delicious recipes
Includes instructions for use
R3
These recipes can be doubled or halved
depending on the number of serves required.
Note
Irish coffee
120ml Irish Whisky
Sugar to taste
Hot freshly brewed coffee
200ml thickened cream
1. Warm a stemmed glass or goblet under hot water.
2. Pour 30ml of Irish Whisky into each warmed glass,
add sugar and pour hot coffee into the glass
leaving 2cm to the rim.
3. Slowly pour the cream over the back of a teaspoon
into the glass allowing the cream to float on top
of the coffee.
Drink through the cream without stirring.
Café rumba
800ml freshly brewed and chilled coffee
4 scoops ice cream
120ml Jamaican Rum
Sugar to taste
Grated chocolate to garnish
1. Pour coffee, ice cream, rum and sugar into a
Breville blender and blend until smooth.
2. Serve in a tall glass, sprinkled with chocolate.
Mexican coffee
120ml Kahula
Sugar to taste
Hot freshly brewed coffee
200ml whipped cream
Finely grated chocolate to garnish
1. Warm a stemmed glass or goblet under hot water.
2. Pour 30ml Kahlua into each warmed glass, add
sugar and pour hot coffee into the glass leaving
2cm to the rim.
3. Spoon whipped cream onto the top of the coffee
and sprinkle with chocolate.
Drink through the cream without stirring.
Iced tea
4-5 teabags
(Lemon or Earl Grey tea are delicious)
Sugar to taste
3 lemon wedges
1 cup of ice cubes
1. Clean filter basket and filter holder thoroughly
before preparing iced tea
2. Place teabags, sugar and lemon wedges in the
mesh filter basket.
3. Pour half a carafe of water into the water tank.
4. Place ice into the carafe and position the carafe on
the hot plate. Switch Aroma Style Electronic ‘on’ to
commence brewing.
Once tea is brewed, immediately remove carafe from
the hot plate, add extra ice if desired and serve.
4
4
4
Contents Recipes
R2
Page
Recipes R3
Notes
R5
Notes
R4