
Operating Instructions
INDOOR
ELECTRIC
GRILL
EB-CC15
INDEX
IMPORTANT SAFEGUARDS 1-2·····························
PARTS NAM ES
-3
·····················································
HOW TO USE 4-5·····················································
CLEANING INSTRUCTIONS 6•·································
GRILLING TIPS 7······················································
RECIPES 7-10····················································
SPECIFICATIONS 11•·················································
ZOJIRUSHI CORPORATION
IMPORTANT
SAFEGUARDS
When
using
electrical
appliances,
basic
safety
precautions
should
always
be
followed,
including
the
following:
1.Read
all
instructions,
keep
these
instructions
for
future
use.
2.Do
not
touch
hot
surfaces,
use
handles
or
knobs.
3.To
protect
against
a
risk
of
electric
shock,
do
not
immerse
the
cord
assembly
or
plug
in
water
or
other
liquid.
4.Close
supervision
is
necessary
when
any
appliance
is
used
by
or
near
children.
5.
Unplug
from
outlet
when
not
in
use
and
before
cleaning.
Allow
to
cool
before
putting
on
or
taking
off
parts.
6.
Do
not
leave
the
appliance
unattended
when
in
use.
7.
Do
not
operate
any
appliance
with
a
damaged
cord
or
plug
or
after
the
appliance
malfunctions
or
has
been
damaged
in
any
manner.
Return
the
appliance
to
an
authorized
service
center
for
examination,
repair
or
adjustment.
a.
Do
not
use
outdoors.
9.
The
use
of
accessory
attachments
not
recommended
by
the
appliance
manufacturer
may
cause
injuries.
1
O.Do
not
let
cord
hang
over
the
edge
of
table
or
counter,
or
touch
hot
surfaces.
11.Do
not
place
on
or
near
a
hot
gas
or
electric
burner,
or
in
heated
oven.
12.Always
use
the
appliances
on
a
dry,
level
surface
.
13.Extreme
caution
must
be
used
when
moving
an
appliance
containing
hot
oil
or
other
hot
liquids.
14.Always
attach
plug
to
appliance
first,
then
plug
cord
in
the
wall
outlet.
To
disconnect,
turn
any
control
to
"off"
,
then
remove
plug
from
wall
outlet.
15.To
use,
plug
cord
into
electrical
outlet.
To
disconnect,
grasp
plug
and
remove
from
outlet.
16.Do
not
use
grill
for
other
intended
use.
17.Do
not
operate
in
the
presence
of
explosive
and/or
flammable
fumes
.
18.This
product
is
intended
for
household/domestic
use
only
and
not
for
commercial
or
industrial
use.
19.To
reduce
the
risk
of
fire
and
personal
injury,
cook
only
with
drip
tray
in
place
.
SAVE
THESE
INSTRUCTIONS
Polarized
Plug
-
The
appliance
has
a
polarized
plug
-
one
blade
is
wider
than
the
other
.
To
reduce
the
risk
of
electric
shock,
this
plug
will
fit
into
a
polarized
outlet
only
one
way
.
If
the
plug
does
not
fit
fully
into
the
outlet,
reverse
it.
If
it
still
does
not
fit,
contact
a
qualified
electrician.
Do
not
attempt
to
defeat
this
safety
feature
by
modifying
the
plug
in
any
way.
The
Electrical
Cord
-
To
avoid
a
circuit
overload,
do
not
operate
another
high
wattage
appliance
on
the
same
circuit.
The
cord
length
of
this
appliance
has
been
selected
to
reduce
the
possibilities
of
tangling
or
tripping
over
a
longer
cord.
If
additional
cord
length
is
needed,
an
extension
cord
rated
not
less
than
11
amperes,
120
volts
may
be
used.
If
using
an
extension,
be
sure
to
arrange
it
so
that
it
cannot
be
pulled
or
tripped
on.
Caution
-
During
preheating
or
cooking
,
move
birds
and
small
animals
that
may
be
sensitive
to
smoke
or
smells
to
other
rooms,
and
open
windows
or
turn
on
exhaust
fans.
1

IMPORTANTES
MESURES
DE
SECURITE
En
cas
d'utilisation
d'aP.pareils
electriques,
ii
est
toujours
necessaire
de
prendre
les
precautions
cte
base
y
compris
les
suivantes
:
1.Lisez
toutes
les
instructions
et
conservez-les
pour
une
utilisation
future.
2.Ne
touchez
pas
les
surfaces
chaudes
et
utilisez
les
poignees
et
les
boutons.
3.Pour
eviter
les
chocs
electriques,
ne
plongez
pas
le
cordon
ou
la
fiche
dans
l'eau
ou
dans
tout
autre
liquide
.
4.Soyez
tres
vigilant
lors
de
!'utilisation
d'un
appareil
par
un
enfant
ou
lors
de
!'utilisation
d'un
appareil
a
proximite
d'un
enfant.
5.Debranchez
l'appareil
lorsque
vous
ne
vous
en
servez
pas
et
avant
de
le
nettoyer.
Laissez
l'appareil
refroidir
avant
d'y
ajouter
ou
d'y
enlever
des
pieces
accessoires.
6.Ne
vous
eloignez
pas
d'un
appareil
en
marche.
7.N'utilisez
pas
un
appareil
dont
le
cordon
ou
la
fiche
sont
endommages
ou
encore
un
appareil
qui
fonctionne
mal
ou
a
ete
endommage
d'une
maniere
quelconque.
Confiez
au
service
de
reparation
recommande
l'examen,
la
reparation
ou
le
reglage
de
l'appareil.
8.N'utilisez
pas
l'appareil
a
l'exterieur.
9.L'utilisation
de
pieces
accessoires
non
recommandees
par
le
fabriquant
risque
d'endommager
l'appareil.
10.Ne
laissez
pas
le
cordon
pendre
par-dessus
le
bord
d'une
table
ou
d'un
comptoir
et
assurez-vous
qu'il
ne
se
trouve
pas
en
contact
avec
une
surface
chaude.
11.Ne
placez
pas
l'appareil
pres
d'une
surface
chaude
telle
qu'un
brOleur
a
gaz
allume,
une
plaque
electrique
ou
encore
dans
un
four
en
train
de
chauffer.
12.Utilisez
toujours
l'appareil
sur
un
plan
sec
et
horizontal.
13.Soyez
extremement
vigilant
lorsque
vous
deplacez
un
appareil
contenant
de
l'huile
chaude
ou
tout
autre
liquide
chaud.
14.Branchez
d'abord
le
cordon
sur
l'appareil
avant
de
l'introduire
dans
la
prise
murale.
15.Pour
!'utilisation,
branchez
le
cordon
dans
une
prise
domestique.
Pour
debranchez,
saisissez
la
fiche
pour
la
retirer
de
la
prise
murale.
16.N'utilisez
pas
le
gril
pour
d'autres
fonctions
que
celles
auxquelles
ii
est
destine.
17.Evitez
la
proximite
de
produits
inflammables
ou
de
produits
explosifs.
18.Cet
appareil
est
uniquement
a
usage
domestique
et
ne
peut
etre
destine
a
un
usage
commercial
ou
industrial.
19.Afin
de
reduire
les
risques
d'incendie
ou
les
accidents,
ne
cuisinez
sur
place
qu'avec
un
plat
muni
d'un
godet
d'ecoulement.
CONSERVEZ
CES
INSTRUCTIONS
Prise
polarisee.
L'appareil
possede
une
prise
polarisee
dont
l'une
des
broches
est
plus
large
que
l'autre.
Pour
minimiser
les
risques
de
chocs
electriques,
la
fiche
s'adapte
dans
un
seul
sens
a
une
prise
polarisee
.
Si
la
fiche
ne
s'adapte
pas
correctement
a
la
prise,
retournez-la.
Si
elle
ne
s'adapte
toujours
pas,
prenez
contact
avec
un
electricien
agree.
Ne
tentez
pas
d'aller
a
l'encontre
des
mesures
de
securite
en
modifiant
la
fiche
d'une
maniere
quelconque.
Le
cordon
electrique.
Pour
eviter
une
surcharge
du
circuit,
n'
utilisez
pas
un
autre
appareil
a
consommation
electrique
elevee
sur
le
meme
circuit.
La
longueur
du
cordon
est
prevue
pour
reduire
les
risques
d'emmelements
ou
de
chutes
sur
un
cordon
trop
long.
Si
une
rallonge
electrique
est
necessaire,
elle
ne
doit
pas
etre
inferieure
a
une
puissance
electrique
de
11
amperes
et
son
voltage
ne
doit
pas
etre
inferieur
a
120
volts.
Si
vous
utilisez
une
rallonge
electrique,
veillez
a
la
diposer
de
maniere
a
eviter
les
risques
de
chutes
ou
d'enchevetrements.
Avertissement.
Pendant
le
prechauffage
ou
la
cuisson,
laissez
dans
une
autre
piece
les
oiseaux
et
petits
animaux
sensibles
a
la
fumee
ou
aux
odeurs,
et
ouvrez
les
fenetres
ou
activez
les
ventilateurs.
2
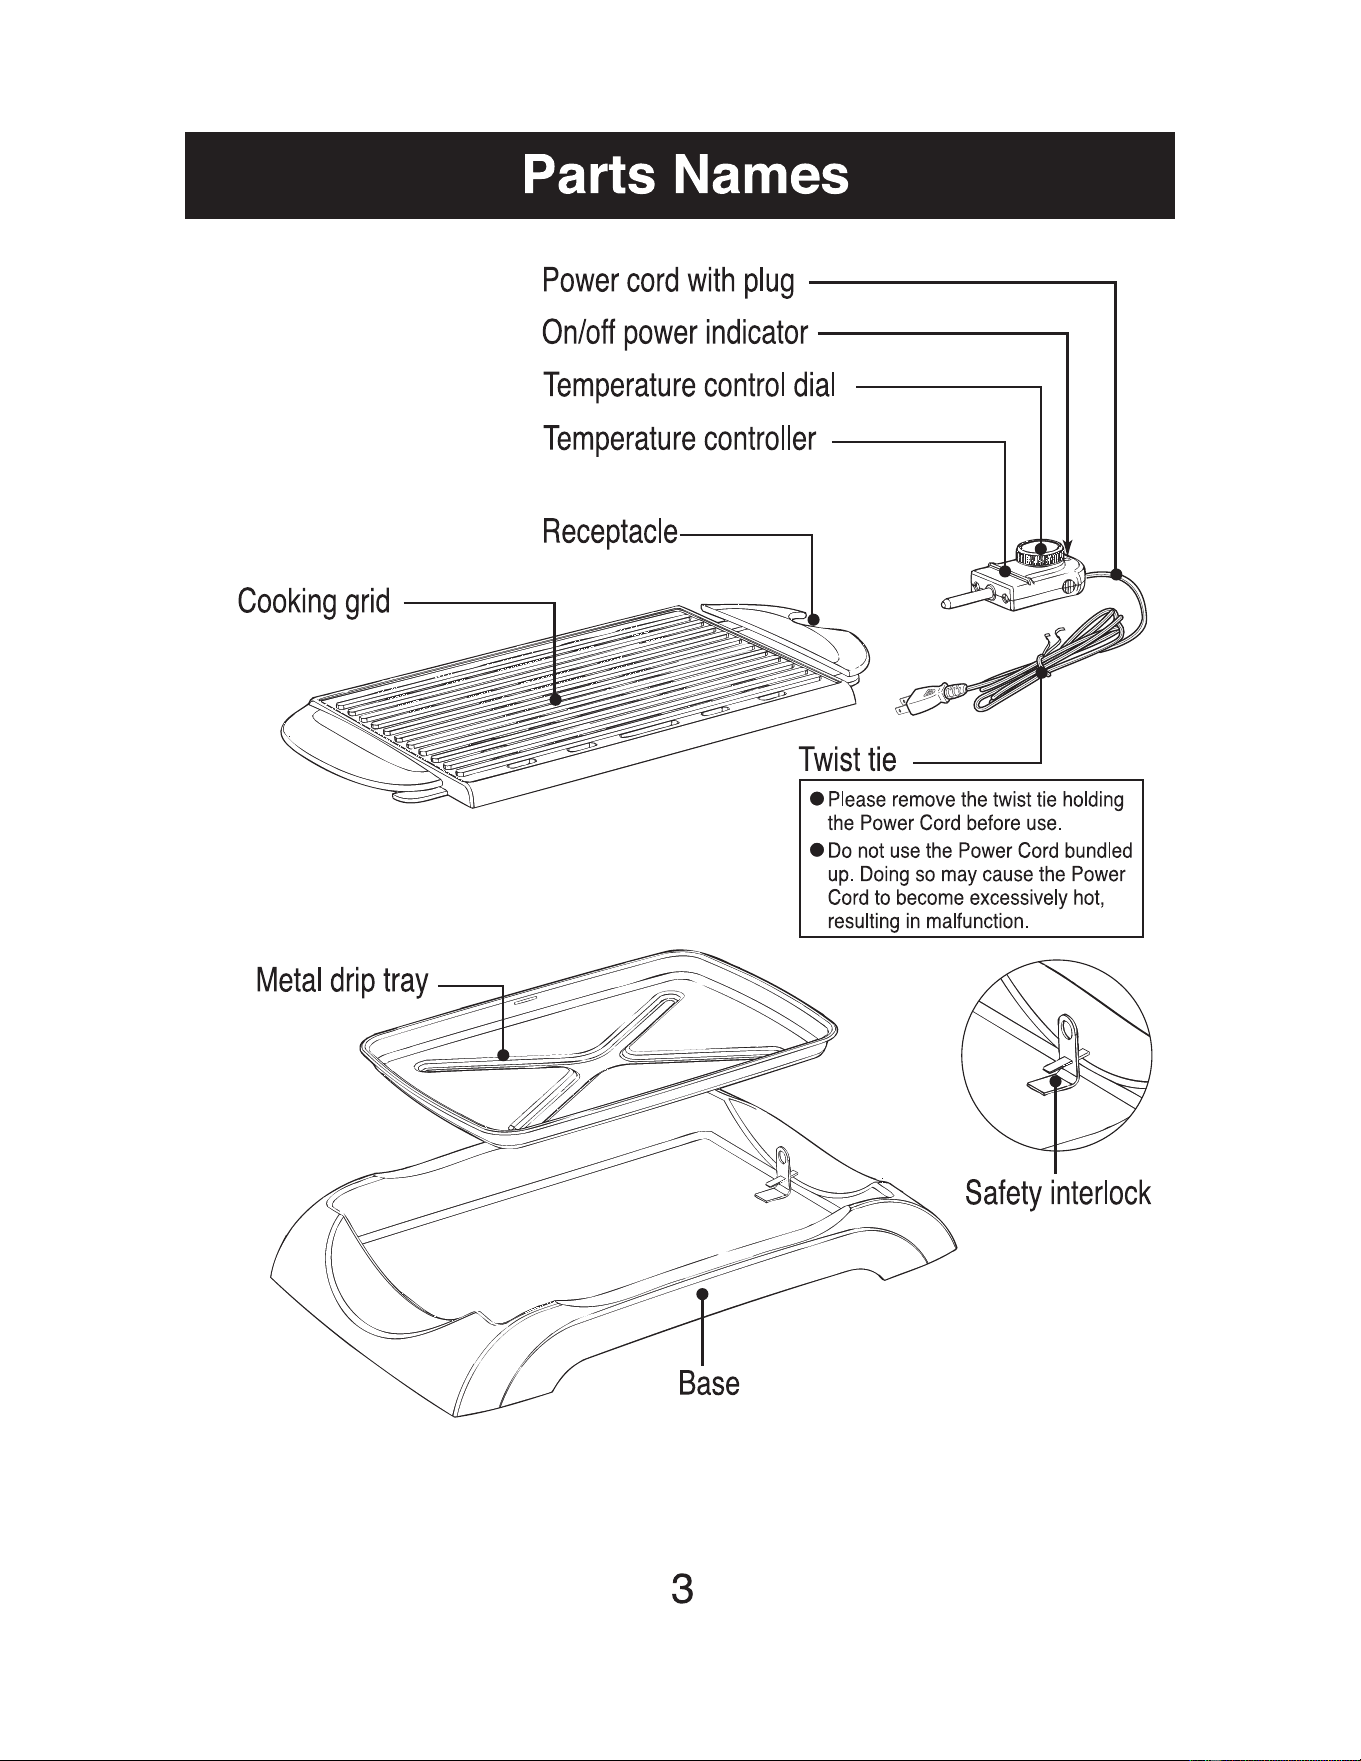
Parts Names
Power
cord
with
plug
------------.
On/off
power
indicator
--------.
Temperature
control
dial
Temperature
controller
---------.
Receptacle--------.
Cooking
grid
------.
Base
3
Twist
tie
---
•
Please
remove
the
twist
tie
holding
the
Power
Cord
before
use.
•
Do
not
use
the
Power
Cord
bundled
up
.
Doing
so
may
cause
the
Power
Cord
to
become
excessively
hot,
resulting
in
malfunction
.
Safety
interlock
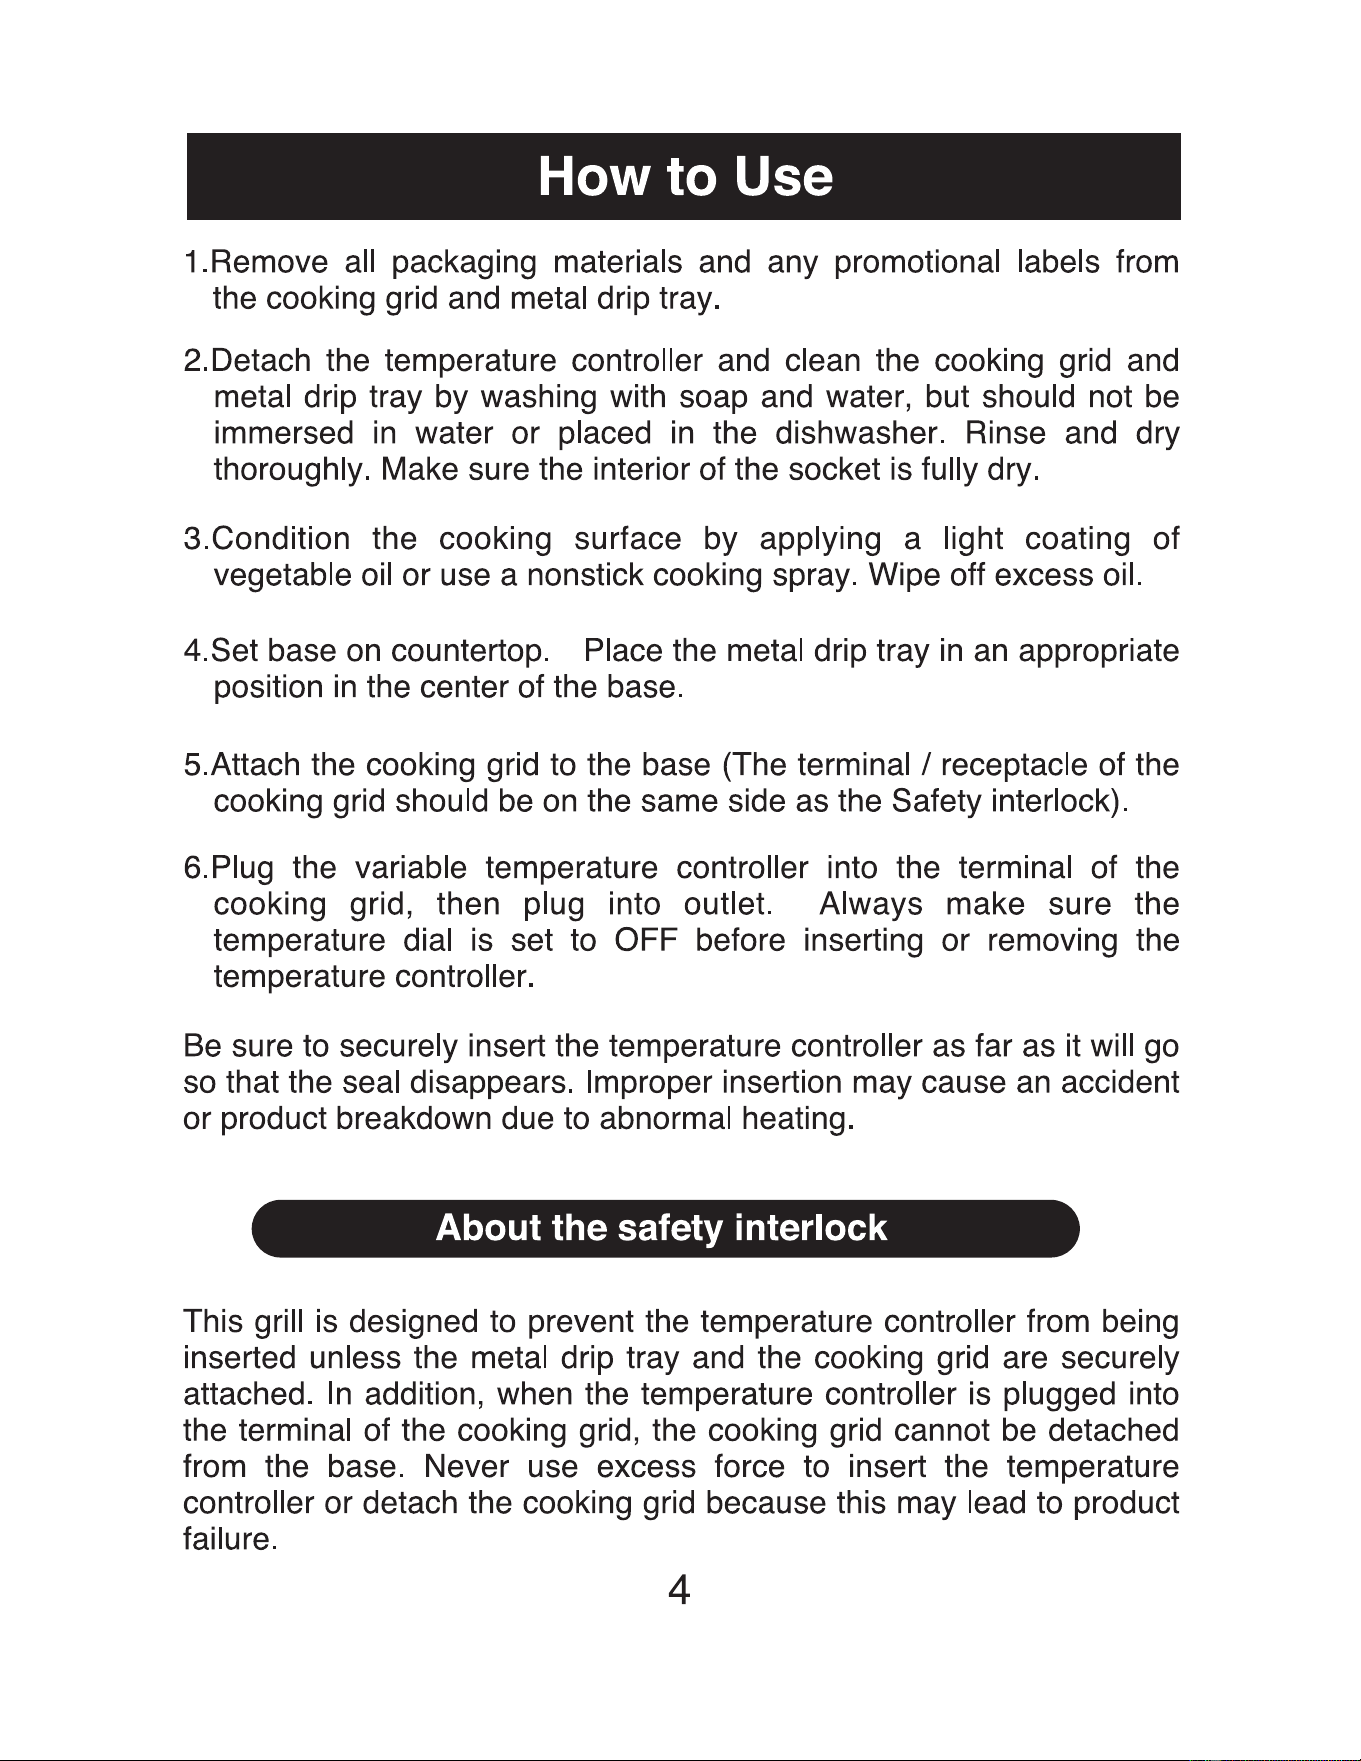
How to Use
1.
Remove all packaging materials and any promotional labels from
the cooking grid and metal drip tray.
2.Detach the temperature controller and clean the cooking grid and
metal drip tray by washing with soap and water, but should not
be
immersed
in
water or placed
in
the dishwasher. Rinse and dry
thoroughly. Make sure the interior of the socket is fully dry.
3.Condition the cooking surface by applying a light coating of
vegetable oil or use a nonstick cooking spray. Wipe off excess oil.
4.Set base
on
countertop. Place the metal drip tray
in
an
appropriate
position
in
the center of the base.
5.Attach the cooking grid to the base (The terminal I receptacle of the
cooking grid should
be
on
the same side as the Safety interlock).
6.Plug the variable temperature controller into the terminal of the
cooking grid, then plug into outlet. Always make sure the
temperature dial is set to OFF before inserting or removing the
temperature controller.
Be
sure to securely insert the temperature controller as far as it will go
so
that the seal disappears. Improper insertion may cause
an
accident
or product breakdown due to abnormal heating.
About the safety interlock
This grill is designed to prevent the temperature controller from being
inserted unless the metal drip tray and the cooking grid are securely
attached.
In
addition, when the temperature controller
is
plugged into
the terminal of the cooking grid, the cooking grid cannot
be
detached
from the base. Never use excess force to insert the temperature
controller or detach the cooking grid because this may lead to product
failure.
4
How to Use
7.Adjust the temperature dial to the maximum setting. The indicator
light
on
the control probe will light. Preheat for 4 minutes. The light
will cycle
on
and
off during preheat. This
is
normal.
8.Be sure the temperature control dial
is
on
Hi
(8-10) for best
browning results and grill marks when barbecuing hamburger,
steaks, hot dogs, sausage, fish steaks, chicken breasts
and
other
meat. Use Low or Medium setting to reheat previously cooked
foods, to keep foods warm,
and
when grilling more delicate foods
with lower cooking temperature.
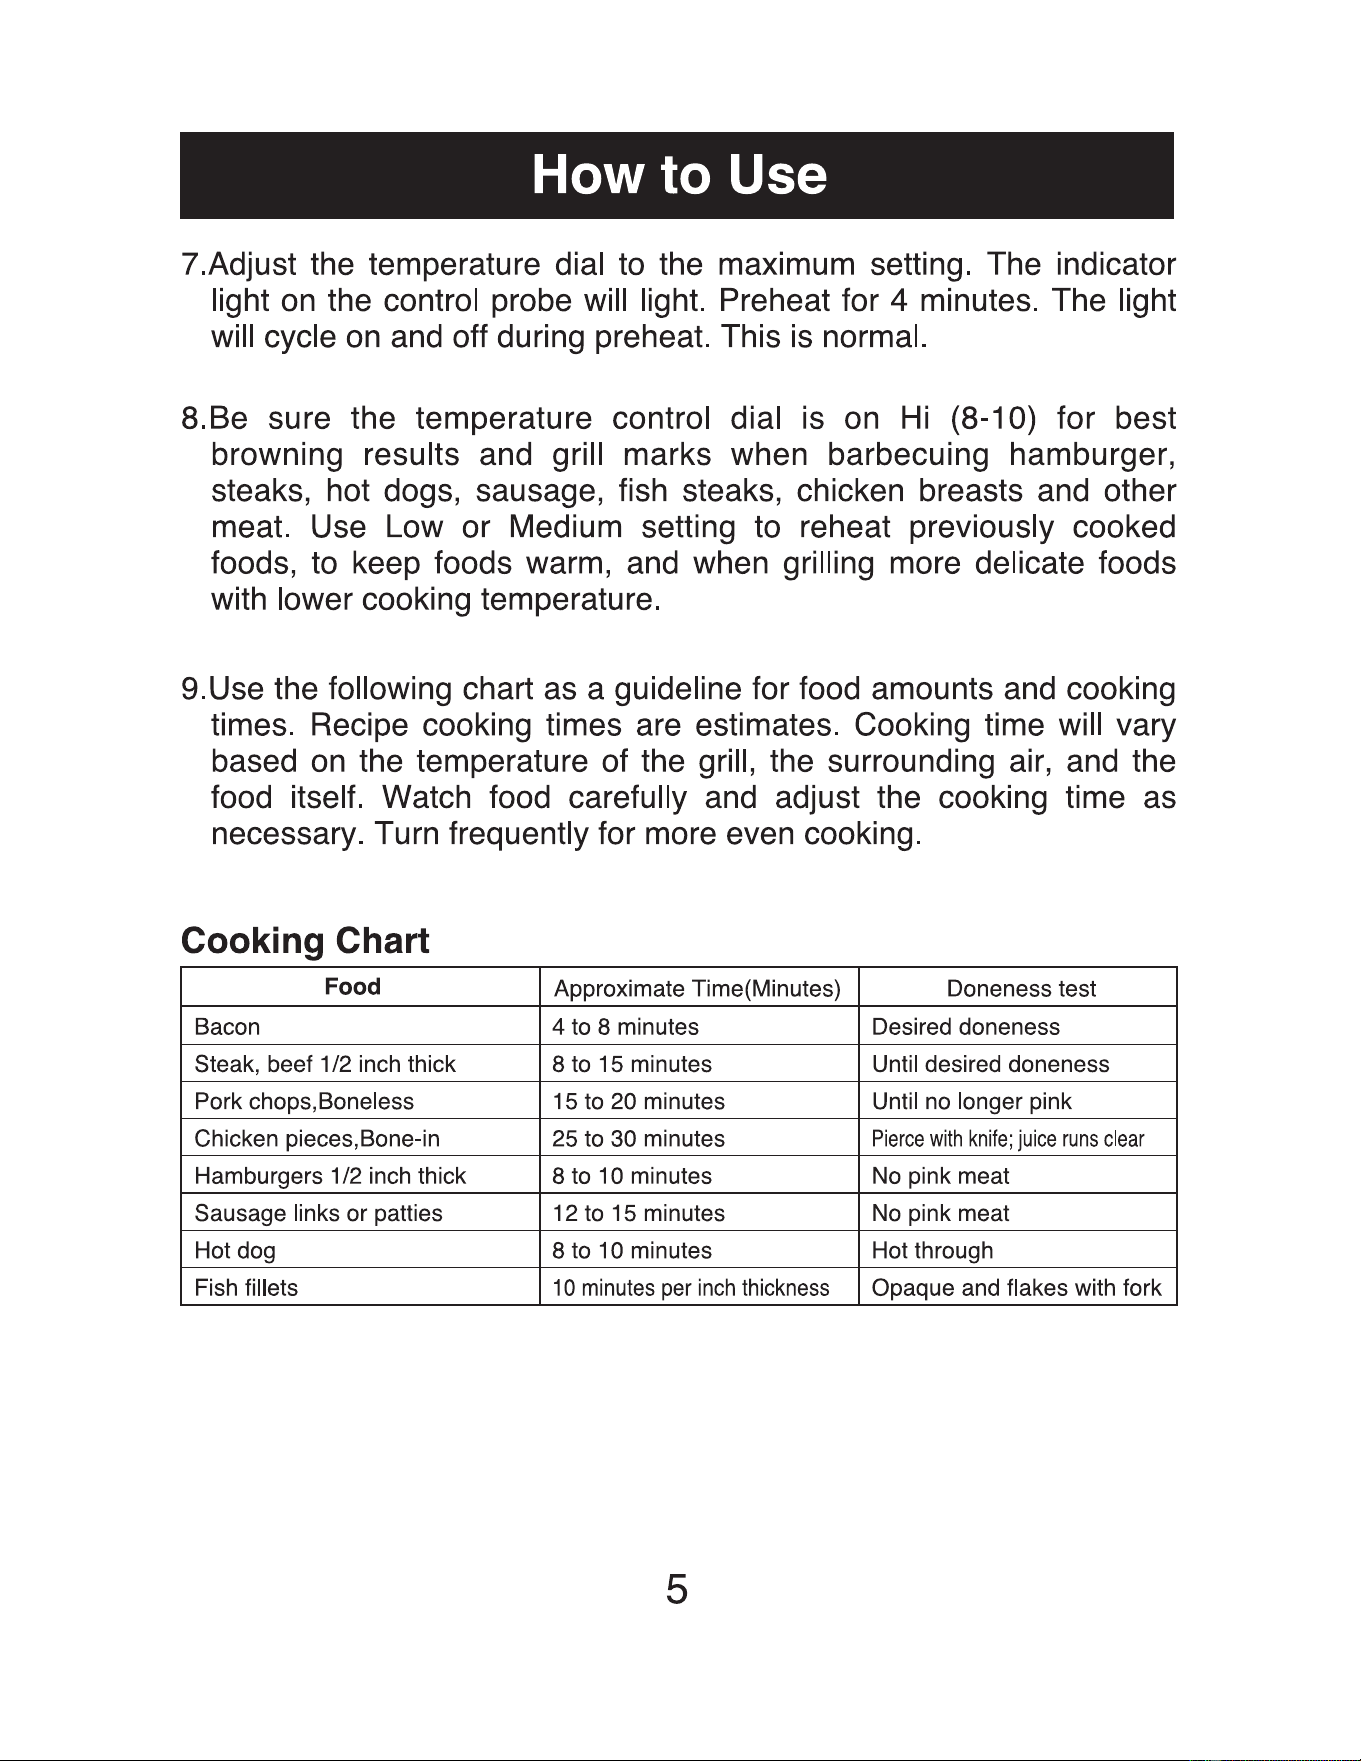
9.Use the following chart
as
a guideline for food amounts
and
cooking
times. Recipe cooking times are estimates. Cooking time will vary
based
on
the temperature of the grill, the surrounding air,
and
the
food itself. Watch food carefully
and
adjust the cooking time
as
necessary. Turn frequently for more even cooking.
Cooking Chart
Food
Approximate Time(Minutes) Doneness test
Bacon 4 to 8 minutes Desired doneness
Steak, beef 1/2 inch thick 8 to 15 minutes Until desired doneness
Pork chops,Boneless 15 to
20
minutes Until no longer pink
Chicken pieces,Bone-in
25
to
30
minutes
Pierce
with
knife;
juice
runs
clear
Hamburgers 1 /2 inch thick 8 to 1Ominutes No pink meat
Sausage links
or
patties 12 to 15 minutes No pink meat
Hot dog 8 to 10 minutes Hot through
Fish fillets
10
minutes per
inch
thickness Opaque and flakes with fork
5
Cleaning Instructions
1.When finished cooking, turn temperature control dial to OFF then
unplug from the outlet
and
allow the grill to cool completely before
cleaning.
2.Unplug the power cord at
all
times when
you
clean any part of the
grill.
3.Pull out the temperature controller.
If
cleaning
is
necessary, wipe
unit with a slightly damp cloth.
4.Lift the cooking grid off the base
and
pour off any excess grease
liquid from the metal drip tray.
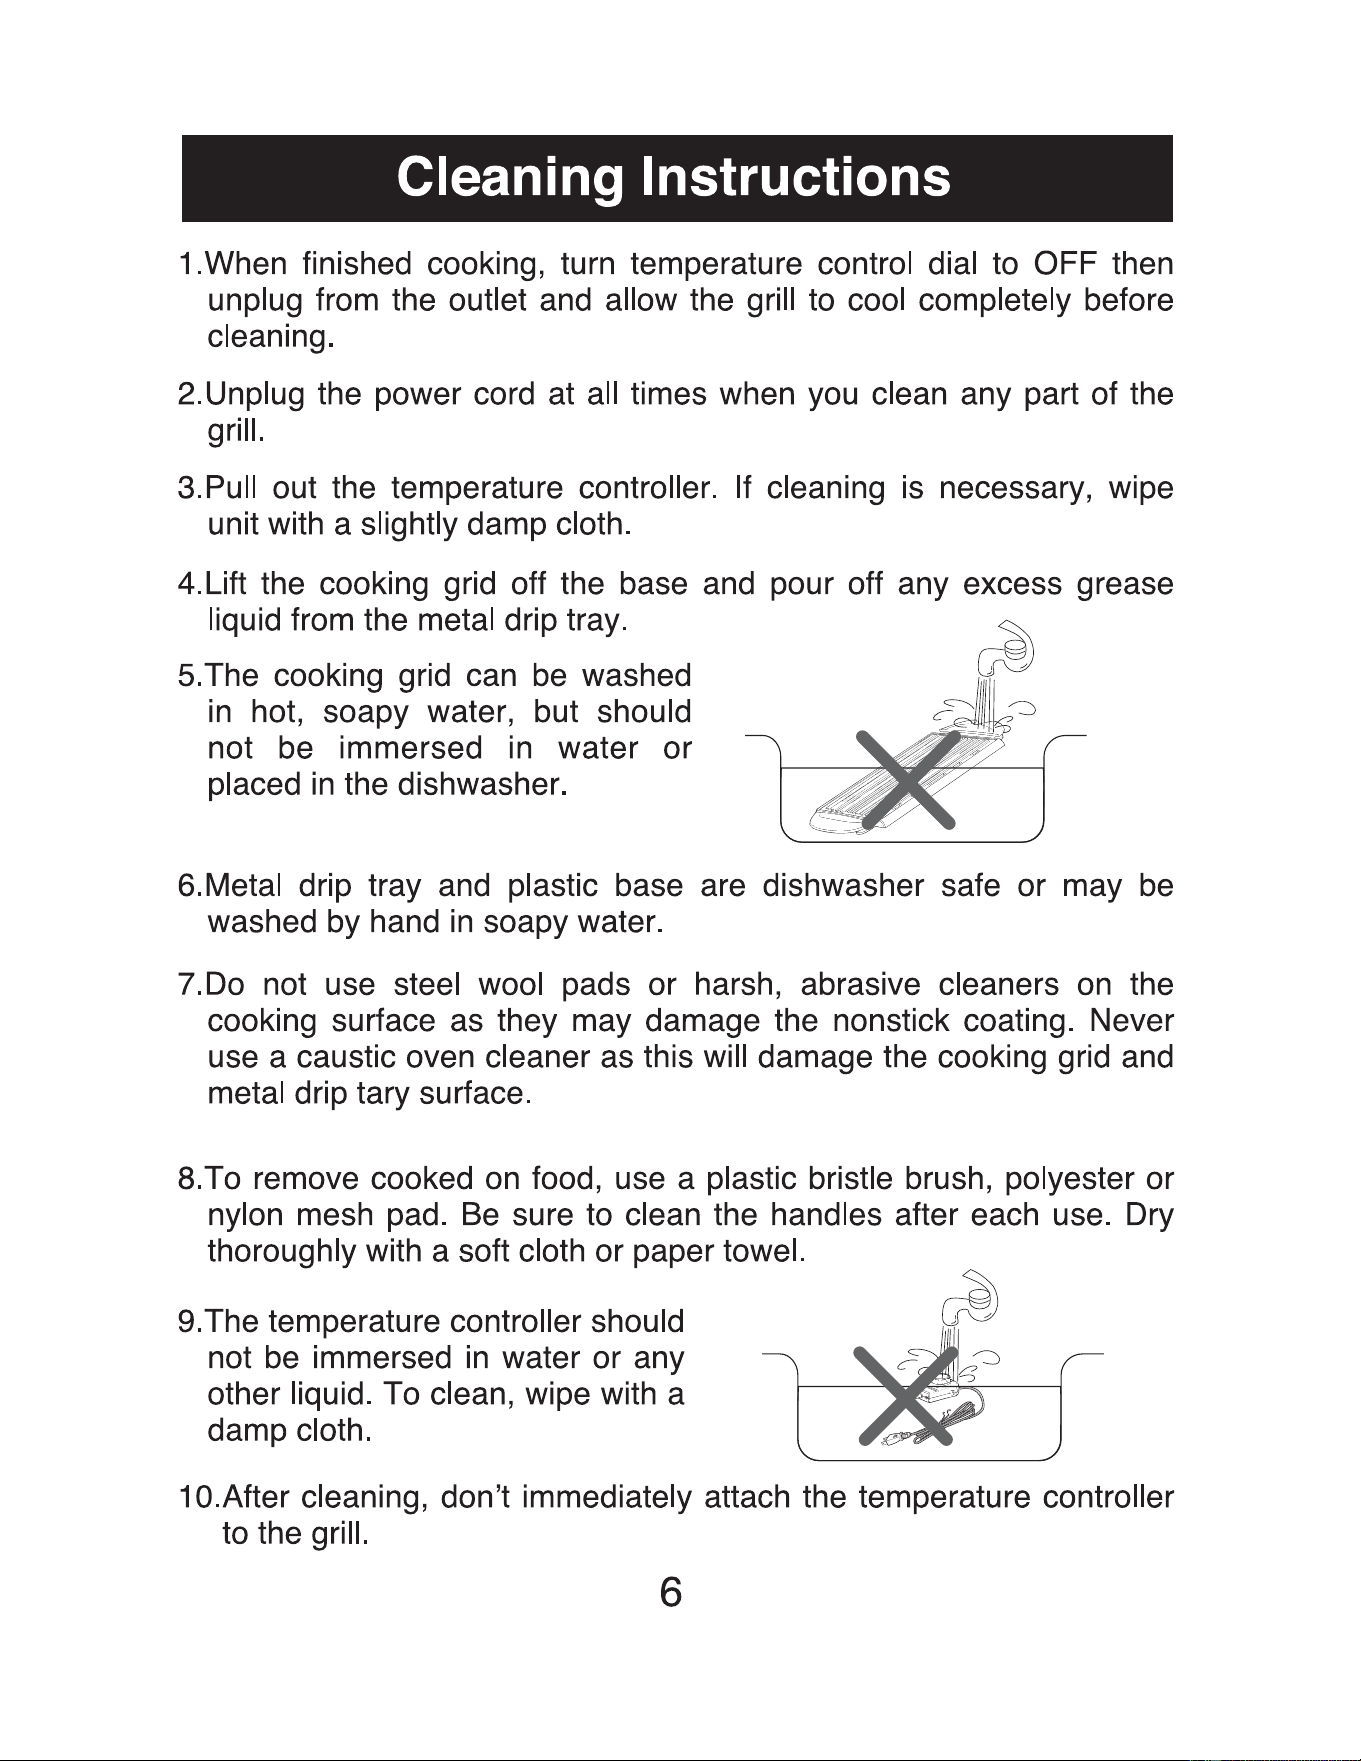
5.The cooking grid
can
be
washed
in
hot, soapy water, but should
not
be
immersed
in
water or
placed
in
the dishwasher.
6.Metal drip tray
and
plastic base are dishwasher safe or may
be
washed by hand
in
soapy water.
7.Do not use steel wool pads or harsh, abrasive cleaners
on
the
cooking surface
as
they may damage the nonstick coating. Never
use a caustic oven cleaner
as
this will damage the cooking grid
and
metal drip tary surface.
8.To remove cooked
on
food, use a plastic bristle brush, polyester or
nylon mesh
pad.
Be
sure
to
clean the handles after each
use.
Dry
thoroughly with a soft cloth or paper towel.
9.The temperature controller should
not
be
immersed
in
water or any
other liquid. To clean, wipe with a
damp cloth.
1 a.After cleaning, don't immediately attach the temperature controller
to the grill.
6

Grilling Tips
1.To prevent scratching the cooking grid
surface, always use plastic utensils.
Never cut foods on the cooking grid.
2.
If
grilling vegetables, fish, or lean meat, spray the grilling surface
with a cooking spray or a light coating of vegetable oil. If grilling
meat with any amount of fat, or if the food has been marinated,
there is
no
need
to
treat the grill.
3.For best results, preheat the grill 4 minutes before grilling.
4.
Recipe cooking times are estimates. Cooking time will vary based
on
the temperature of the grill, the environment and the food itself.
Watch food carefully while grilling and adjust the cooking time as
necessary.
Recipe Booklet
HOT PEPPERED STEAKS WITH
HORSERADISH SAUCE
I 4 servings I
4 medium-sized sirloin steaks(1
,...__,
1 ½ pound)
3 tablespoons seasoned, cracked pepper
(Horseradish Sauce)
2 tablespoons brandy
4 tablespoons beef stock
3 tablespoons heavy cream
1 tablespoon prepared horseradish
1 /2 teaspoon suger
salt,
to
taste
1.
Sprinkle and press the pepper onto both sides of the meat.
2.
Put the sirloin steaks
on
the preheated cooking grid and cook them
to
the desired doneness.
3.
To make the Horseradish Sauce, boil the brandy
in
a pan and then
add all remaining. Mix the sauce until
it
is smooth.
4.
Serve with the horseradish sauce.
7
Recipe Booklet
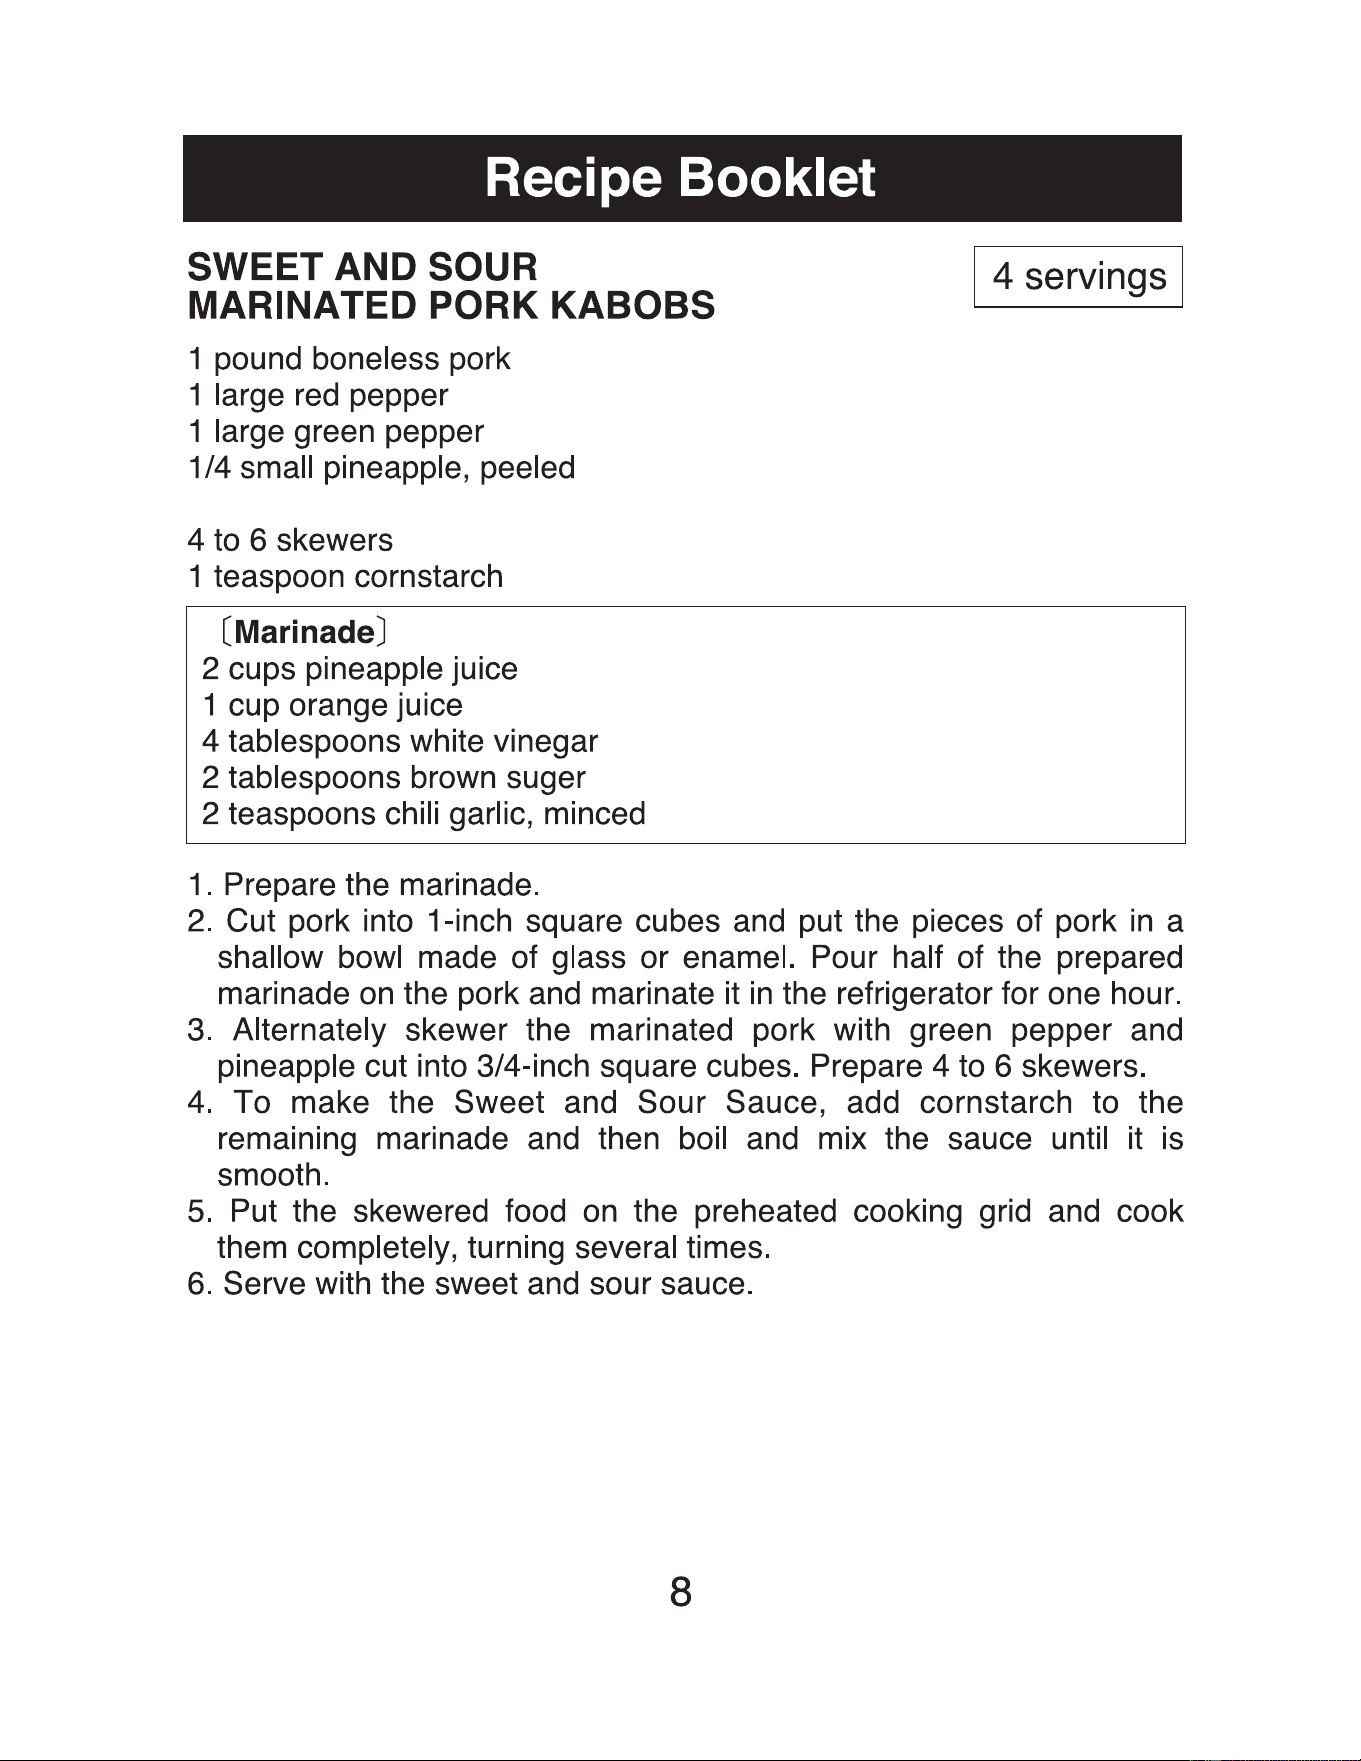
SWEET AND SOUR
MARINATED PORK KABOBS
I 4 servings I
1 pound boneless pork
1 large
red
pepper
1 large green pepper
1/4 small pineapple, peeled
4 to 6 skewers
1 teaspoon cornstarch
(Marinade]
2 cups pineapple juice
1 cup orange juice
4 tablespoons white vinegar
2 tablespoons brown suger
2 teaspoons chili garlic, minced
1.
Prepare the marinade.
2.
Cut pork into 1-inch square cubes and put the pieces of pork
in
a
shallow bowl made of glass or enamel. Pour half of the prepared
marinade
on
the pork and marinate it
in
the refrigerator for one hour.
3.
Alternately skewer the marinated pork with green pepper and
pineapple cut into 3/4-inch square cubes. Prepare 4 to 6 skewers.
4.
To make the Sweet and Sour Sauce, add cornstarch to the
remaining marinade and then boil and mix the sauce until it is
smooth.
5.
Put the skewered food
on
the preheated cooking grid and cook
them completely, turning several times.
6.
Serve with the sweet and sour sauce.
8
Recipe Booklet
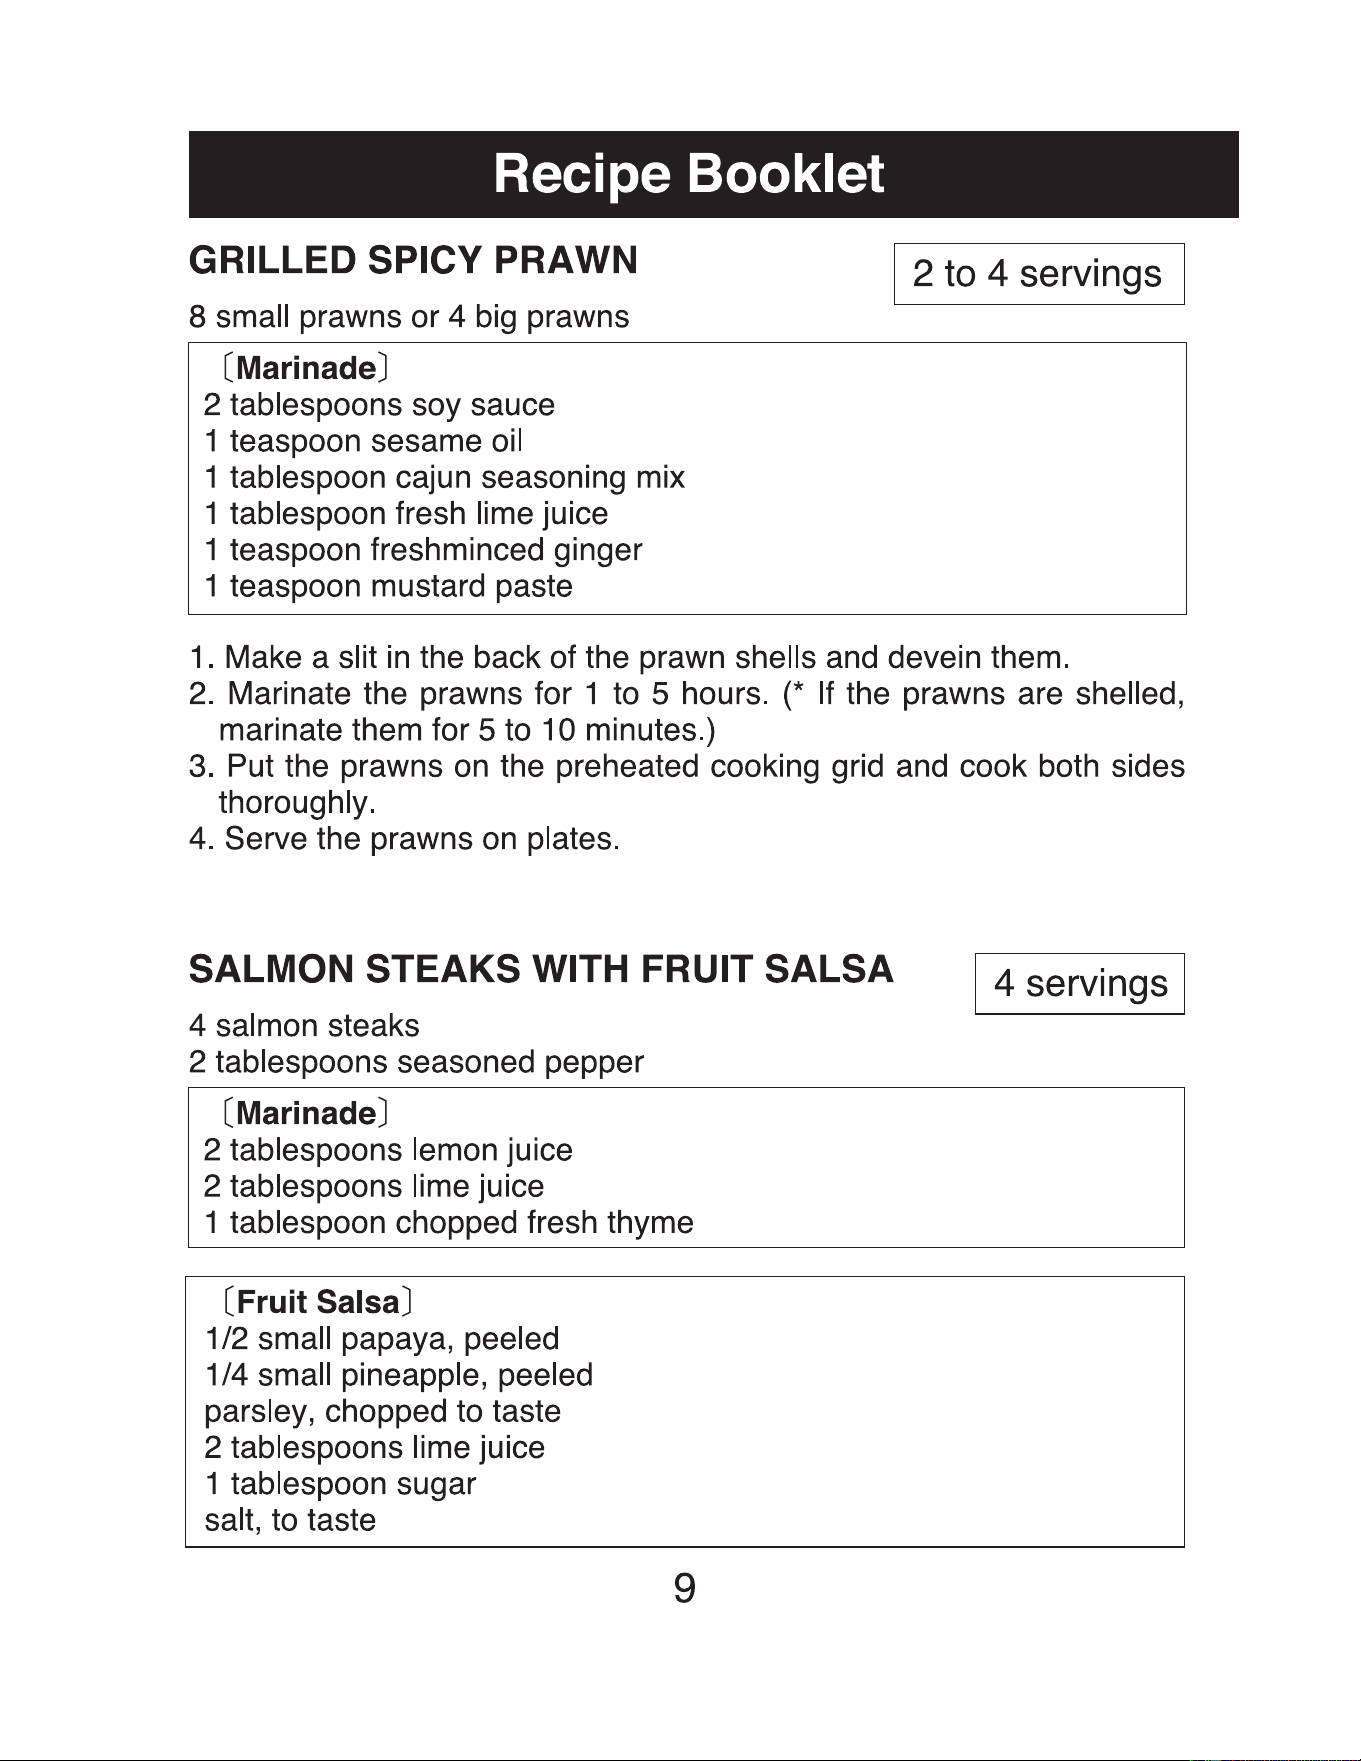
GRILLED SPICY PRAWN
8 small prawns
or
4 big prawns
I 2 to 4 servings I
(Marinade]
2 tablespoons soy sauce
1 teaspoon sesame oil
1 tablespoon cajun seasoning mix
1 tablespoon fresh lime juice
1 teaspoon freshminced ginger
1 teaspoon mustard paste
1. Make a slit in the back of the prawn shells and devein them.
2. Marinate the prawns for 1 to 5 hours.
(*
If the prawns are shelled,
marinate them for 5 to 10 minutes.)
3. Put the prawns on the preheated cooking grid and cook both sides
thoroughly.
4. Serve the prawns on plates.
SALMON STEAKS WITH FRUIT SALSA
I 4 servings I
4 salmon steaks
2 tablespoons seasoned pepper
(Marinade]
2 tablespoons lemon juice
2 tablespoons lime juice
1 tablespoon chopped fresh thyme
(Fruit Salsa]
1 /2 small papaya, peeled
1 /4 small pineapple, peeled
parsley, chopped to taste
2 tablespoons lime juice
1 tablespoon sugar
salt, to taste
9
Recipe Booklet
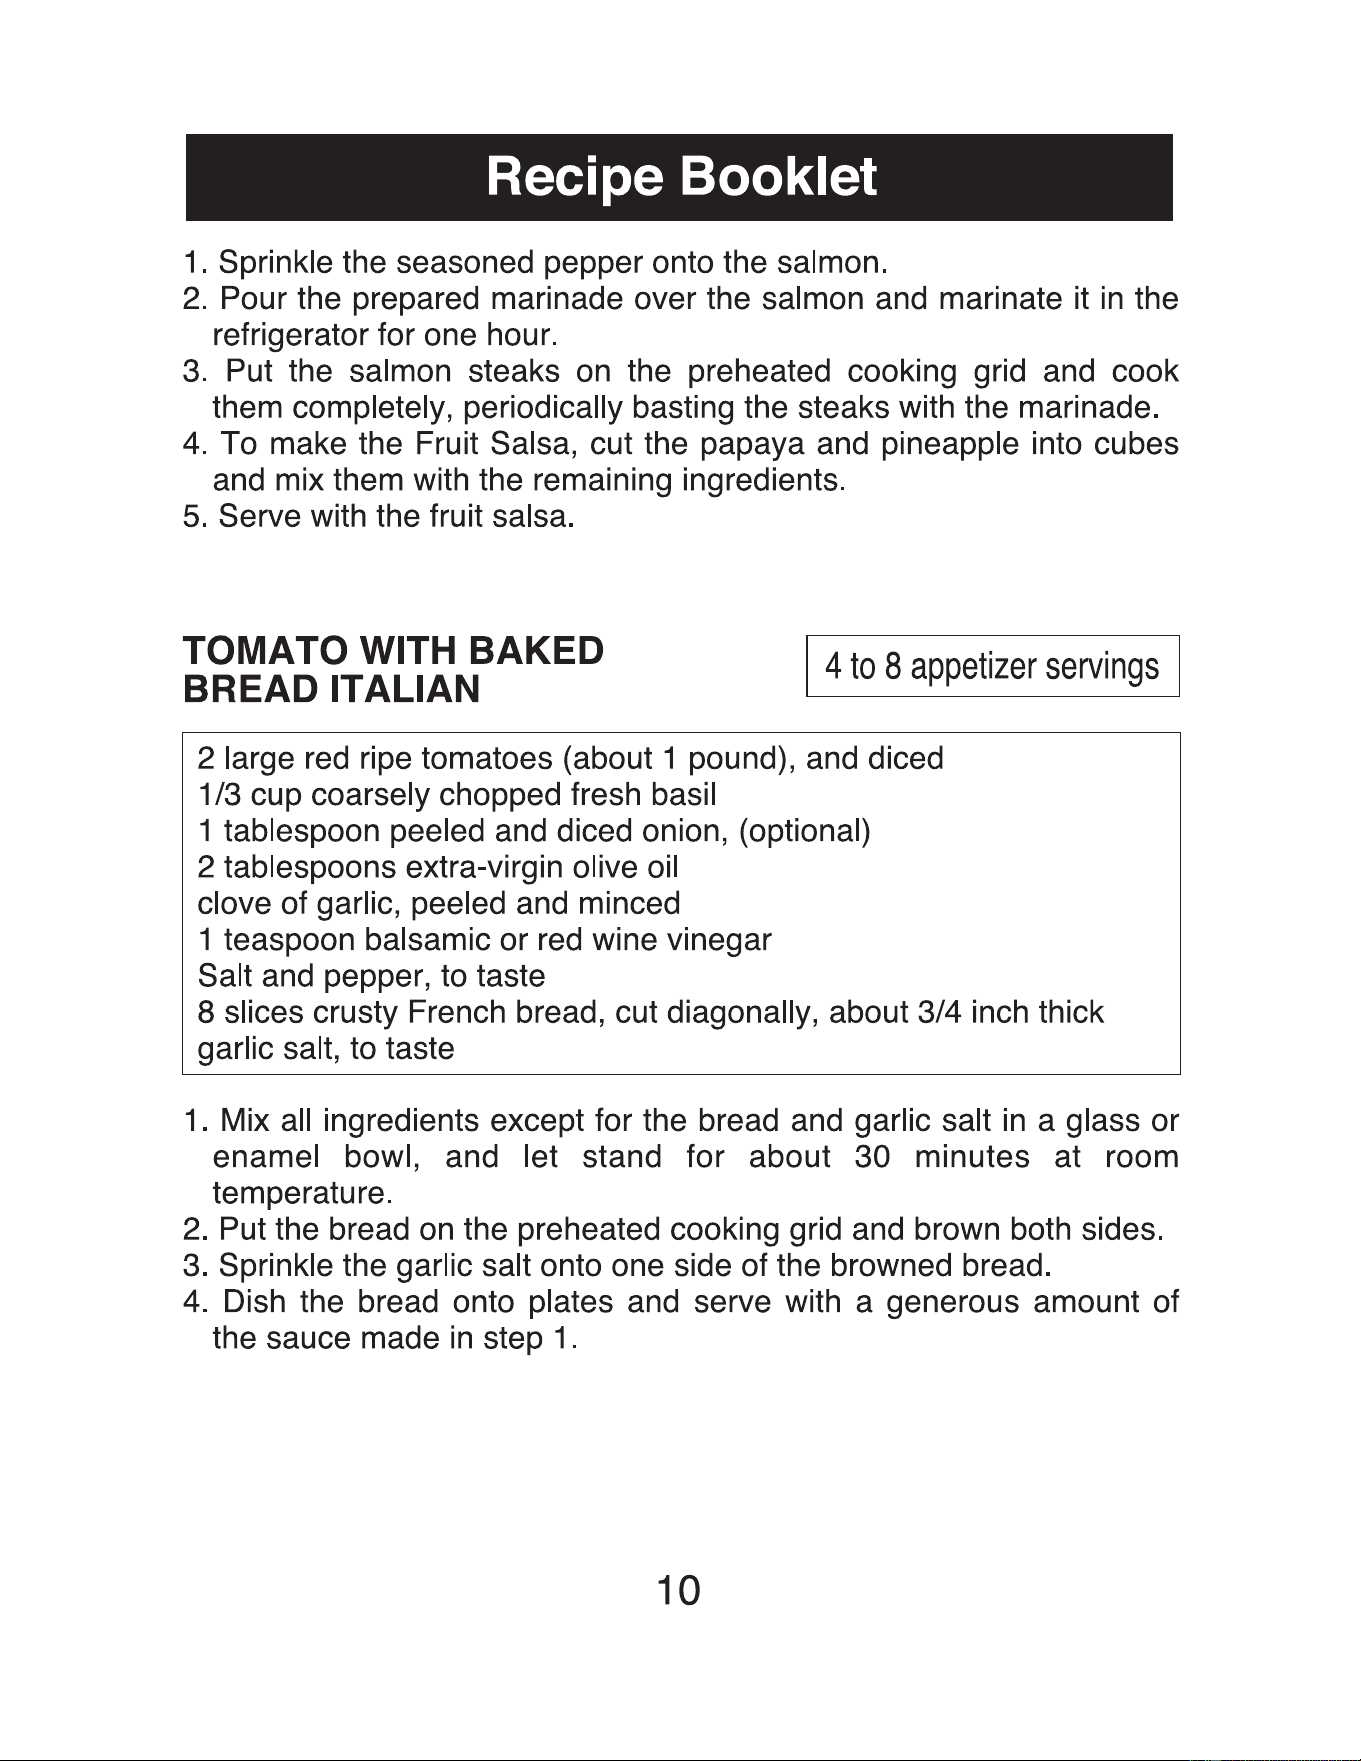
1.
Sprinkle the seasoned pepper onto the salmon.
2.
Pour the prepared marinade over the salmon and marinate it
in
the
refrigerator for one hour.
3.
Put the salmon steaks
on
the preheated cooking grid and cook
them completely, periodically basting the steaks with the marinade.
4.
To make the Fruit Salsa, cut the papaya and pineapple into cubes
and mix them with the remaining ingredients.
5.
Serve with the fruit salsa.
TOMATO WITH BAKED
BREAD ITALIAN
I 4
to
8
appetizer
servings
I
2 large
red
ripe tomatoes (about 1 pound), and diced
1 /3 cup coarsely chopped fresh basil
1 tablespoon peeled and diced onion, (optional)
2 tablespoons extra-virgin olive oil
clove of garlic, peeled and minced
1 teaspoon balsamic or
red
wine vinegar
Salt and pepper, to taste
8 slices crusty French bread, cut diagonally, about 3/4 inch thick
garlic salt, to taste
1.
Mix all ingredients except for the bread and garlic salt
in
a glass or
enamel bowl, and let stand for about 30 minutes at room
temperature.
2.
Put the bread
on
the preheated cooking grid and brown both sides.
3.
Sprinkle the garlic salt onto one side of the browned bread.
4.
Dish the bread onto plates and serve with a generous amount of
the sauce made
in
step 1 .
10

Specifications
Model No. EB-CC15
Rating 120V AC60Hz 1 ,300W
Overall dimensions (inches)
18.1 (W)
X 12.2(0) X 3.2(H)
Overall dimensions (cm)
46(W)
X
31
(D) X 8.2(H)
Temperature control
176·---'410°F
Temperature control
ao~21ot
Power cord length 1.6m I 5.2feet
Weight Approx.3.5Kg / 7.7 Lbs
~
Z<)JIRUSHI
www.zojirushi.com
11
EB-CC15
©@