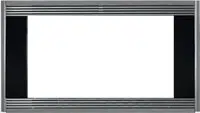
809959 & 820036 - Wolf 24'' Microwave Trim Kit
Installation Instructions For MWTRIM27
815098 / Rev B / September 2011
DUCT
, MICROWAVE
AND TRIM INSTALLATION:
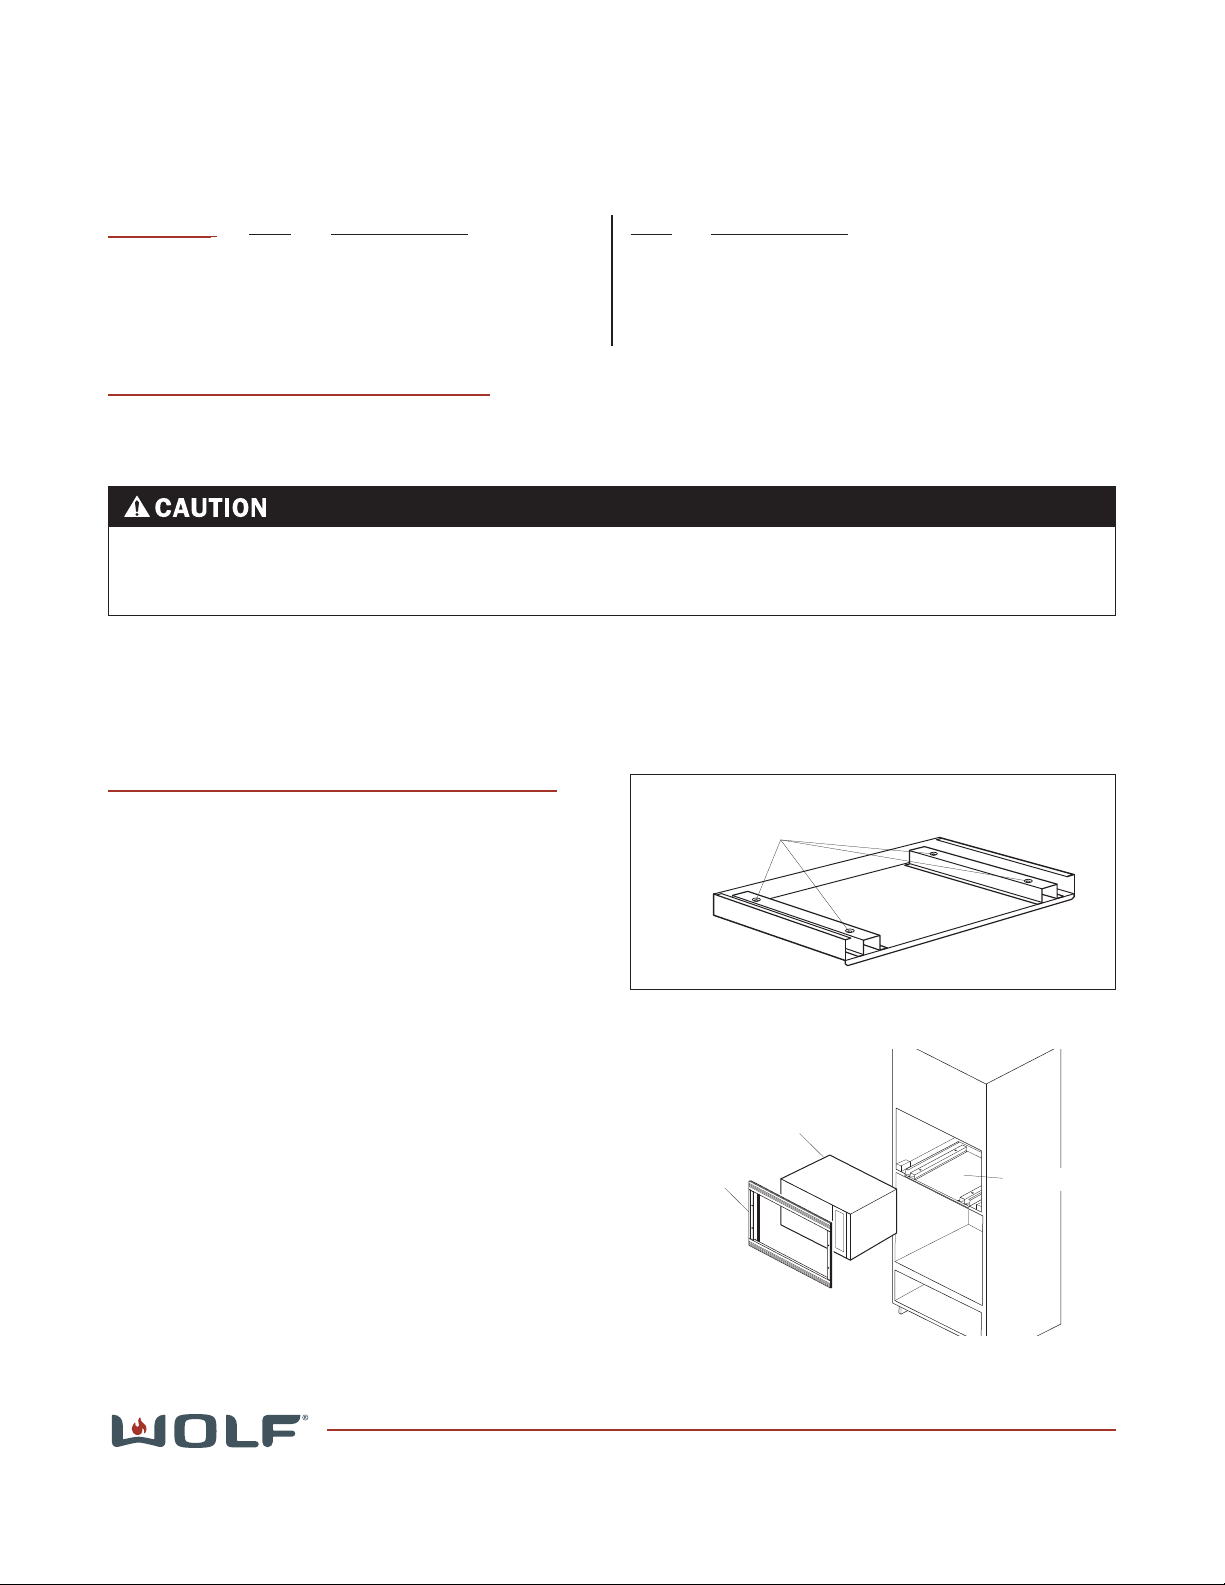
1. Center the bottom duct assembly in opening and
secure in place using the #8-15 X 1/2” Truss Head
Screws to base of cabinet opening (See Figure 1).
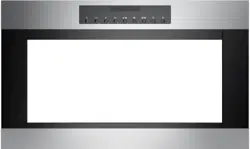
2. Plug power cord in, then carefully guide
microwave into opening, lining up feet of
microwave with holes in bottom duct assembly,
then lower microwave onto duct assembly (See
Figures 1and 2).
NOTE: Verify the power cord is not pinched
between oven and wall.
CONTAINS:
QTY DESCRIPTION
6 Screws, #6-18x1''
2 Screws, #8-15x1/2'' Truss HD
1 Bottom Duct Assembly
1 Frame Assembly
Page 1 of 2
QTY DESCRIPTION
2 Panels, Decorative Trim
2 Foam Tape, .375 X 1 X 27
2 Foam Tape, .375 X .5 X 18
1 Installation Instructions
Install the MW24 with a 120V, 60Hz, on a dedicated circuit. This outlet must be checked by a qualified electri-
cian to see if it is wired with correct polarity and is correctly grounded. A GFCI outlet is not recommended as
this may cause product operation interruptions.
Feet of Microwave
sit in these holes
Figure 1. Bottom Duct Assembly
Figure 2. Placing Microwave in Cabinet Cutout
Frame Assy
Microwave
Duct Assy
OPENING PREPARATION PROCEDURE:
1. Locate properly grounded 3-prong receptacle within 4” (102mm) from the right side and 4” (102mm) up from
the bottom of the microwave oven cabinet.
2. The floor of the opening should be constructed of plywood strong enough to support the weight of the oven
and floor load (about 100lbs/.45kg). The floor should be level for proper operation of oven. Be sure to
check local building code as it may require that the opening be enclosed with sides, ceiling and rear partition.
The proper functioning of the oven does not require this enclosure.
809959 & 820036 - Wolf 24'' Microwave Trim Kit
Installation Instructions For MWTRIM27
815098 / Rev B / September 2011
Decorative
Trim
Figure 3. Placing Microwave in Cabinet Cutout
Page 2 of 2
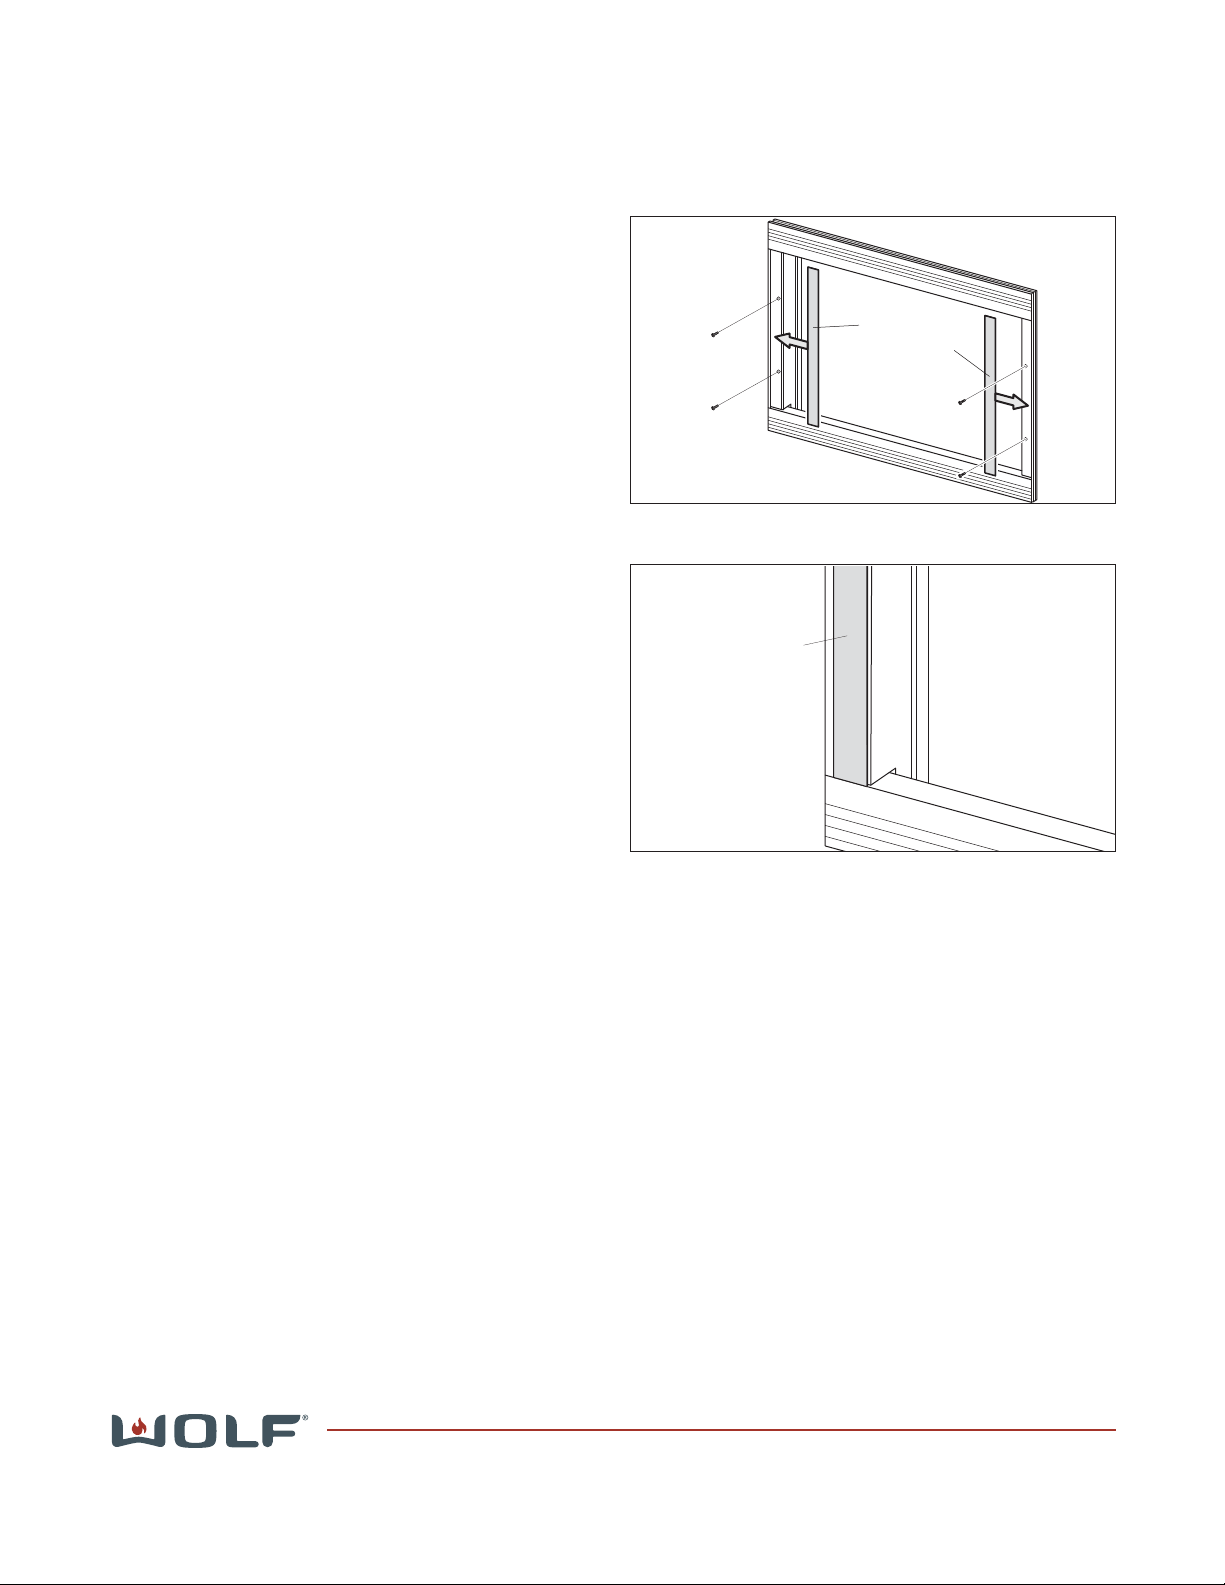
3. Attach the frame assembly directly to the cabinet
frame, using four #6-18 x 1'' wood screws. The
inside edges of side frames should coincide with
the edges of the cabinet cutout (See Figure 3).
NOTE: Always be sure to pre-drill a pilot hole
before installing screws to avoid damage to cabi-
net or trim kit hardware.
NOTE: The two pieces of foam tape are to be
used if gaps appear between the frame and the
microwave perimeter. If gaps are present, remove
the trim and adhere the foam tape to the
microwave where needed.
4. Adhere the decorative trim panels to the side
brackets so that they are tight to the side and bot-
tom of the frame (See Figure 4).
Decorative
Trim
(Sits tight to
side and bottom
of frame)
Figure 4. Decorative Trim / Frame Assembly