Loading ...
Loading ...
Loading ...
12
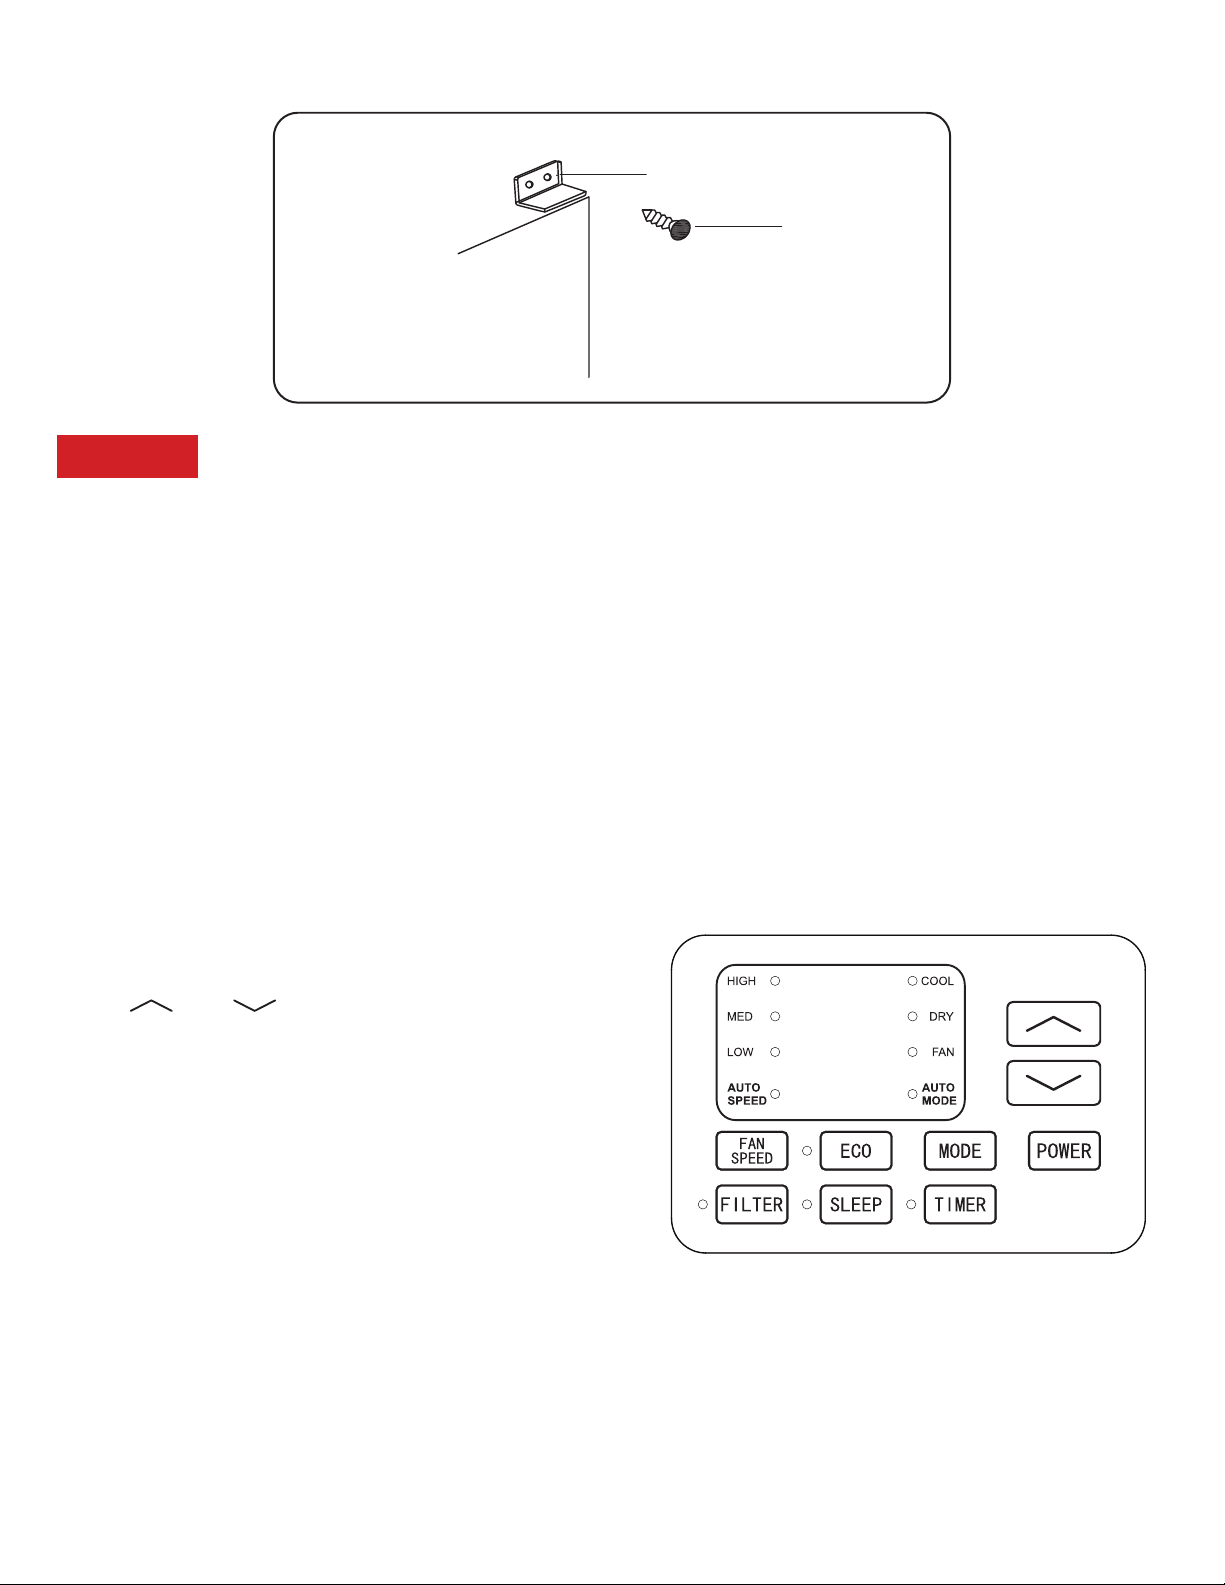
2. Attach the right angle sash lock as shown below.
Sash Lock
Window Sash Seal
5/8” Long
Hex-Head Screw
5/8” Long
Hex-Head Screw
1/2” Long
Hex-Head Screw
Step 8: Installing the Chassis into the Cabinet
1. Team lift (with 2 people) the air conditioner chassis and carefully slide it into the cabinet. Let
the front of the air conditioner hang out approximately 6 inches.
2. CAUTION! Do not push on the CONTROLS OR FINNED COILS!
3. Be sure the chassis is firmly seated in the back of the cabinet.
4. Insert all screws removed during the window installation and reattach the front face plate,
front panel, and the air filter.
For through the wall installation, please refer to the online user manual.
How to Control Your AC
All the basics you need to know to stay cool!
1. Power – turn the air conditioner on and o.
2. and Buttons – use these buttons on
the control panel or remote control to increase
or decrease the desired temperature, or time
using the Timer. The temperature range is:
61°-88° Fahrenheit, or 16°-31° Celsius.
3. Display – By pressing the Display button on
the remote, it can switch o/on all lights and
LED Display. When the timer is not in use, the
operation mode and the set temperature will
be displayed. Time will be displayed under the
timer setting.
4. Modes – Press the mode button on the control panel to cycle and select a Mode, or select a
Mode by pressing the desired button the remote.
• Auto Mode – The unit automatically chooses the mode of operation (cool, dry or fan). In
this mode the temperature will be set according to the room temperature (tested by the
temperature sensor which is incorporated in the indoor unit.).
Loading ...
Loading ...
Loading ...