Loading ...
Loading ...
3
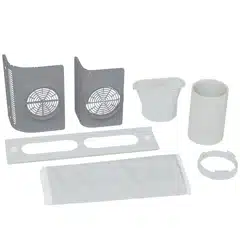
Attach the Dual Hose Conversion Baffle to the Back of the Air Conditioner
Installation Instructions
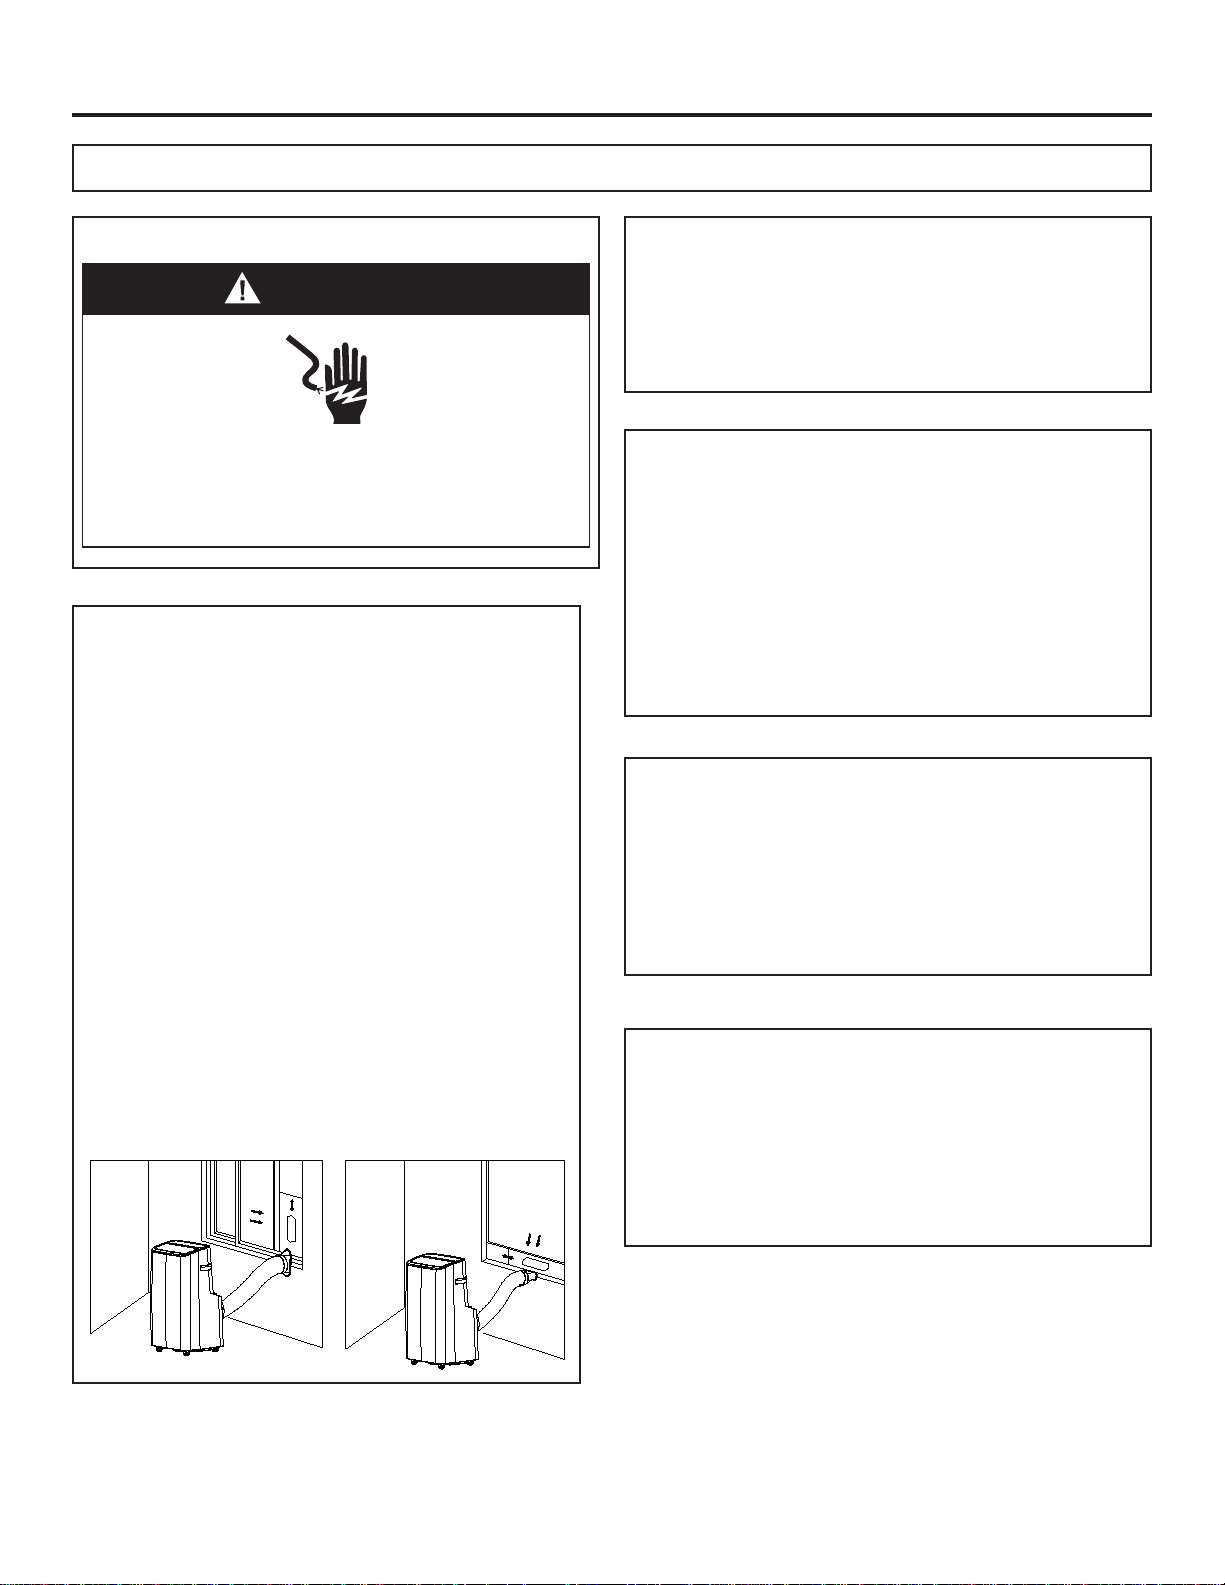
STEP 1: Unplug or disconnect power
WARNING
Electrical Shock Hazard
• Disconnect power before servicing
• Replace all parts and panels before operating
• Failure to do so can result in death or electric shock
STEP 1: Determine Location Requirements
• Place the air conditioner on a flat, level surface in a
location that is at least 20” (51 cm) from any wall.
NOTE: A minim um clearance of 20” (51 cm) from
the air conditioner to the wall must be maintained to
ensure proper airflow.
• Maintain a minimum 20” (51 cm) clearance around
the air conditioner to not block airflow.
• Keep the air conditioner free of any obstructions
such as drapes, curtains, blinds, etc.
• The exhaust hose should be free of any
obstructions.
• Do not place the air conditioner on an unstable
or raised surface because it could fall and cause
damage or injury.
•
Do not place the air conditioner in direct sunlight
or near a heat source such as baseboard heaters,
stoves, etc.
• The window panel can be installed in a window with
a minimum 20” (51 cm) to a maximum 48” (122 cm)
opening.
STEP 3:
A Philips head screwdriver will be needed to remove the
filter panel. Filter panel has qty (2) screws holding it in
place.
STEP 4: Install dual hose conversion baffle
depending on model
• Use the Small Dual Hose Conversion Baffle for these
models:
APCD07JALW, APWD07JASG, APCD08JALW,
APCD08JASW, APSD08JASG, APWD08JAWW
• Use the Large Dual Hose Conversion Baffle for these
models:
APCD10JALW, APCD10JASG, APWD10JASG,
APWD10JAWG, APXD10JAWB
STEP 5:
If you previously installed your GE Portable Air
Conditioner, you will need to remove the Window Kit
from the window, exhaust hose adapter to AC and
remove the Exhaust Hose Adapter to Window Kit.
Remove the hose from the back of the AC and slide the
fabric insulation over the hose. You can then re-attach
the hose to the back of the AC.
STEP 6:
Once the exhaust hose is reattached to the back of the
ac unit, If you have not installed your Portable AC yet,
please follow the instructions to assemble the 2 adapters
onto the exhaust hose to make up the exhaust hose
assembly (step 2 of the installation instructions). Slide
the fabric insulation over the hose, then assemble the
hose assembly onto the back of the Air Conditioner.
Loading ...
Loading ...
Loading ...