www.SereleneLifeHome.com
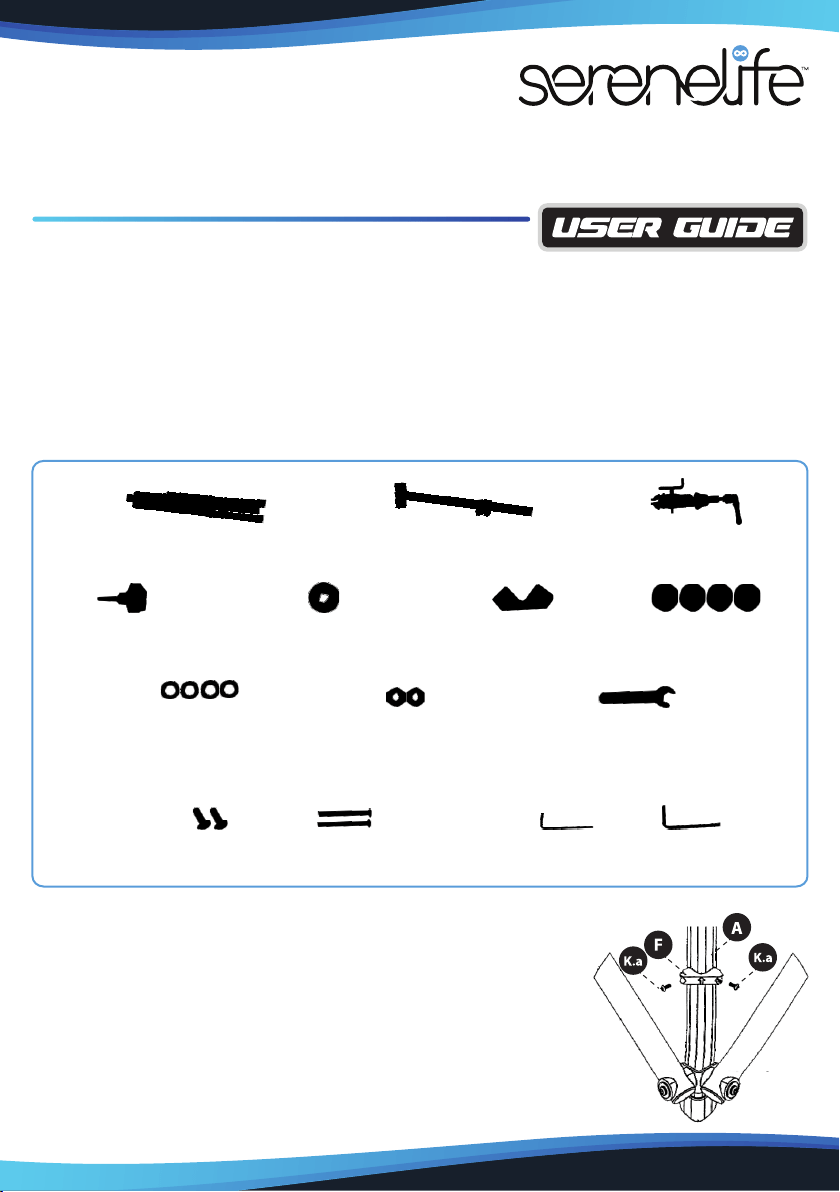
WHAT'S IN THE BOX:
• Repair Stand Base Assembly
• Top Tube Assembly
• Clamping Assembly
• Hand Knob
• Flange Lock Nut M6
• Hard Stop
ASSEMBLY INSTRUCTIONS
Step 1
• Line the Hard Stop (#F) up with the two holes in the Large
Vertical Upright (#A) such that the arrow on the Hard Stop
(#F) is pointing upward. Using a 3mm hex wrench, insert
the M5 x 12mm Screws (#K.a) into the holes in the Hard
Stop (#F) and screw them into the Large Vertical Upright
(#A). Tighten to 3. 5Nm max (Do Not Overtighten)
SLBKRS3
Home Mechanic Bicycle Repair Stand
Height Adjustable with Upgraded Collar and Leg Supports, Holds Up to 80 lbs.
• Coped Washer
• Leg Washer M6
• Button Head Cap Screw (M5x12mm and M6x60mm)
• Hex Tool ( 3mm and 4mm)
• 10mm Flat Wrench Tool
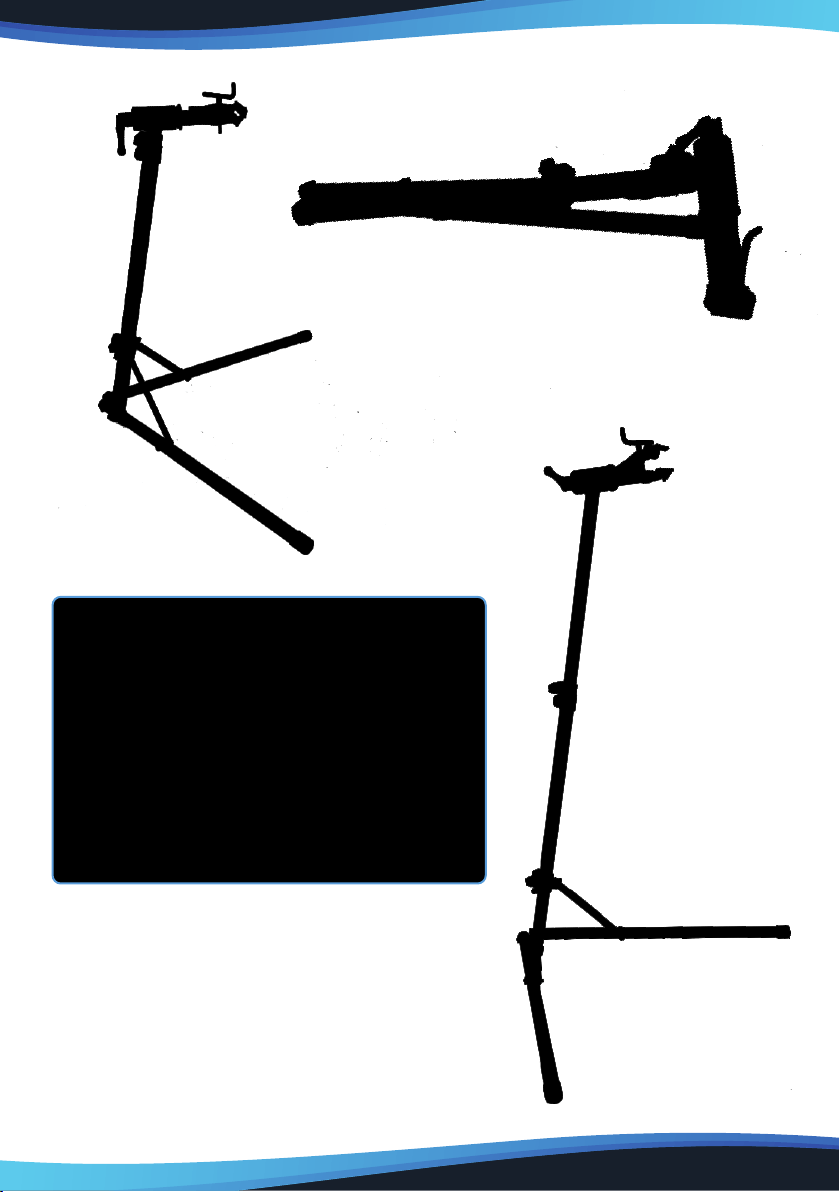
A. Repair Stand Base Assembly B. Top Tube Assembly C. Clamping Assembly
D. Hand Knobs E. Flange Lock Nut F. Hard Stop G. Coped Washer
H. Leg Washer I. 2 Lock Nuts J. Flat Wrench Tool
K. Button Head Cap Screw
a. M5x12mm b. M6x60mm
L. Hex Tool
a. 3mm b. 4mm
A
D
E
F
www.SereleneLifeHome.com
B
C
A
Step 5
• Slide the top tube assembly into repair
stand base assembly, push the collar down
until it stop. Using 3mm hex wrench tight
the botton screw on collar. Set top tube
assembly at desired height and fully tight
the hand knob on collar.
Note: Do not set height beyond "max" line
on top tube assembly.
C
B
C
C
Step 4
• Disassemble the clamp assembly
and install into top tube assembly as
image shown.
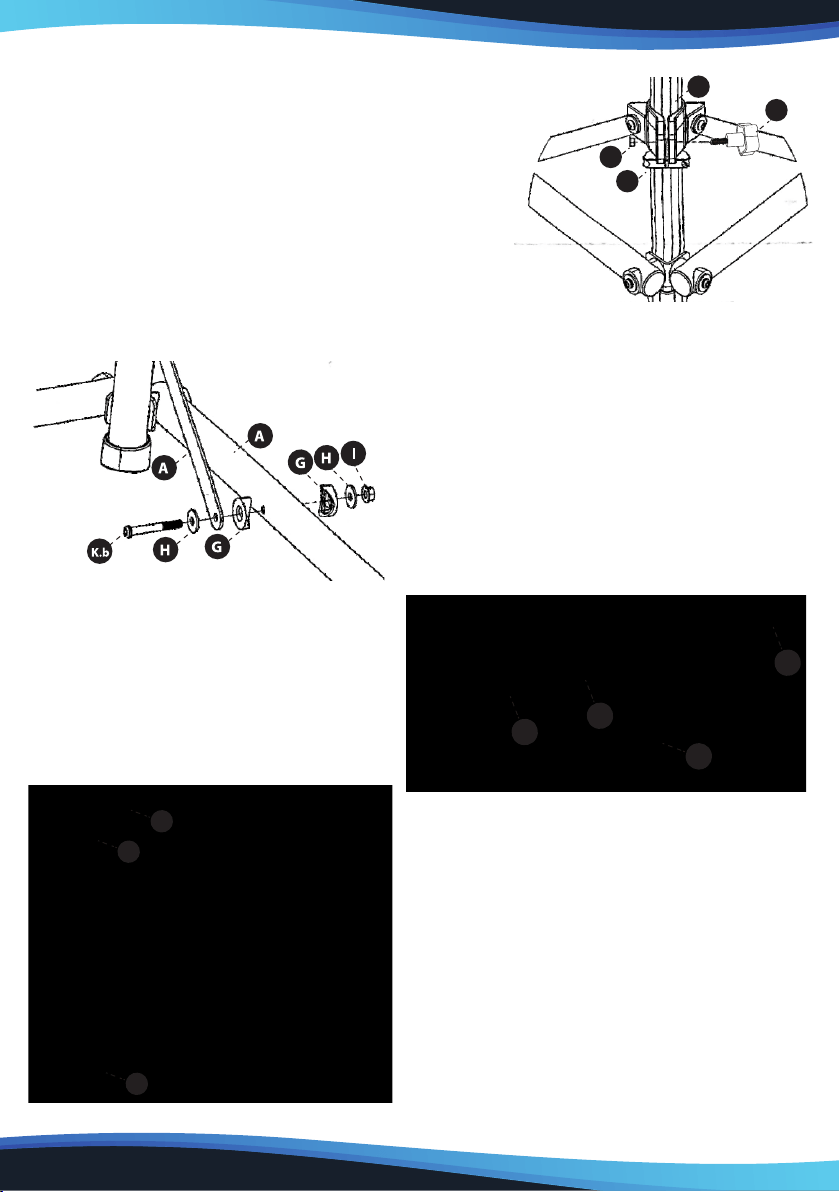
Step 2
• Slide the Yoke down the Large Vertical Upright
(#A) until it bottoms out on the Hard Stop (#F).
Insert the M6 Flange Nut (#E) into the hex pocket
in the Yoke. From the other side of the Yoke insert
the Knob(#D) into the hole in the Yoke. Screw in the
Knob (#D) until it is fully tightened. Fully tightened is
when both anges on the Yoke come into contact with
each other.
Step 3
• Assemble and install the hardware and
mating pieces in the order shown through
each leg. Using a 4mm hex wrench and a
10mm at wrench, tighten the M6x60mm
screw (#K.b) to 5Nm.
www.SereleneLifeHome.com
Questions? Issues?
We are here to help!
Phone: (1) 718-535-1800
Email: suppor[email protected]

www.SereleneLifeHome.com
This products can expose you to a chemical or group of chemicals, which
may include ”Lead and Cadmium” which is known in the state of
California to cause cancer, birth defects, or other reproductive harm.
For more info, go to https://www.p65warnings.ca.gov/.
FEATURES:
• Micro-Adjustable Clamp, 360 Degrees of Clamp Rotation
• Narrow Jaws to Fit into Tight Areas
• Upgraded Collar and Leg Supports
• Portable and perfect for the Mobile Mechanic or Garage
• All Steel Construction
• Durable Textured Powder Coat Finish
• Teardrop-shaped Tubbing adds Strength and Rigidity
• Compatible only with Two-wheeled Pedal-driven Bicycles
TECHNICAL SPECS:
• Construction Material: Steel
• Load Capacity: 66.7 lbs.
• Adjustable Clamp: 1'' -inch to 2.75'' -inches Diameter Tubes
• Folded Dimensions (L x W x H): 45.3" x 13.8" x 9.4" -inches
• Unfolded Dimensions (L x W x H): 27.6" x 52.4" x 39.3" - 61.0" -inches