Loading ...
Loading ...
Loading ...
9
ADJUSTMENTS & USAGE GUIDE
73
A
B
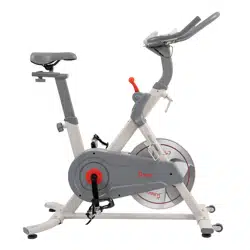
TENSION ADJUSTMENT:
Increasing or decreasing the tension allows you to add variety
to your workout sessions.
There are 7 levels resistance. Level 1 is the lowest and level 7
is the highest.
To increase the tension, press the Tension and Brake Handle
(No. 73) (“+”) down (Arrow B). When you hear a "click", it
means the resistance is increased by 1 level.
To decrease the tension, pull the Tension and Brake Handle
(No. 73) (“-”) up (Arrow A). When you hear a "click", it means
the resistance is decreased by 1 level.
73
EMERGENCY BRAKE FUNCTION:
The flywheel of the bike has a large inertia. When you need to
get off the bike, press down the Tension and Brake Handle
(No. 73) firmly. Please wait until the flywheel has completely
stopped rotating before releasing the Tension and Brake
Handle (No. 73). You can get off the bike once the flywheel
has stopped.
Figure B Figure A
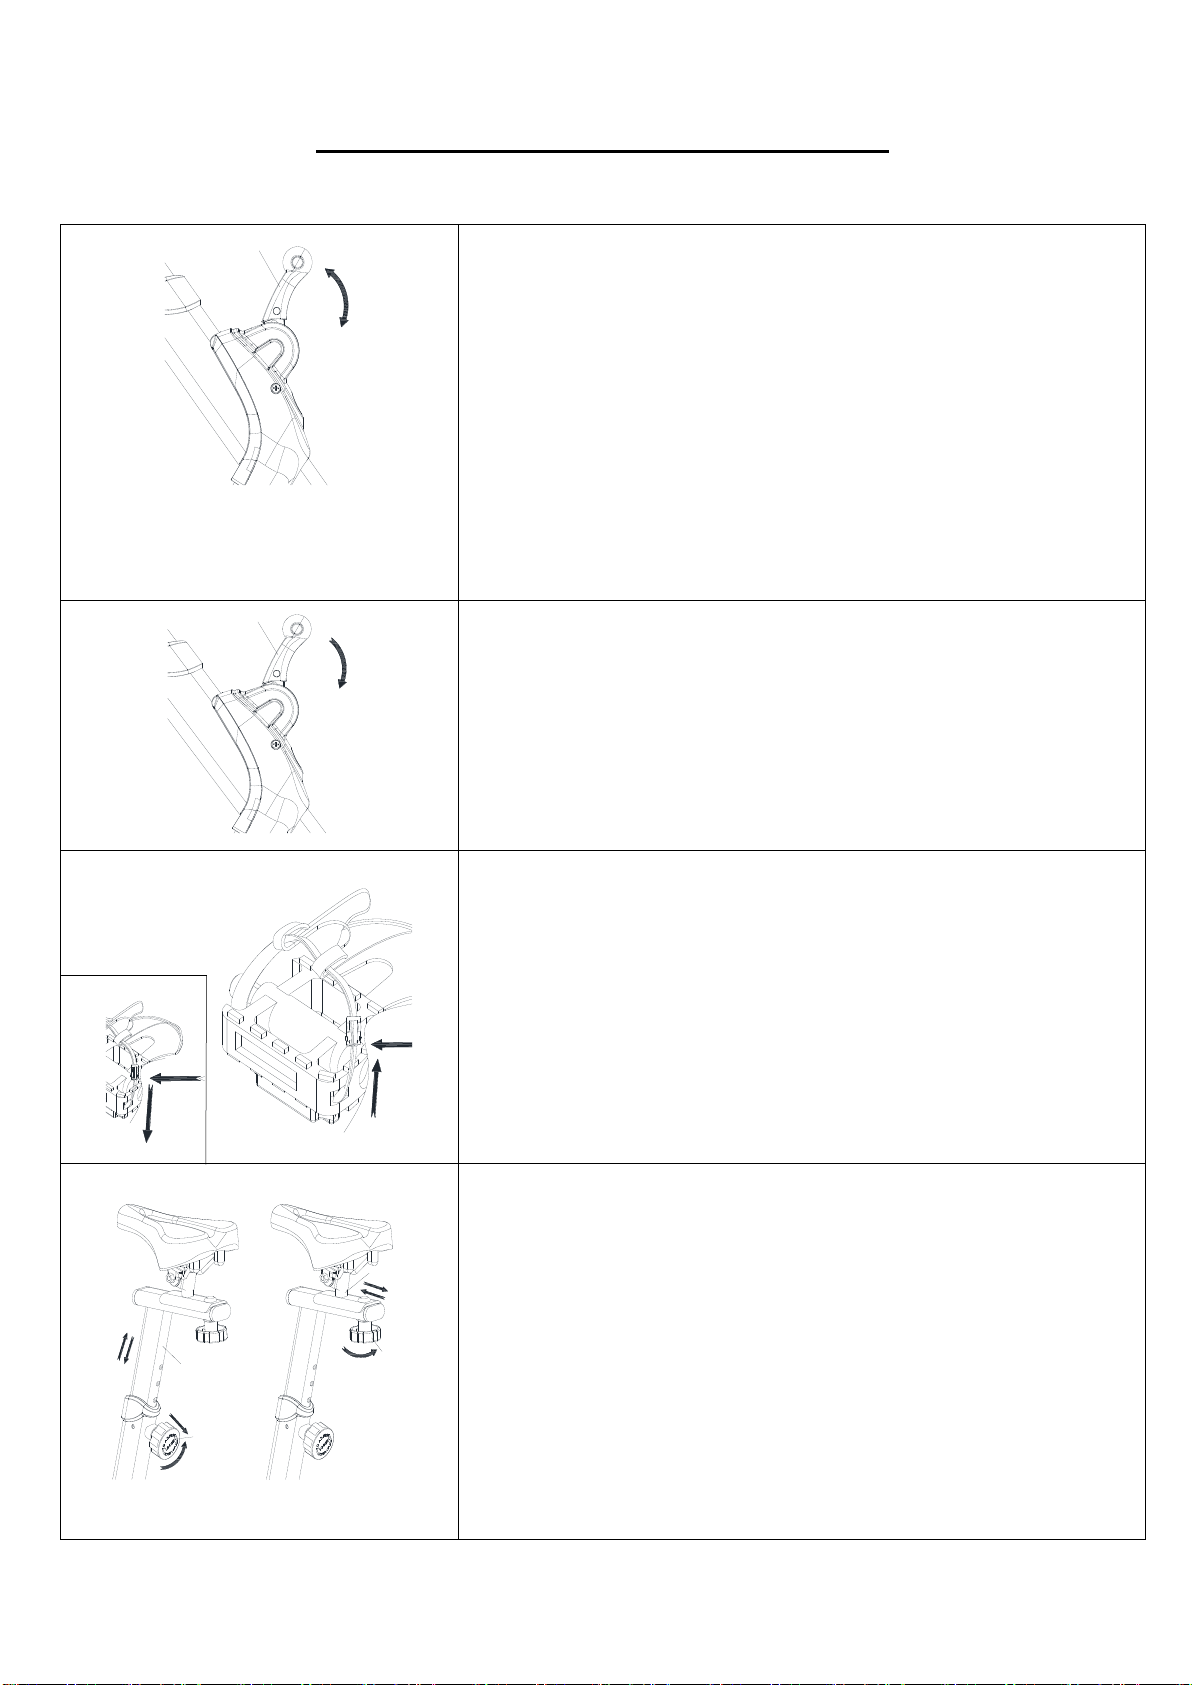
PEDAL STRAP ADJUSTMENT:
Your feet should be secured in the toe clips during exercise.
Place your feet as far forward into the toe-clips as you can.
With your feet in place, turn the crank to bring one foot to within
arm’s reach, grasp the pedal strap and pull it upward to tighten
the toe-clip cage. Next, insert the strap back into the hoop of
the toe-clip. Repeat this process to secure your other foot.
SEAT ADJUSTMENT:
The seat of this bike is fully adjustable.
Move Up and Down: loosen counter-clockwise and pull out
the Adjustment Knob (No. 24), then raise or lower the Seat
Post (No. 7) to the desired height. Once adjusted, re-insert
and tighten the Adjustment Knob (No. 24) to secure the Seat
Post (No. 7) clockwise in place. (Figure A).
Move Forward and Backward: loosen counter-clockwise
and pull out the Knob (No. 22), then move the Seat Slider
(No. 8) forward or backward to the desired position, then
tighten the Knob (No. 22) clockwise. (Figure B).
Figure A
24
7
8
22
Figure B
Loading ...
Loading ...
Loading ...