Loading ...
Loading ...
Loading ...
9
Set-Up & Installation
Do not install this unit over an electrical junction box. Air currents around junction boxes
can prevent smoke from reaching the sensing chamber and prevent the unit from alarming.
Only AC powered units are intended for installation over junction boxes.
NOTE: Be sure to mount the product in the orientation specified in the next steps as this provides the
most stability for mounting the product to the wall or ceiling. When wall mounting, the speaker opening
is in the upper left corner. This alarm is designed to be mounted on the ceiling or wall if necessary.
Ensure the iOS software is updated to iOS 10 or later or Android 5 or later.
Step 1
Download the free Onelink app from the App Store
or Google Play and follow set-up instructions.
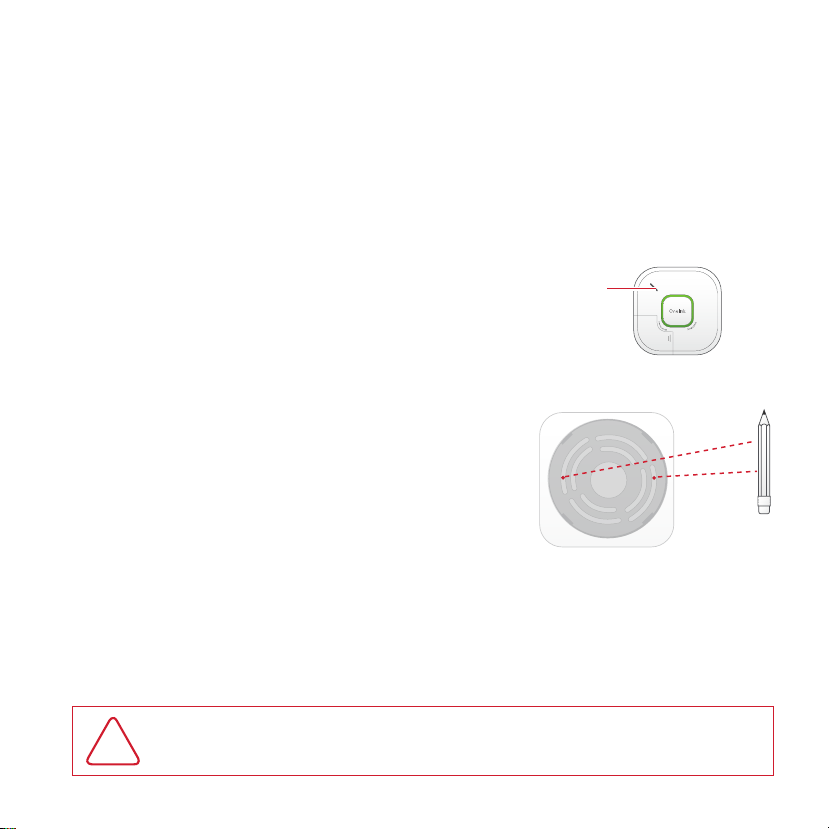
Speaker
Opening
Step 2
Hold the mounting bracket against the ceiling (or
wall) so the two universal mounting holes are aligned
approximately at the 9 and 3 o’clock positions.
(See image). Trace around the holes with a pencil.
Step 3
Put the unit where it won’t get covered with
dust when you drill the mounting holes.
Step 4
Using a 3/16” (5 mm) drill bit, drill a hole through
the center of the outlines you traced.
Step 5
Insert the plastic screw anchors (in the plastic
bag with screws) into the holes. Tap the screw
anchors gently with a hammer, if necessary,
until they are flush with the ceiling or wall.
Step 6
Install the screws but do not tighten completely. Attach the mounting bracket by aligning
the screws in the open portion of the universal mounting slots and rotating the bracket into
place. Tighten the screws until they are snug to secure the bracket. Do not over tighten.
Step 7
Mount alarm to mounting bracket to activate the alarm.
NOTE: After you activate the Alarm, the Color Indicator Ring will power up and the Alarm will
welcome you. To program your alarm, follow the instructions provided in the Onelink app.
!
WARNING: iOS and Android device notifications require a functional Wireless connection. For best
results, recommended to use with a 802.11 b/g/n/ac router. The notifications are only as reliable as
your Wireless network and are not a substitute for a third party emergency monitoring service.
Loading ...
Loading ...
Loading ...