Loading ...
Loading ...
Loading ...
English 19
Installation
STEP 5 Initial settings
By completing the following steps, the refrigerator should be fully functioning.
1. Remove the PE foam sheet on each shelf corner, which is attached to protect the
refrigerator during transportation.
2. Plug the power cord into the wall socket to turn the refrigerator on .
3. Open the door, and check if the interior light lights up.
4. Set the temperature to the lowest, and wait until the refrigerator reaches the set
temperature. Now the refrigerator is ready for use.
NOTE
When the refrigerator powers on, the alarm will sound. To turn off the alarm, press
Freezer.
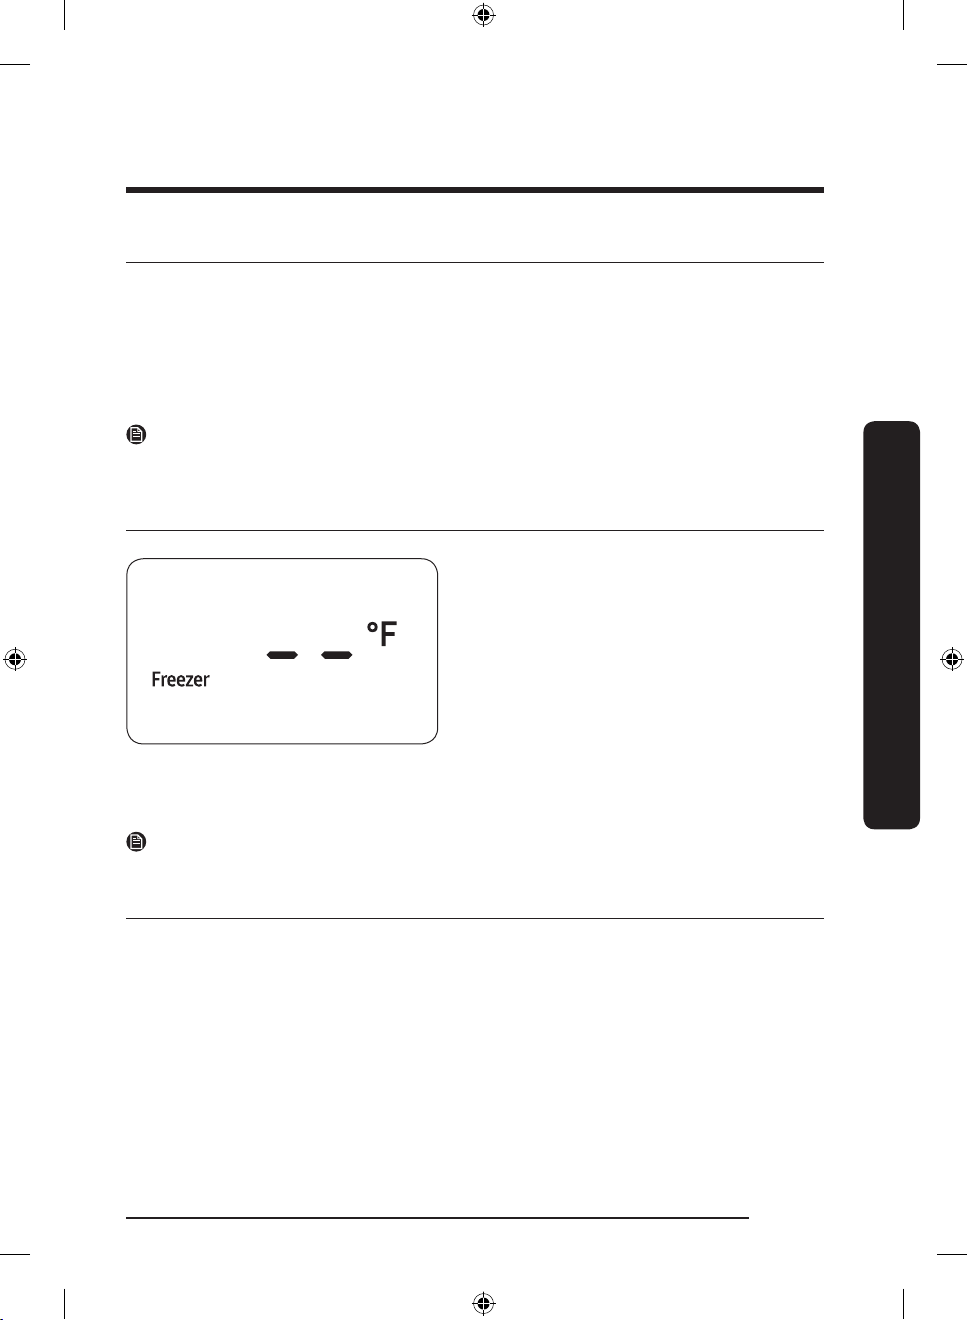
STEP 6 Temperature Alarm (applicable models only)
• If the freezer temperature is too warm
because there has been a power failure,
the display blinks as shown in the
gure.
• If you press Temp., the "warmest
temperature" which has reached in the
freezer is ashed on the display for 5
seconds.
• This warning may occur:
- When the appliance is turned on for
the rst time after the installation.
- If the freezer is too warm due to a
power failure.
NOTE
This function is only available when the refrigerator is in the Freezer mode.
STEP 7 Final check
When installation is complete, conrm that:
• The refrigerator is plugged into an electrical outlet and grounded properly.
• The refrigerator is installed on a at, level surface with a reasonable clearance from the
wall or the cabinet.
• The refrigerator is level and is sitting rmly on the oor.
• The door opens and closes freely, and the interior light turns on automatically when you
open the door.
Untitled-6 19 2020-12-29 3:31:35
Loading ...
Loading ...
Loading ...