Loading ...
Loading ...
Loading ...
20
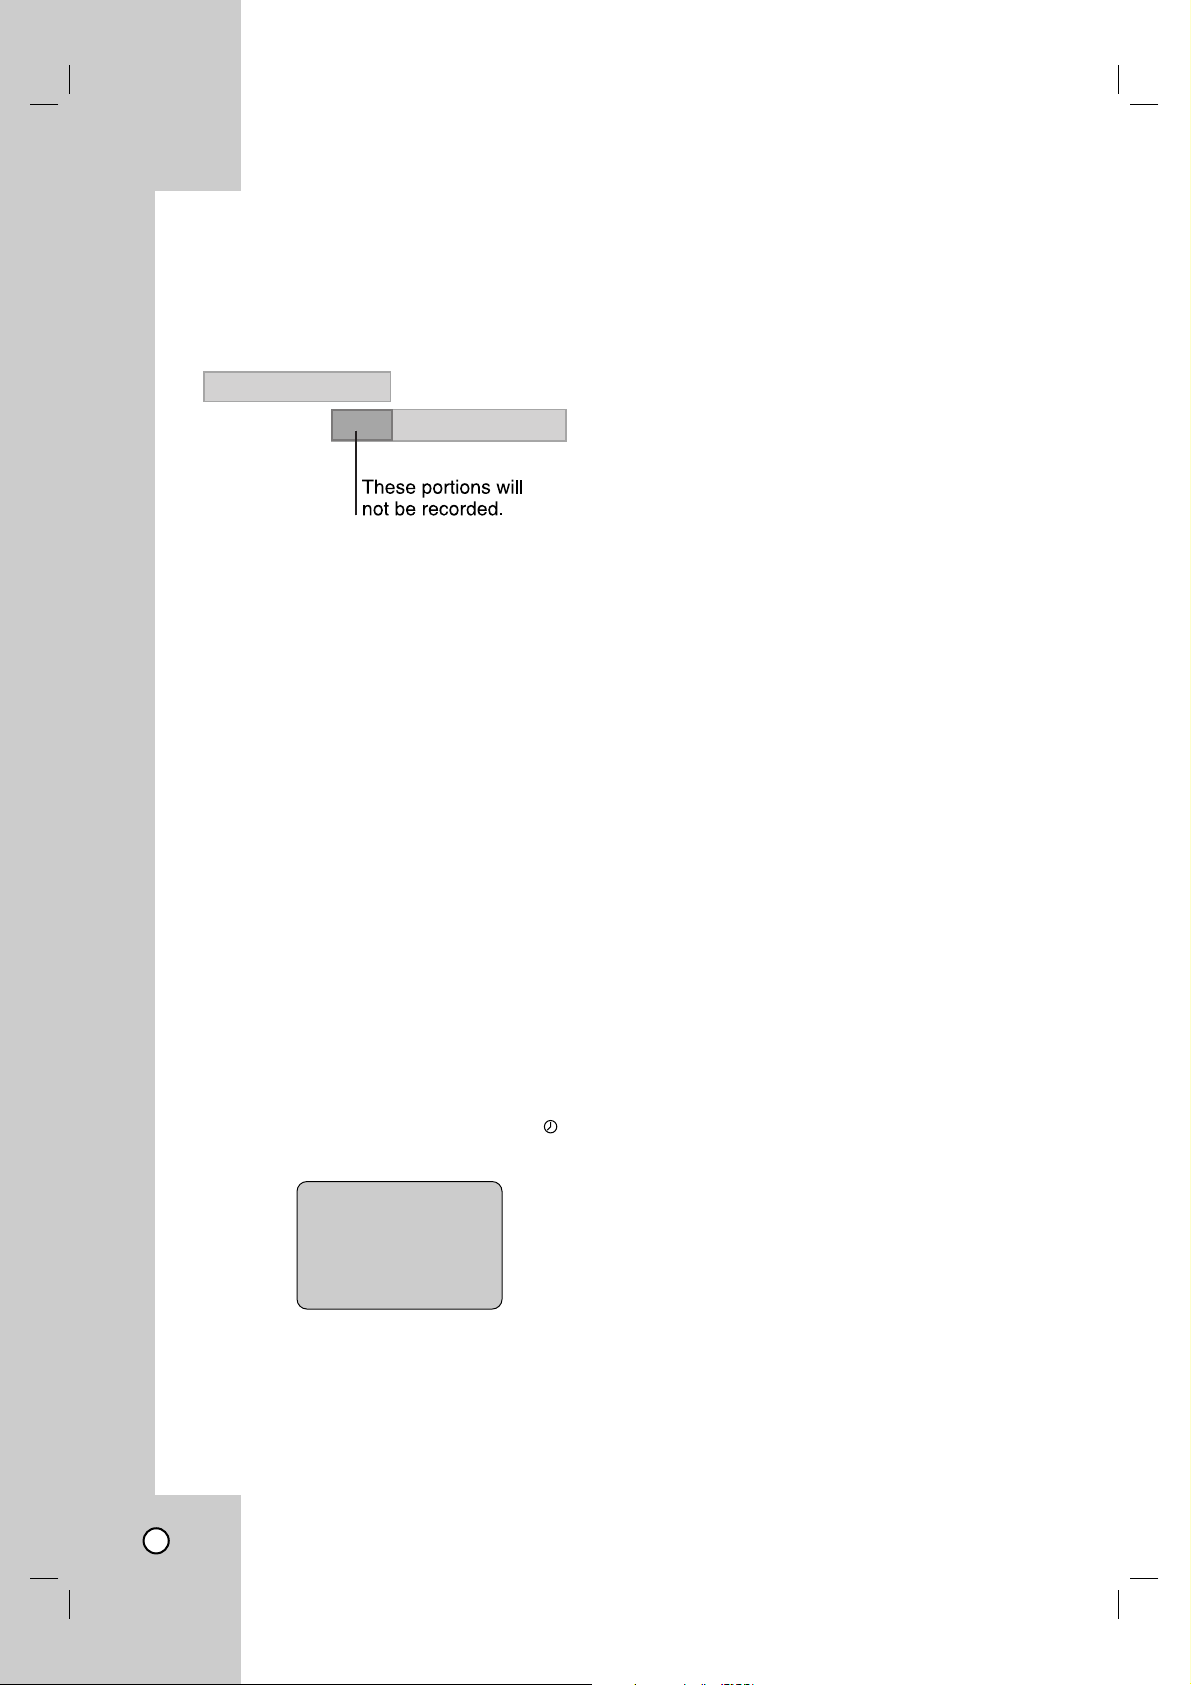
Program Priority
If the recording time of this unit and the external
device are overlap:
The earlier program takes priority. When the earlier
program finishes, the later program starts.
Note:
Instant Timer recording is not available when the
external timer record is in progress.
Instant Timer Recording
With this feature you can record for a preset length
without using the program timer.
1. Turn on unit and the TV.
2. Insert a video cassette with the safety tab intact.
3. If you are recording from another source via
audio/video input jacks (at the rear or front panel).
4. Connect the LINE1 or LINE2 input jacks on this
unit to the AUDIO/VIDEO OUTPUT jack on the
external device using the audio/video cables.
5. Select LINE1 (rear jacks) or LINE2 (front jacks) by
using INPUT.
6. Set the desired recording speed (SP or SLP)
using SPEED. The tape speed appears on the TV
screen.
7. Press z (REC/ITR) twice. The menu appears on
the TV screen, recording starts, and the
(TIMER) indicator lights.
8. Press x (STOP) repeatedly to select the record-
ing time length. Each time you press this button
the recording time increases 30 minutes (up to 9
hours). At the end of the recording, the unit will
stop recording and shut off.
If you set the time to 0H00M, the unit goes into
the normal recording mode.
9. Press x (STOP) to stop the recording.
Checking the Recording Time
Press z (REC/ITR) once to check the recording time.
The recalled setting automatically returns to the TV
screen after 6 seconds.
Extending the Recording Time
The recording time can be extended anytime by
pressing z (REC/ITR). Subsequent presses result in
advancing the recording time by 30-minute increments.
Note:
If you press X (PAUSE) during instant timer record-
ing, the instant timer recording is cancelled. It goes to
normal recording PAUSE mode.
Recording from External Components
You can record from an external component, such as
a camcorder or VCR, connected to any of the unit’s
external inputs.
1. Make sure that the component you want to record
from is connected properly to the unit. See page 11.
2. Press INPUT repeatedly to select the external
input to record from.
• LINE1 (L1): Audio/Video Input mounted on
back panel.
• LINE2 (L2): Audio/Video Input mounted on
front panel.
3. Load a recordable tape.
4. Set a recording mode (SP or SLP) as necessary
by pressing SPEED repeatedly.
5. Play the tape or disc in the external component.
If you have a TV attached to your unit,
you can see the video playing.
6. Press z (REC/ITR) once to start recording.
The REC indicator lights in the display window.
7. Press x (STOP) to stop recording.
Notes:
• Before recording, confirm the recording start
position.
• If your source is copy-protected using
CopyGuard, you will not be able to record it using
this unit. See Copyright on page 6 for more
details.
•To record for a fixed length of time, see Instant
Timer Recording.
External Timer Record
Timer Record of this unit
INSTANT TIMER RECORD
INPUT LINE1
SPEED SP
START NOW
LENGTH 0H30M
Loading ...
Loading ...
Loading ...