User Manual
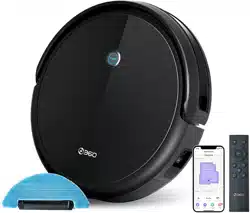
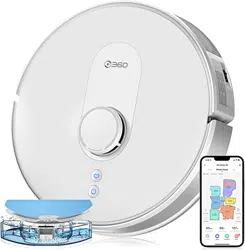
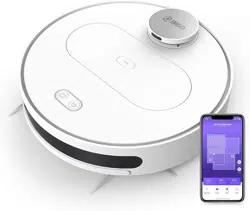
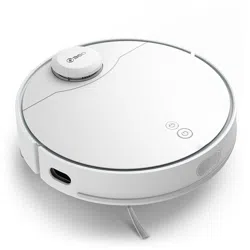
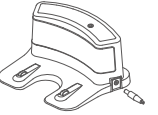
Product Appearance
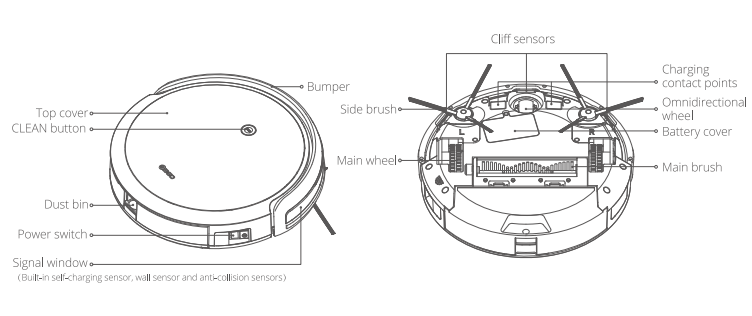
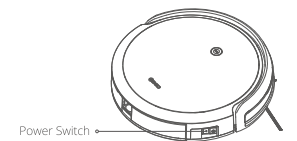
Main unit
Installation Instructions
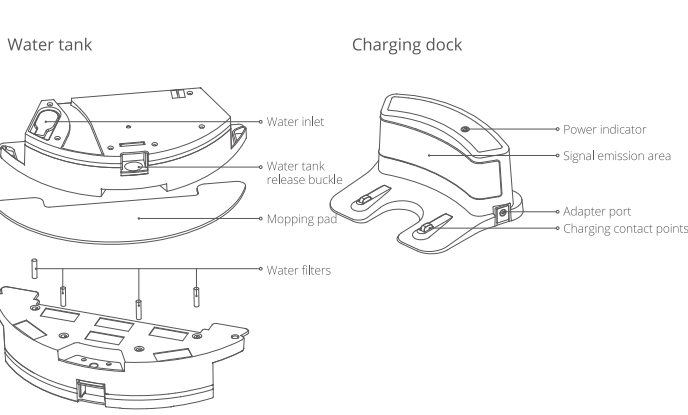
1. Connect the power adaptor with the charging dock.
Note:
- Use cable ties to organize the exceed cable to prevent the cables from being stretched by the robot during cleaning, which will interrupt the power of the charging dock,
- The charging dock indicator is solid when it is energized and is off when the robot is being charged.
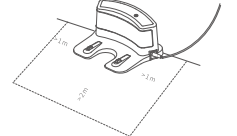
2. Place the charging dock on the horizontal floor and connect the power supply.
Note: Please ensure that there are no objects placed within one meter from the left and right and two meters from the front of the charging dock, and there are no objects with strong reflective surfaces, such as mirrors.
3. To ensure that the robot can work and go back to the charging dock normally, do not move the charging dock randomly and frequently.
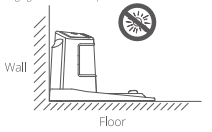
Note: The charging dock should be placed in an area without direct sunlight.
4. Before use, remove the protection strip on the bumper to ensure the normal use of the product.
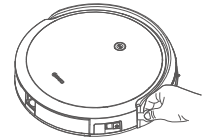
5. Turn on the robot.
The power switch is on the side of the robot, press "I" to turn the robot on (press "0" will turn it off).
Note:
- After the cleaning is completed, you are recommended to charge the product rather than directly powering it off to facilitate the next cleaning.
- Ifyou will not use the product for a long period, please power off the robot to protect the battery.
6. Charging
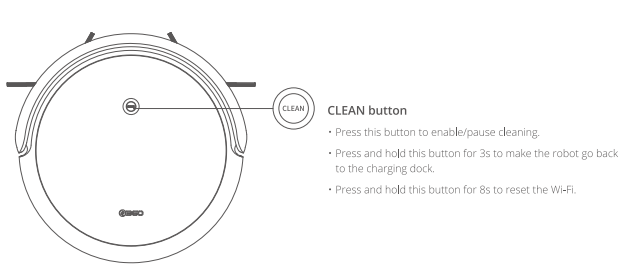
Method 1: Turn on the robot and place it within 1m in front of the charging dock. After the start-up voice is finished, press and hold the CLEAN button for 3 seconds, then release, the robot will automatically search for the charging dock and proceed to charging.
Method 2: Turn on the robot and place it within 1m in front of the charging dock. After the start-up voice is finished, press the charging button on the remote control, the robot will automatically search for the charging dock and proceed to charging.
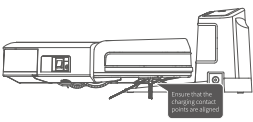
Method 3: Turn on the robot and place it on the charging dock with the charging contact points aligned. At this time, the power indicator on the charging dock becomes off and the robot starts to charge and generates a voice message.
Note:
- During daily use, clean the charging contact points on the charging dock and the robot. Otherwise, the charging effect might be affected.
- The product works properly with at least 30% battery level left. Place the robot on the charging dock if it's below 30%.
Method 4: Insert the power adapter plug into the DC power jack on the side of the robot, and connect the other end to the power supply (please disconnect the port after charging, otherwise the robot will not work).
Note:
- Keep the charging dock in the energized status. Otherwise, the robot will not go back to the charging dock.
- When using the product for cleaning, ensure that the robot leaves from the charging dock to memorize the return route. (If the robot does not leave from the charging dock, it may take a long period to automatically go back to the charging dock, which is a normal phenomenon.)
- When using the product for the first time, completely exhaust the battery and then fully charge it for five hours to extend the battery life.
- The robot cannot go back or to be carried back to the charging dock in mopping mode.
7. Download the mobile app
Search for "360Robot" in app stores. Download and install the app. Configure the network of the product as
prompted by the app.