Loading ...
Loading ...
Loading ...
8 | P a g e
INSTALLATION INSTRUCTIONS
Location
The air conditioner should be placed on a hard and level surface strong enough to support its weight. The
unit is equipped with caster wheels for portability. It should only be rolled on smooth, flat surfaces. Use
caution when rolling on carpet surfaces. Do not attempt to roll the unit over objects.
The air inlet and outlet should be free of any obstructions and be placed with at least 20” of clearance for
efficient air-conditioning and circulation.
Exhaust hose Installation
When using the air conditioner, the hot air from the exhaust hose must be exhausted out of the room to
complete the air exchange of the condenser. The intake hose is optional. When the unit is operating in
dehumidifying or fan-only mode, installation of the exhaust hose is optional.
1. Expand each end of the exhaust (large) and intake (small)
hoses about 6”.
2. Install the Large Exhaust Slide Locking Hose Connector to
one end of the exhaust hose (large hose) and the Large Exhaust
Hose Connector with tab cut-outs to the other end of the exhaust
hose (large hose) by turning counterclockwise.
3. Install the Small Intake Slide Locking Hose Connector to
one end of the intake hose (small hose) and the Small Intake Hose
Connector with tab cut-outs to the other end of the intake hose
(small hose) by turning clockwise.
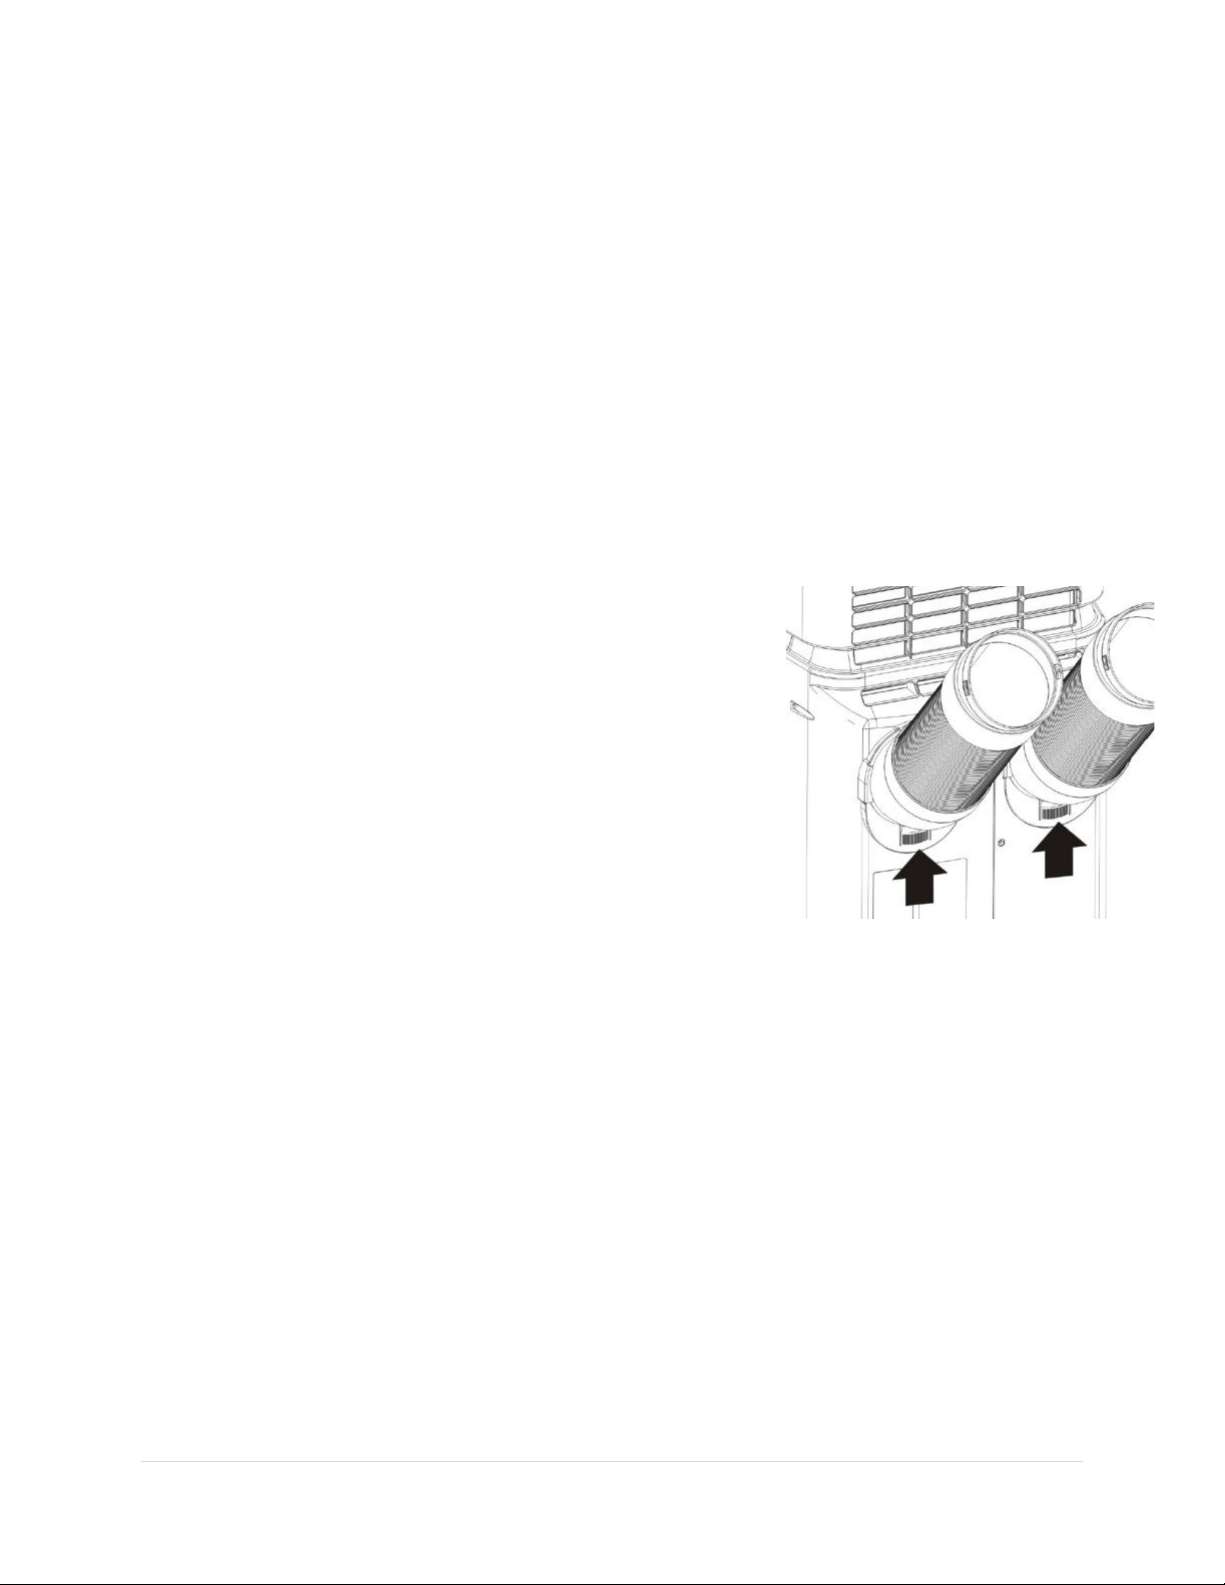
4. Slide each of the slide locking hose connectors onto the
rear of the unit (See illustration)
Only extend the hose to the necessary length, keeping it as short
and as straight as possible. We do not recommend extending the
hose more than 9' long. If you are interested in purchasing an
additional 5’ exhaust hose, please contact [email protected]
for retail sales information or visit whynter.com for a list of optional
accessories.
Note: To remove the hose(s) from the unit, press the release
button and slide the hose and connector out.
Loading ...
Loading ...
Loading ...