Loading ...
Loading ...
Loading ...
61
Settings for Shooting
3
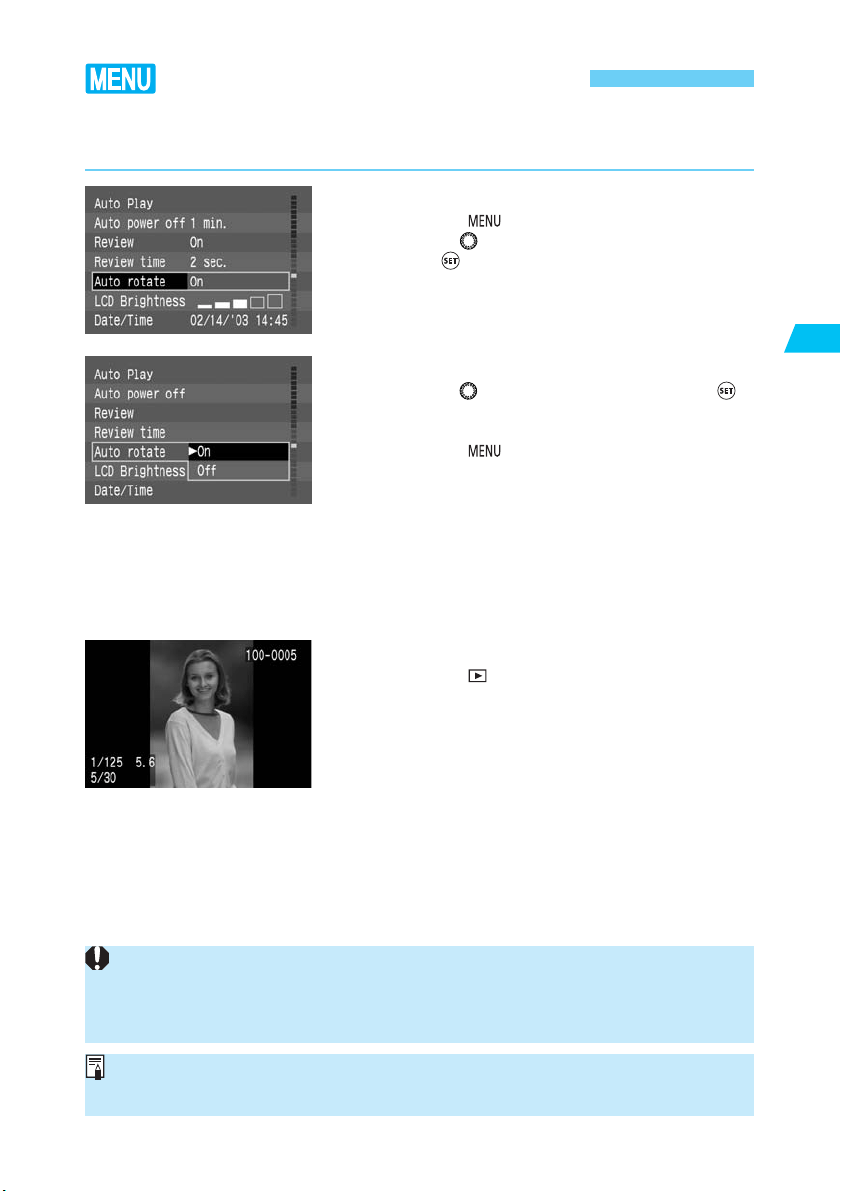
Setting Auto Rotation
During playback, vertical images can be displayed vertically after being rotated clockwise by
90˚ or 270˚ automatically.
•
If a vertical image is taken while the camera is pointed up or down, the image might
not rotate automatically for playback.
•
If you take a vertical shot with [Auto rotate] set to [On] and use the menu’s [Rotate]
feature to rotate it, the image’s rotate information will be overwritten.
When you change the camera’s orientation between horizontal and vertical, the camera
orientation sensor will make a small sound. This is not a defect.
On the menu, select [Auto rotate].
•
Press the < > button.
•
Tu rn the < > dial to select [Auto rotate], then
press < >.
1
Set the Auto rotate setting.
•
Turn the < > dial to select [On], then press < >.
s
When the setting is completed, the menu will
reappear.
•
Press the < > button to exit the menu and turn
off the LCD monitor.
2
Take a vertical shot.
•
For the image review right after image capture, the
image will not be displayed vertically on the LCD
monitor. (→p.42)
3
Playback the image.
•
Press the < > button.
s
The vertical shot will be displayed vertically as
shown on the left.
4
Loading ...
Loading ...
Loading ...