Loading ...
Loading ...
Loading ...
13
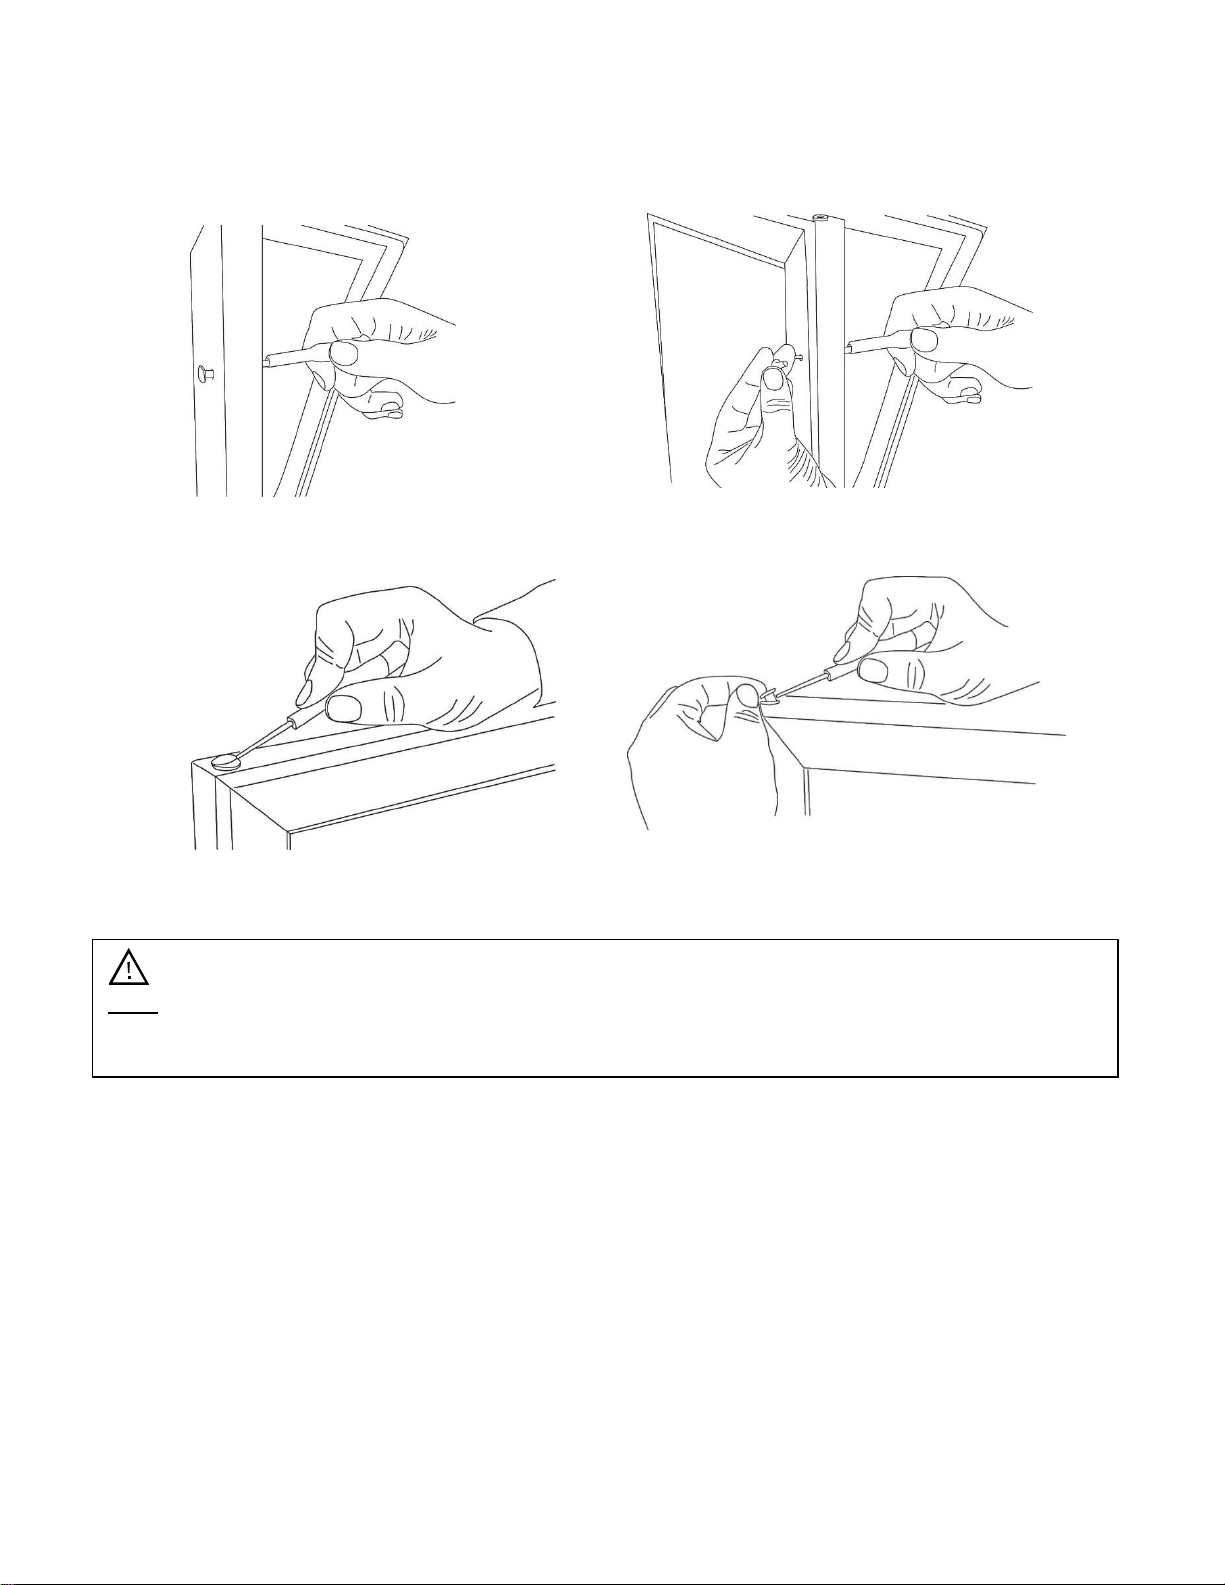
3. Carefully turn the screwdriver clockwise to remove the two pre-installed decorative plugs
from the front of the door. Reinsert the decorative plugs into the right side of the door
using this same procedure.
4. Remove the decorative plastic cap from the top left corner of the door and insert it into the
top right corner.
5. After the cap is inserted, carefully press the door gasket into its original position.
Operation
Installation Check List Before Operation
1. Have all packing materials and tape been removed from the interior and exterior of the
wine refrigerator?
2. Have the installation instructions been followed, including connecting the machine to
electricity? And has proper grounding been installed for the wine refrigerator?
3. Has the machine been leveled?
4. Is the wine refrigerator in a site where the ambient temperature is between 50° F and
95° F all year round?
5. Is there a clearance of at least 1- 2” at the rear, 1/4” at the top, and 1/4” at the sides for
proper air circulation?
Note: Be careful not to remove the housing that the decorative plastic caps insert into when
attempting to remove the decorative cap. If the housing is removed then the decorative plastic
cap will not be able to be reinserted.
Loading ...
Loading ...
Loading ...