Loading ...
Loading ...
Loading ...
17En
■ IMAGE QUALITY
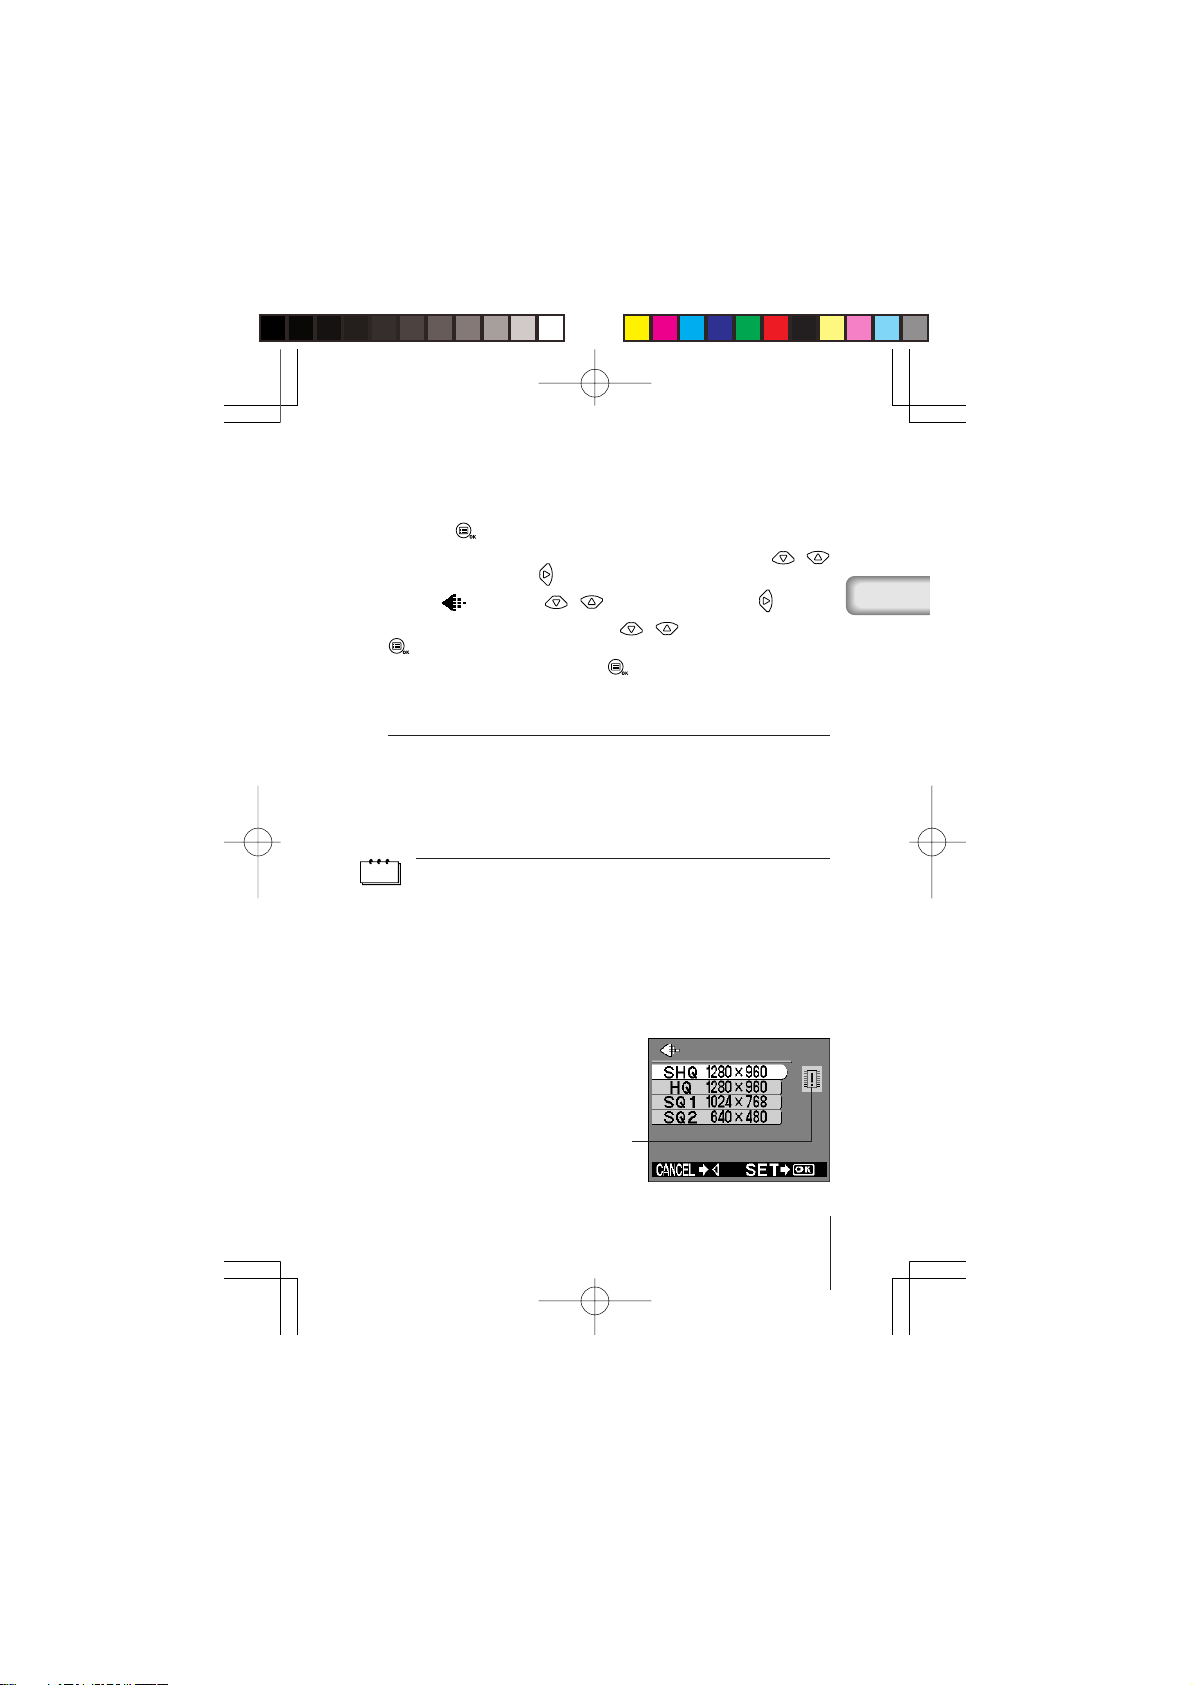
There are 4 kinds of image quality: SHQ, HQ, SQ1 and SQ2.
1 Press the button with the lens barrier open.
2 Select [PICTURE] from the Camera menu screen using the /
buttons and press the button.
3 Select [ ] using the / buttons and press the button.
4 Select the image quality using the / buttons and press the
button.
Image quality is now set. Press the
button again to exit the menu.
5 Take the picture.
You can continue taking photos in the selected image quality mode.
Image Quality modes
SHQ 1280 × 960 Pixels (For clear prints)
HQ 1280 × 960 Pixels (For viewing images on a PC)
SQ1 1024 × 768 Pixels (For e-mail attachments)
SQ2 640 × 480 Pixels (For taking a lot of pictures)
The Image Quality setting remains when the lens barrier is closed.
Note
• The image quality setting will remain even when the lens barrier is closed.
• The number of recordable images varies depending on the image quality setting
and the storage method used. (The camera’s internal memory capacity is
1MB, SmartMedia cards are currently available in 8MB to 128 MB capacities.)
• The number of pixels is the same for HQ and SHQ, but the compression rate
is lower for SHQ, resulting in a clearer image when enlarged. SHQ also requires
more time to record and play back images than HQ.
• When you change to a high image quality and the remaining recordable image
count is low, the internal memory or SmartMedia card warning mark may be
displayed. This indicates that there is insufficient memory space. If this happens,
select a different image quality.
Warning mark
Basic03C-100satsuei,E.65J 4/24/01, 3:40 PMPage 17 AdobePageMaker6.5J/PPC
Loading ...
Loading ...
Loading ...