Loading ...
Loading ...
Loading ...
12
INSTALLATION
EN
WARNING
• Before removing the hinge screws, have an
assistant support the weight of the door. The
door could fall on the floor due to the weight of
the door.
• For safety reasons, two or more people need to
work together to reverse the door.
NOTE
• The appearance of the screws varies and the
screws must be inserted differently depending
on the position. Make sure the screw is properly
selected before tightening.
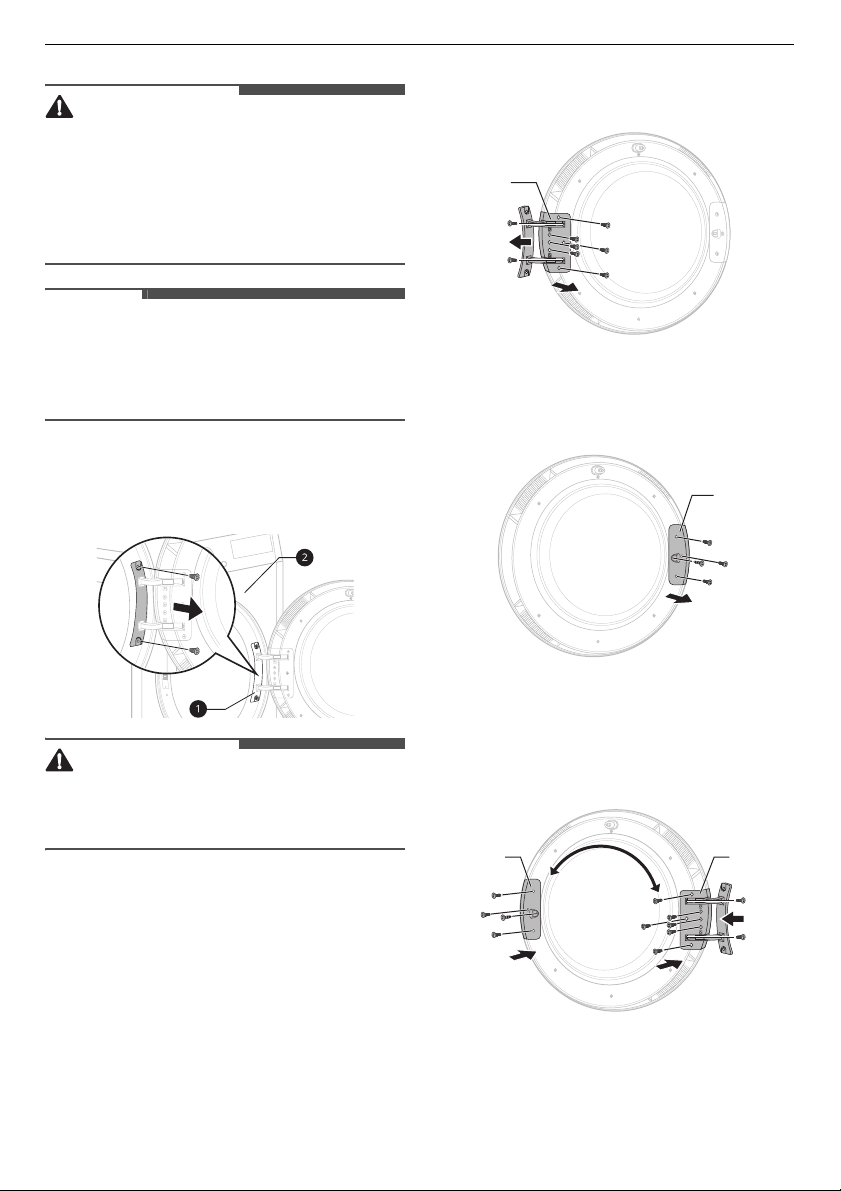
1
Open the door and remove 2 screws on the
door hinge
a
. After removing the screws, put
the door down carefully from the cabinet
b
with the front side facing down to the floor.
WARNING
• Remove the lower screw first. The door may fall
on to the floor due to its weight and the door can
be damaged.
2
Remove 8 screws on the hinge assembly
c
from the door.
• There are 6 screws on the front and 2 screws
on the side.
3
Remove the 3 screws from the door latch
assembly
d
which is fixed between the door
and the hinge assembly, and then remove the
screw which is fixed on the door hook.
4
Swap the position of the hinge assembly
c
and
the door latch assembly
d
and then tighten
the screws in reverse order.
• Tighten the screw in their proper position
referring from steps 2 to 4.
c
d
cd
Loading ...
Loading ...
Loading ...