Loading ...
Loading ...
Loading ...
18
Automatic cooking
Important!
Only the lower (main) oven can
be set for automatic cooking.
Safe food handling: leave food in the oven for as short a
time as possible before and after cooking or defrosting.
This is to avoid contamination by organisms which may
cause food poisoning.
Take particular care during warmer weather.
To set the oven for automatic cooking
1
Set the oven:
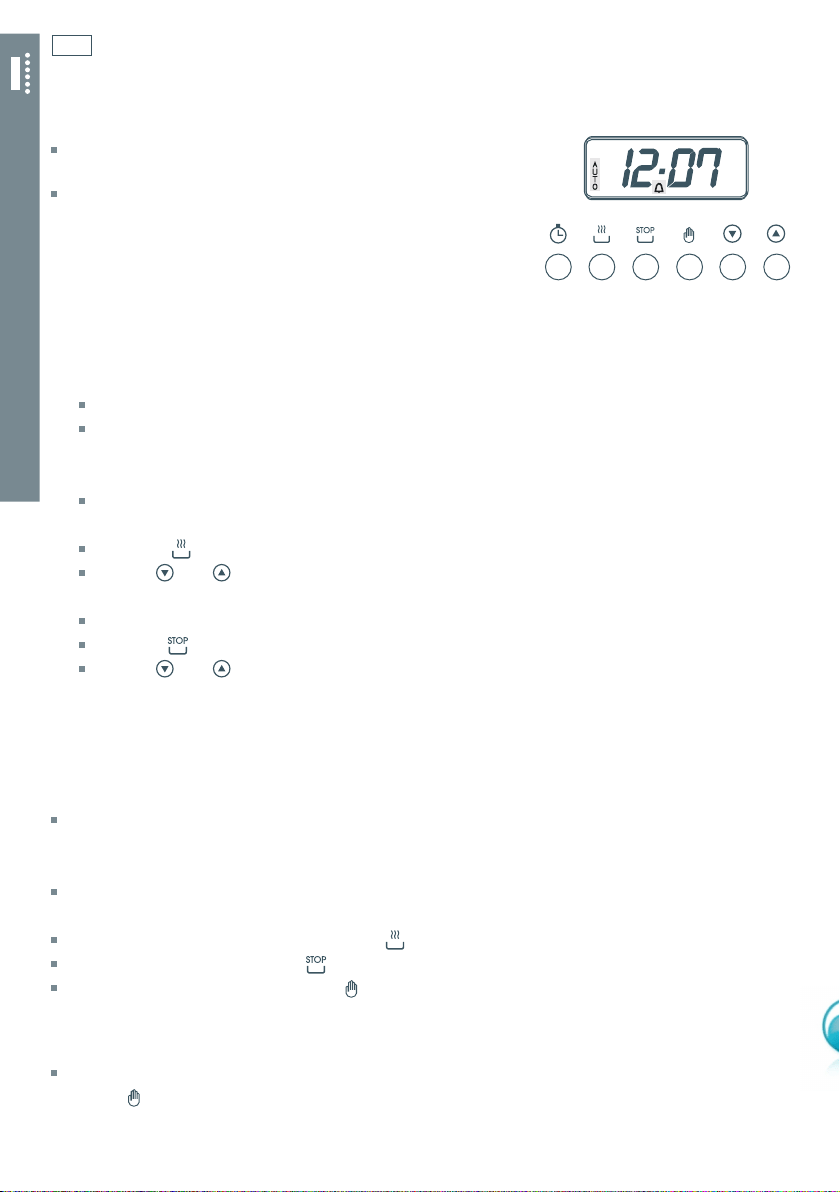
Check the clock shows the correct time (eg 12:07).
Select the function and set the temperature.
The oven will turn on.
2
Set the cooking time:
Decide how long the food will take to cook, allowing time
for preheating if necessary (eg 40 minutes).
Press
.
Use
and to set the cooking time. AUTO will show in the display.
3
Set the stop time:
Decide when you want your food to be ready by (eg 13:30).
Press
.
Use
and to set the stop time.
You can turn the oven on manually and set it to turn off automatically by setting the stop time
(step 3 above).
When automatic cooking is set
If there is time before cooking starts, the oven will turn off and the current time of day and AUTO
will show in the clock display, indicating that the oven is set for automatic cooking. Note: the
cooling fan may stay on.
The oven will automatically turn on at the required time (eg 12:50) and turn off at the set stop
time (eg 13:30).
To see the remaining cooking time, press
.
To see the set stop time, press
.
To cancel automatic cooking, press
and turn the function and temperature knobs to 0 (off).
When the stop time is reached
The oven will turn off, the timer will beep and AUTO will flash.
1
Press to stop the beeping and return the oven to manual mode.
2
Turn the function and temperature knobs to
O
(off).
Fig. 14 Six-button clock display
and control buttons
ELECTRONIC CLOCK MODELS
_
SIX-BUTTON CLOCK
Loading ...
Loading ...
Loading ...