Loading ...
Loading ...
Loading ...
8
About the dispenser. (on some models)
Press the glass gently against the dispenser cradle.
The spill shelf is not self-draining. To reduce water spotting, the
shelf should be cleaned regularly.
If no water is dispensed when the refrigerator is first installed,
there may be air in the water line system. Press the dispenser
paddle for at least five minutes to remove trapped air from the
water line and to fill the water system. To flush out impurities in
the water line, throw away the first six full glasses of water.
WARNING
Laceration Hazard
Never put fingers or any other object into ice crusher
discharge opening. Doing so can result in contacting the ice
crushing blades and lead to serious injury or amputation
Use a sturdy glass when dispensing ice. A delicate glass may
break and result in personal injury.
To remove Dispenser Tray
Pull Dispenser Tray out.
To reinstall Dispenser Tray
Push in until it is firmly in place.
Door Ice Bin
1. Open left fresh food door.
2. Pull down latch to release bin
door.
3. Using handhold, lift ice bucket
up and out to clear locators in
bottom of bin.
4. To replace the ice bucket, set
it on the guide brackets and
push until the ice bucket seats
properly.
5. If bucket cannot be replaced,
rotate the Ice Bucket Fork 1/4
turn clockwise.
Water & Ice Dispenser
(See About the controls)
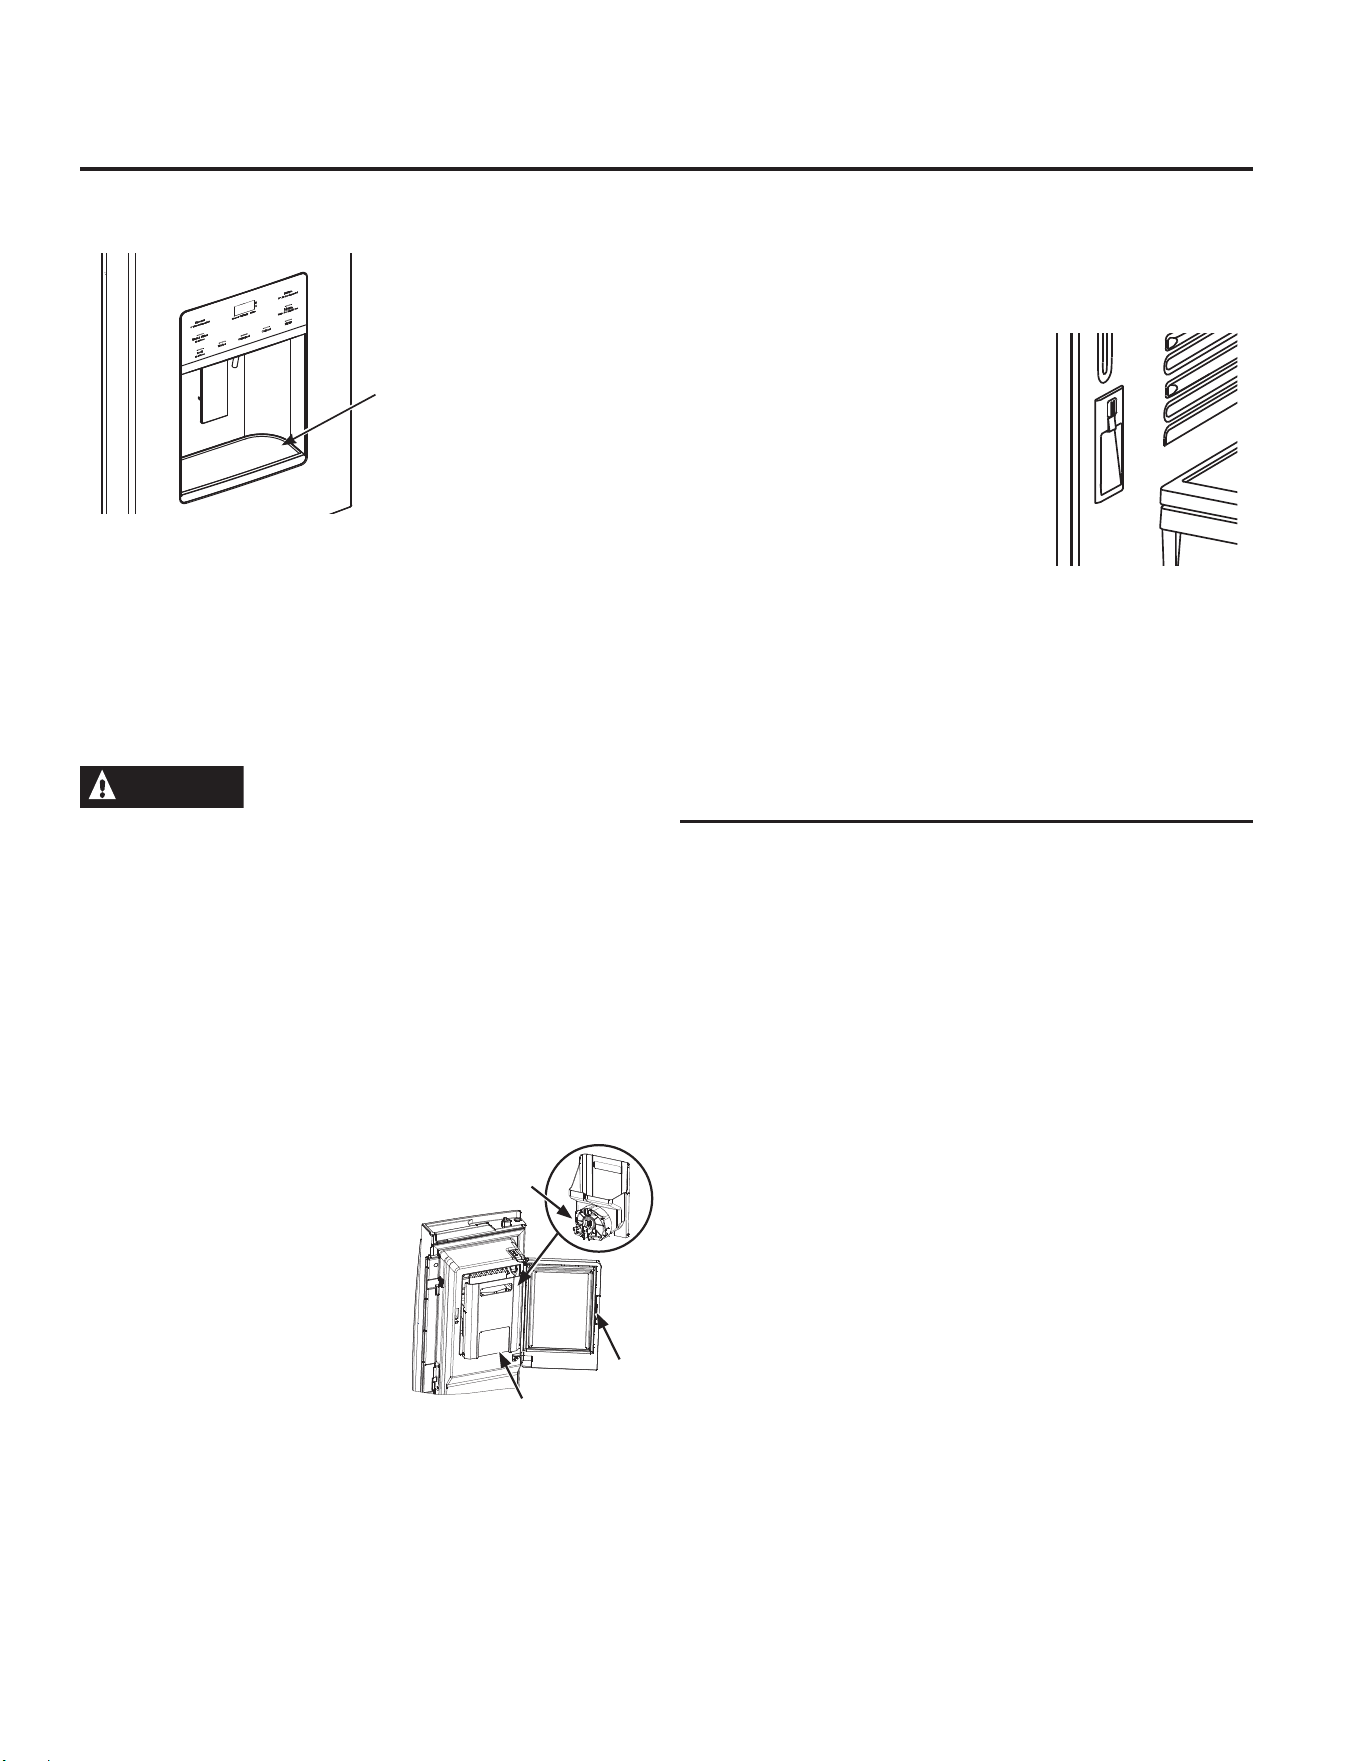
Internal Water Dispenser
(on some models)
The water dispenser is located on the left wall inside the
refrigerator compartment.
To dispense water:
1. Hold the glass against the recess.
2. Push the water dispenser button.
3. Hold the glass underneath the dis-
penser for 2–3 seconds after releas-
ing the dispenser button. Water may
continue to dispense after the button
is released.
If no water is dispensed when the
refrigerator is first installed, there may be air in the water line
system. Press the dispenser button for at least 5 minutes to
remove trapped air from the water line and to fill the water
system. During this process, the dispenser noise may be loud
as the air is purged from the water line system. To flush out
impurities in the water line, throw away the first 6 glassfuls of
water.
NOTE: To avoid water deposits, the dispenser should be
cleaned periodically by wiping with a clean cloth or sponge.
Important Facts About Your Dispensers
Do not add ice from trays or bags to the door ice maker
bucket. It may not crush or dispense.
Avoid overfilling glass with ice and use of narrow glasses.
Backed-up ice can jam the chute or cause the door in the
chute to freeze shut. If ice is blocking the chute remove the ice
bucket, poke it through with a wooden spoon.
Beverages and foods should not be quick-chilled in the
door ice maker bin. Cans, bottles or food packages in the
storage drawer may cause the ice maker or auger to jam.
To keep dispensed ice from missing the glass, put the glass
close to, but not touching, the dispenser opening.
Some crushed ice may be dispensed even though you
selected CUBED ICE. This happens occasionally when a few
cubes accidentally get directed to the crusher.
After crushed ice is dispensed, some water may drip from the
chute.
Sometimes a small mound of snow will form on the door in the
ice chute. This condition is normal and usually occurs when you
have dispensed crushed ice repeatedly. The snow will eventually
evaporate.
Dispenser
Tray
Ice bucket
fork
Latch
Ice bucket
Loading ...
Loading ...
Loading ...