Loading ...
Loading ...
Loading ...
English 9
Detergents can only be applied with the
black detergent nozzle.
STEP 1:
Install the black detergent nozzle for de-
tergent application at low pressure.
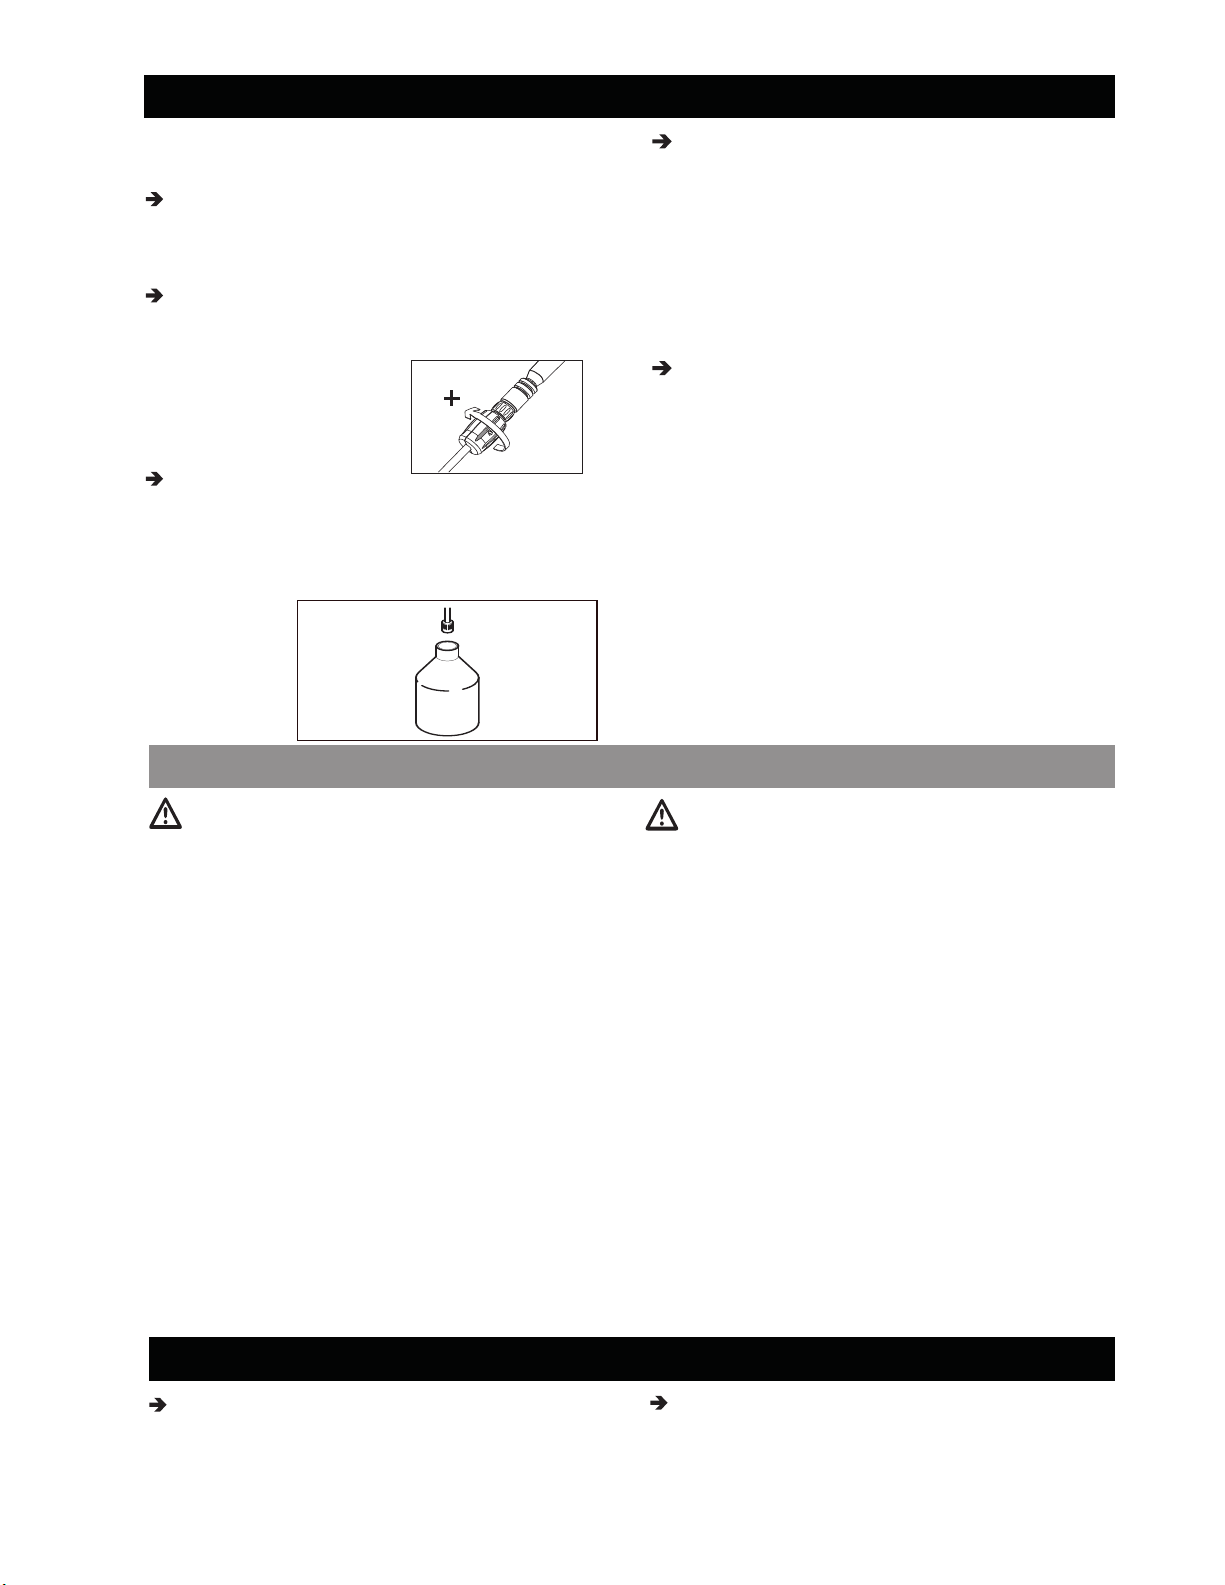
STEP 2:
Set remote pressure control knob to the
high fl ow position "+"
STEP 3:
Fill a container with Kärcher detergent.
Place the fi lter end of detergent suction
tube into the container.
STEP 1:
Move the engine stop switch to the OFF
position.
STEP 2:
Release trigger and engage safety lock.
For engine details see engine manual.
Detergents
TAKING A BREAK ...fi ve minutes or more
WORKING WITH DETERGENTS
CAUTION
This unit has been designed for use with
cleaning detergents recommended by the
manufacturer.
The use of other cleaning detergent may af-
fect the operation of the machine and void
the warranty.
Always Use Kärcher Detergent for Best
Results
Kärcher biodegradable detergents are spe-
cially formulated to protect the environment
and your pressure washer. The special for-
mula won`t clog the suction tube fi lter and
will protect the internal parts of the pressure
washer for a longer life. For Kärcher Deter-
gents, check your retailer or visit our website:
karcher.com/us
CAUTION
Never use:
– Bleach, chlorine products or other cor-
rosive chemicals
– Liquids containing solvents (i.e., paint
thinners, gasoline, oils.)
– Tri-sodium phosphate products
– Ammonia products
– Acid-based products
These chemicals will harm the unit and will
damage the surface being cleaned.
Use of these items will void the warranty.
STEP 4:
With the engine running, pull trigger to
operate unit.
Liquid detergent is drawn into the unit and
mixed with water.
Apply detergent to work area.
Do not allow detergent to dry on surface.
STEP 5:
Always draw fresh water through the de-
tergent suction tube when the cleaning
job is done, to rinse/fl ush any remaining
detergents from the injection system.
For best results see Cleaning Tips for
specifi c information on how to clean dif-
ferent surfaces.
Loading ...
Loading ...
Loading ...