Loading ...
Loading ...
Loading ...
10
2 u 0:00:06
Tracks: 12
T
0:44:34
CD11 Stereo Compact Disc Player
Analog Outputs
0
See Figure 3
A pair of standard RCA jacks supplies an analog output signal from the
CD11 unit to the source inputs of an audio preamplier, integrated amplier,
or receiver.
Select high quality audio interconnect cables. Connect the left and right
channel outputs of the unit to the corresponding inputs on the preamplier
or other component.
Digital Output
-
See Figure 3
If you are using an outboard D/A converter or other digital processor,
you will need an unprocessed digital data stream from the CD11. Using a
standard 75 ohm coax digital cable, connect the CD11’s coax digital output
to the digital input connector on the outboard D/A converter.
Operation
The unit can be operated using its front panel buttons or from corresponding
buttons on the supplied infrared remote control. Specic instructions for each
of these controls are detailed below. Most of the buttons are duplicated
on the front panel and on the IR remote control. However, there are a few
exceptions where the buttons are only available on one or the other. These
exceptions are noted in the instructions.
Infrared Remote Control
Before using the IR remote control, it is necessary to install two “UM-4/
AAA” batteries (supplied). Remove the plastic cover on the back of the IR
remote, install the batteries (observing the + and – polarity indications),
and reinstall the cover.
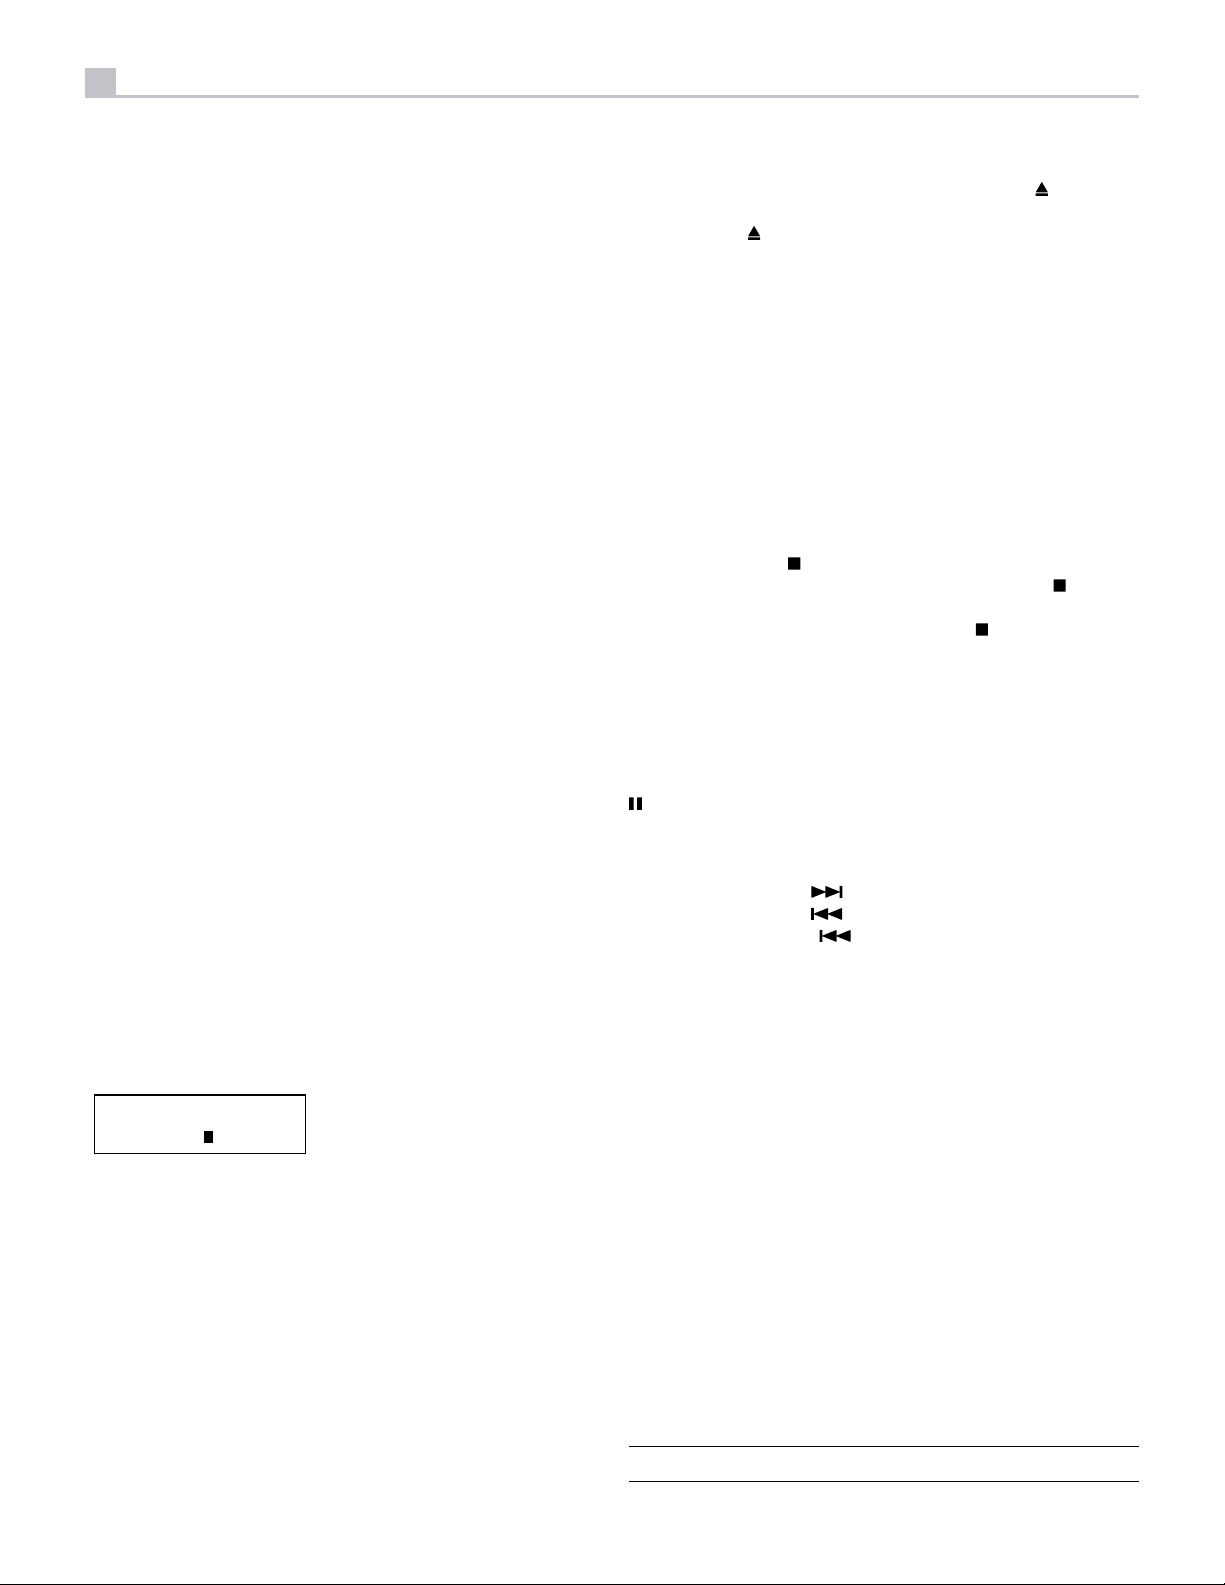
Display
4
A back-lit display on the front panel of the unit provides useful information
about the status of the unit, activation of special features, and track/time
information for the disc being played. Each of these indicators is described
in the detailed operating instructions that follow.
Disc Tray
3
A motor-driven disc loading tray located in the center of the unit, accepts a
compact disc. Press the eject button then place the disc into the tray, label-
side up. Make sure the disc is properly centered before loading. The disc
can be ejected by pressing the eject button again.
Transport Control Buttons
These buttons provide basic control functions for the disc transport mechanism.
Except where noted, all functions are available on the unit front panel and
the IR remote control.
EJECT Button
5E
To open the tray loading mechanism press the EJECT button . The tray will
open allowing the CD to be loaded label side up. To close the tray press
the EJECT button again.
If no disc is loaded when the tray is closed the display will read "No Disc".
When a disc is loaded, the display will indicate the number of tracks on the
disc and the total time of the disc in hours, minutes and seconds.
PLAY Button
6E
After the disc is loaded, press the PLAY button u to start playing the disc.
The number of the track being played and the elapsed time will be shown
in the display, along with the PLAY indicator. Normally, the disc will start
playing with the rst track. However, you can select a different track using the
TRACK buttons or the DIRECT ACCESS buttons (see below) before pressing
the PLAY button u to start playing a different selection.
STOP Button
7E
Press the STOP button once to stop disc play. Press the PLAY button u
to resume disc play where it was stopped. If the STOP button is pressed
twice, disc play stops, the display shows STOP indicator. When the PLAY
button u is pressed after pressing the STOP button twice, the disc begins
playing from the rst track or the rst programmed track in PROGRAM
mode (see below).
PAUSE Button
8E
This button is used to temporarily suspend play. The disc continues to spin
and play will be resumed from the current position. The PAUSE indicator
will light in the display. To resume playing the disc, press the PAUSE button
again or press the PLAY button u.
TRACK Buttons
9J
These buttons are used to select tracks on the disc. When a disc is playing,
pressing the TRACK button advances to the beginning of the next track.
Pressing the TRACK button returns to the beginning of the current track.
Pressing the TRACK button twice quickly in succession returns to the
beginning of the previous track. The new track number appears in the display.
These buttons are also used to select a track before pressing the PLAY button
u or when memorizing tracks for the PROGRAM play mode (see below).
These selections are made by continuously pressing the TRACK buttons until
the desired track is reached.
In PROGRAM mode, the TRACK buttons advance or reverse to the next
track in the memorized selection list.
DIRECT ACCESS Buttons
D
Remote Only
These ten numeric buttons (labelled 0 through 9) are used to directly access
a track from the IR remote control instead of stepping through the tracks
using the TRACK buttons.
The rst nine tracks on a disc can be selected by pressing the corresponding
button. For example, to play the third track, press the 3 button on the
remote control.
When accessing track numbers greater than 9, enter the 2 digit track number
on the remote control.
Note: The >10 button is not used for this model.
Loading ...
Loading ...
Loading ...