Loading ...
Loading ...
Loading ...
125124
INSTALLATION
(Technical notes)
■ After unpacking, adjust the height of the
dishwasher. For the dishwasher to work
correctly it must be level. Adjust the feet
so that the machine does not tilt by more
than 2 degrees.
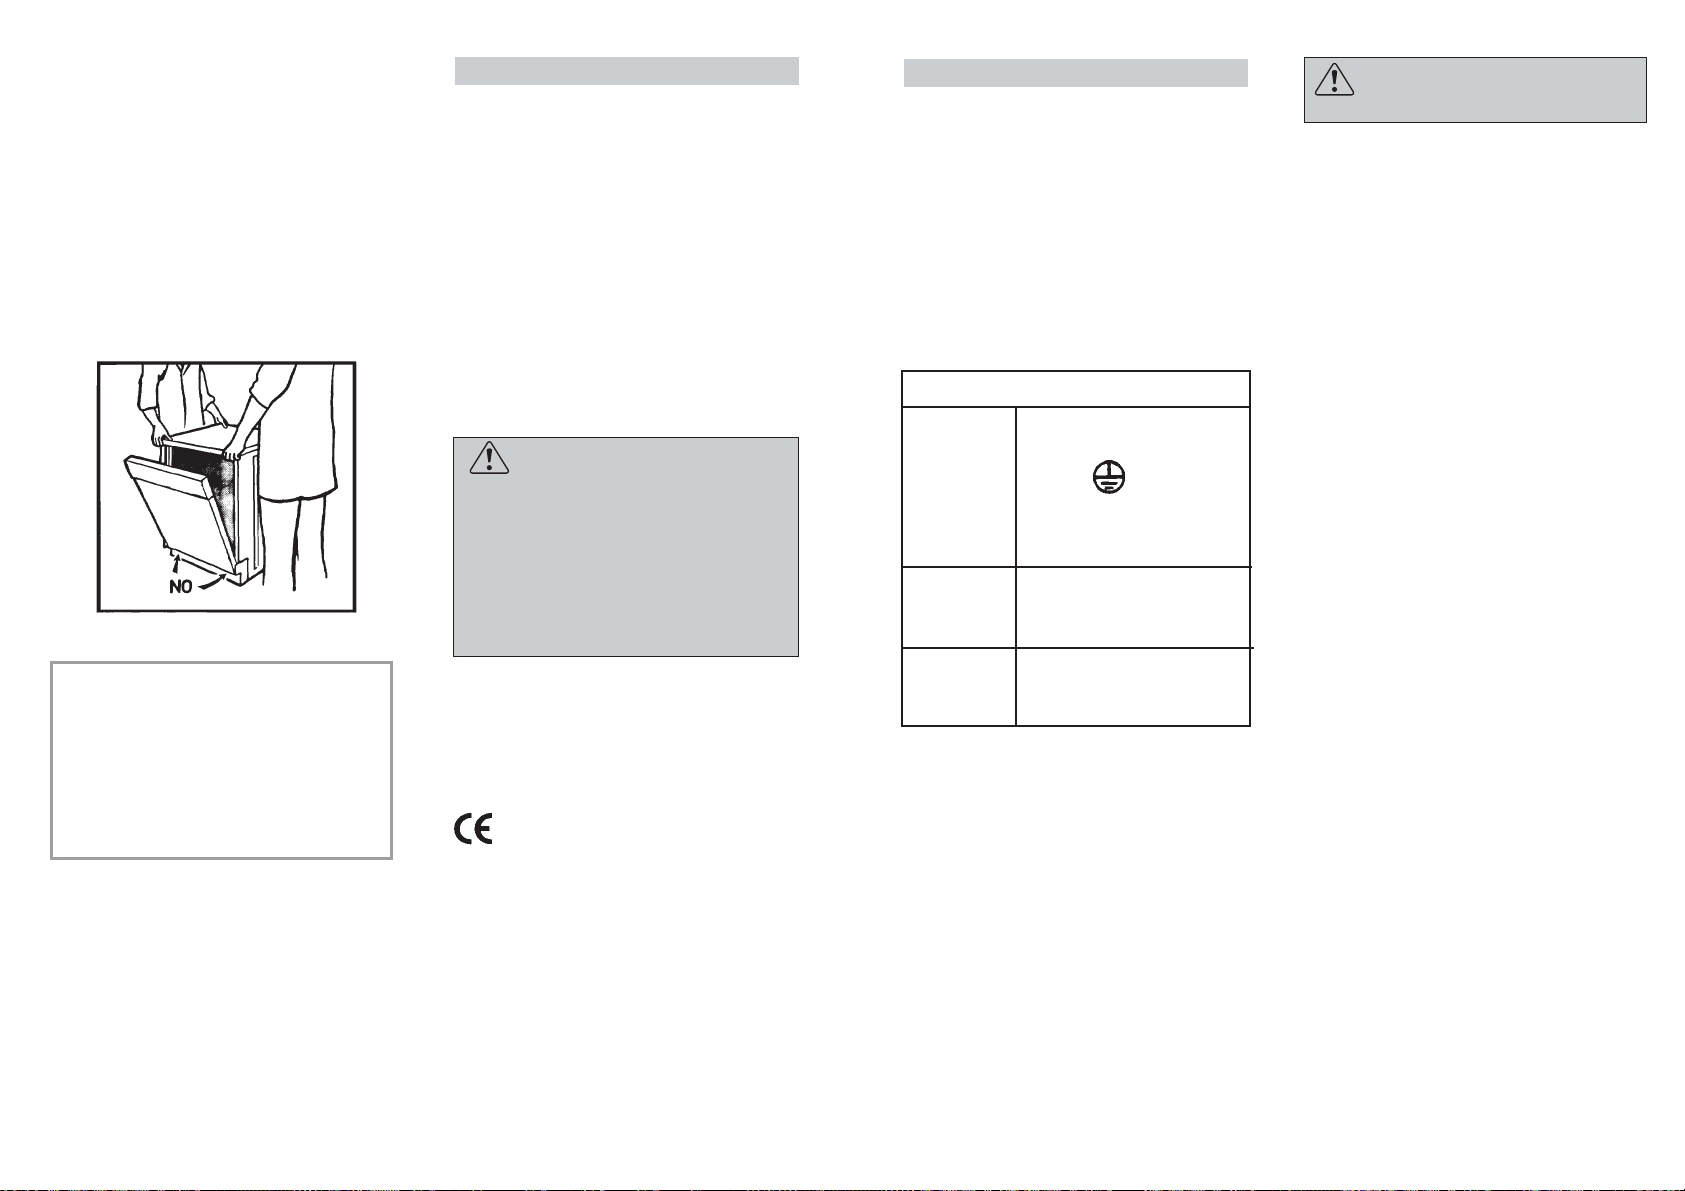
■ If it you need to move the machine after
removing the packaging, do not try to lift
it by the bottom of the door. Follow the
instructions in the figure below. Open the
door slightly and lift the machine by
holding on the top.
IMPORTANT
When the appliance is located on a
carpet floor, attention must be paid to
ensure that there is no obstruction to
the bottom vents.
Make sure that the plug on the
appliance remains accessible after
installation.
Electrical connection
This appliance complies with international
safety standards, and is fitted with a 3 pin
plug with earth connection to ensure
complete earthing of the product.
Before connecting the appliance to the
mains supply it is important to ensure:
1. that the supply socket is properly
earthed;
2. that your electricity supply is capable of
meeting the consumption requirements
listed on the rating plate of your
appliance.
WARNING!
Ensure that your product is properly
earthed.
In the absence of adequate earthing
you will notice that when touching
the metal parts of your appliance an
electrical dispersion can be felt, due
to the presence of a radio interference
suppressor.
Manufacturer declines all responsibility
for any damage due to non-earthing of
the machine.
This appliance complies with
Directives 89/336/EEC, 73/23/EEC
and following changes.
Electrical connection (for U.K. only)
Plug your dishwasher into the power
socket.
If the plug we supply does not fit:
■ CUT IT OFF AND DESTROY IT!
You can't use it on other appliances, and
the exposed wires could be dangerous if
anyone plugged it in.
■ Fit a suitable plug, as follows:
WARNING!
THIS APPLIANCE MUST BE EARTHED.
Fuses and plugs
This appliance should be used only on a
socket with a minimum rating of 13 Amp.
Our ready-fitted plug is already equipped
with a 13 amp fuse which is BS 1362 ASTA
approved.
Any replacement should be exactly the
same.
If the fuse cover is lost, do not use the plug
until it is replaced.
Acorrect replacement fuse cover (obtainable
from your dealer or Electricity board) must
be the same colour as shown or named on
the insert on the base of the plug.
Green and
yellow wire
Marked with the letter E,
OR marked with the Earth
symbol,
OR coloured green,
OR coloured green and
yellow.
Blue wire
Brown wire
Marked N,
OR coloured black.
Marked L,
OR coloured red.
Connect to the terminal in the plug
Loading ...
Loading ...
Loading ...